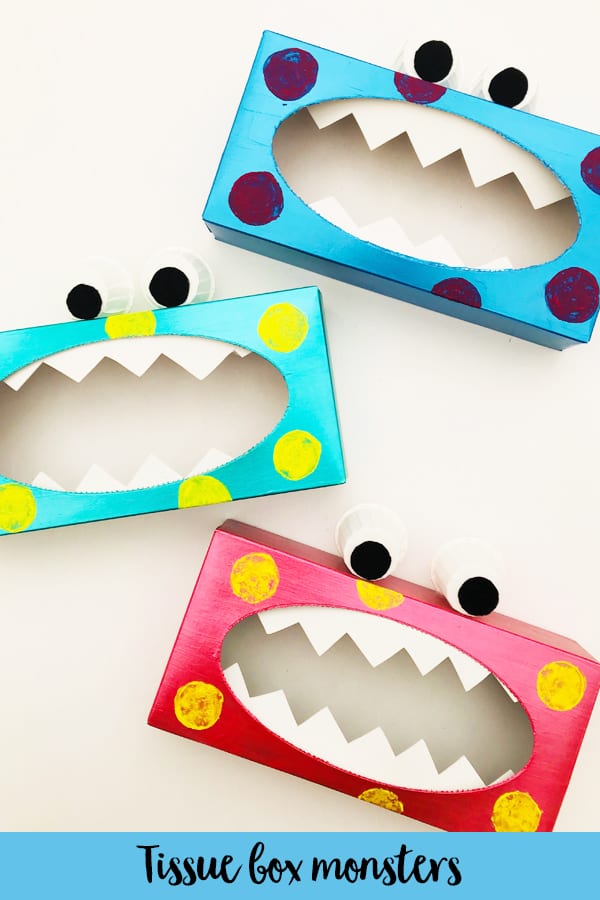
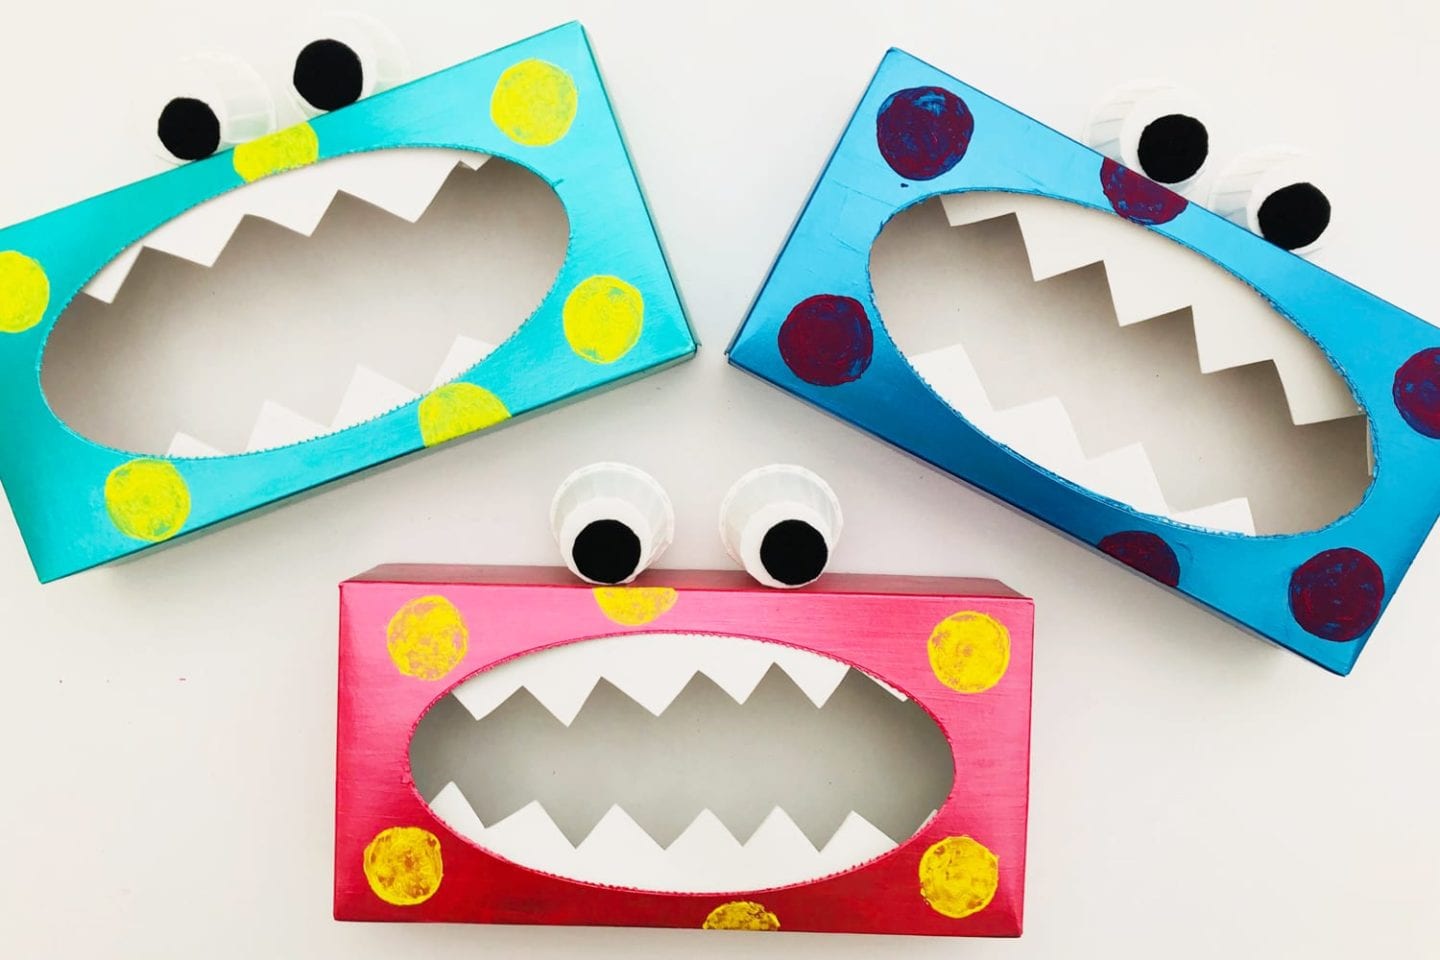
Transform empty tissue boxes into funky monsters, with sharp teeth and wild eyes. We chose to make dotty spotty monsters but your child can decorate them any way they like.
They can even add fur, feathers or shiny gems. Have fun making your very own tissue box monster!
Summary:
Age: Toddlers to Big kids
Time: 10 minutes
Difficulty: Easy peasy
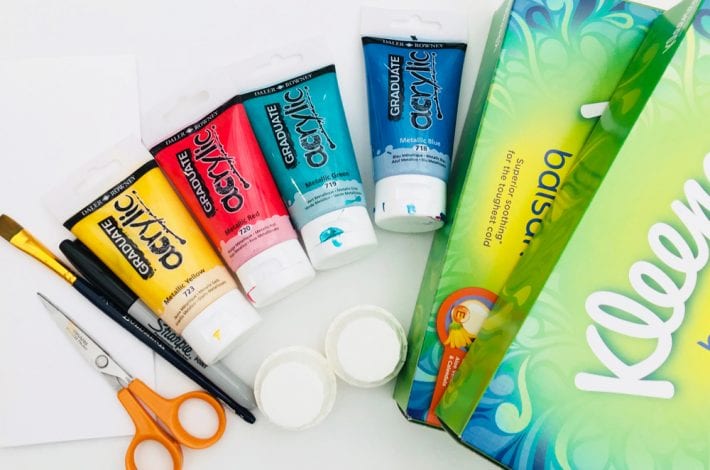
You will need:
- Tissue boxes
- Acrylic paints
- A paintbrush
- A cork (optional – if you want to make spotty monsters)
- White card or foam
- Scissors
- Little sauce pots or egg box cups
- Black card or felt
- Glue
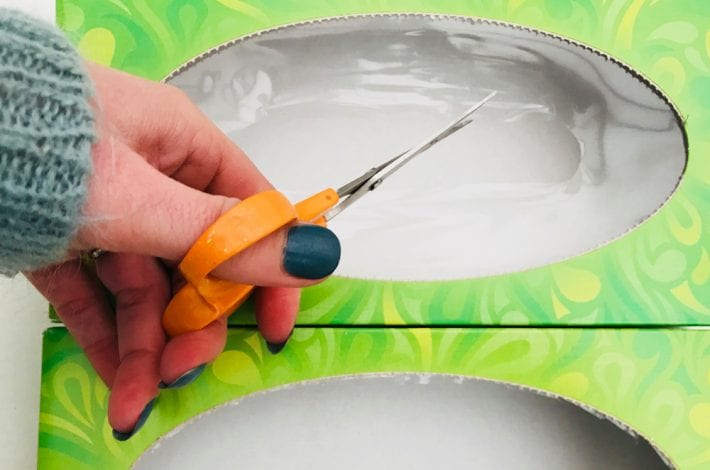
Step 1: Remove the plastic
Carefully cut round the plastic at the front of your tissue box.
Sometimes it’s easy to just tear it out.
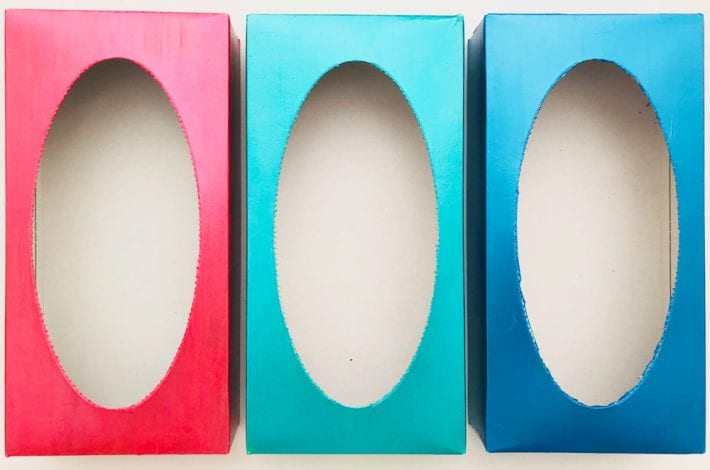
Step 2: Paint your boxes
Paint your tissue boxes.
We used acrylic paint, which gives a nice cover.
You may need two coats of paint to completely cover the boxes.
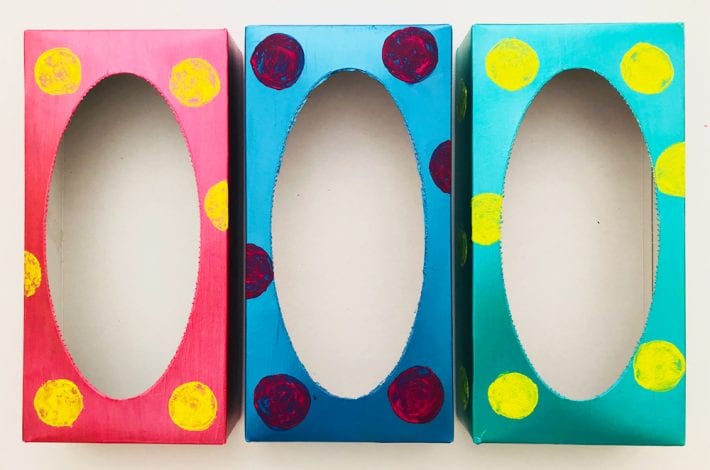
Step 3: Add some decorations
Jazz up your painted boxes by painting on some patterns.
We printed dots with a cork.
You could paint any patterns or designs you like or stick on stickers, gems or glitter.
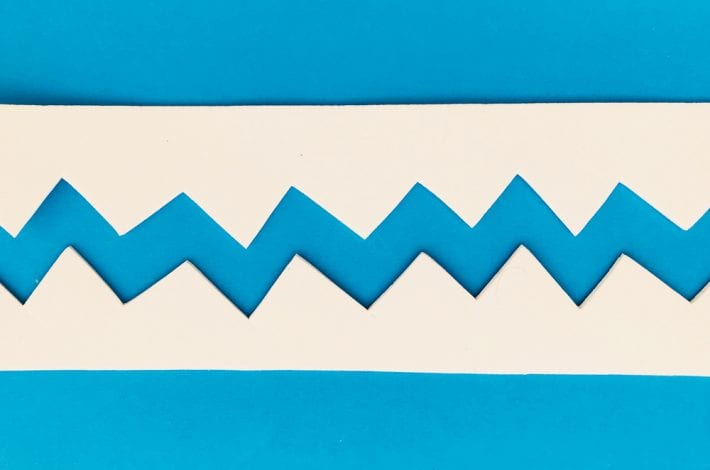
Step 4: Make some monster teeth
Cut a wide rectangle out of white card or foam.
Then cut zigzags down the centre and keep cutting all the way to the end.
You will end up with two pairs of zaggy teeth.
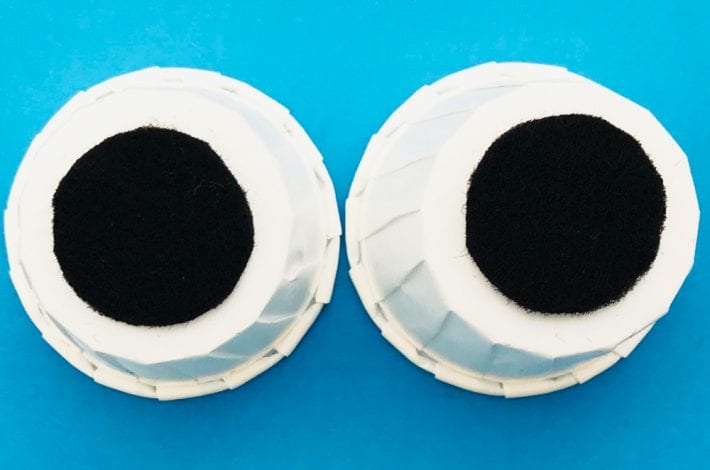
Step 5: Make your monster’s eyes
Cut small circles from black card and felt and stick them to the base of a little paper sauce pot.
You could also cut out the cups from an egg box and use these instead.
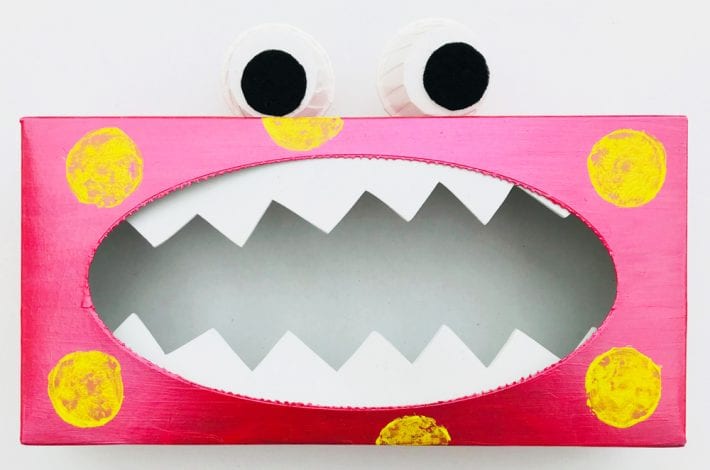
Step 6: Complete your monster
Glue the teeth inside the box, one at the top of the hole and one at the bottom.
Now glue the eyes to the top of the box. Our monsters each have two eyes.
Yours could have one, two, three – or even more.
Why not make a whole tissue box monster family?
