Home · Kidspiration · Arts + Crafts · Deer handprint Christmas cards

Deer handprint Christmas cards

Deer handprint Christmas cards image

Handprints are always a great way to make a greeting card unique and personal.
 
Draw round your child’s hand as the starting point to make these cute deer handprint Christmas cards.
 
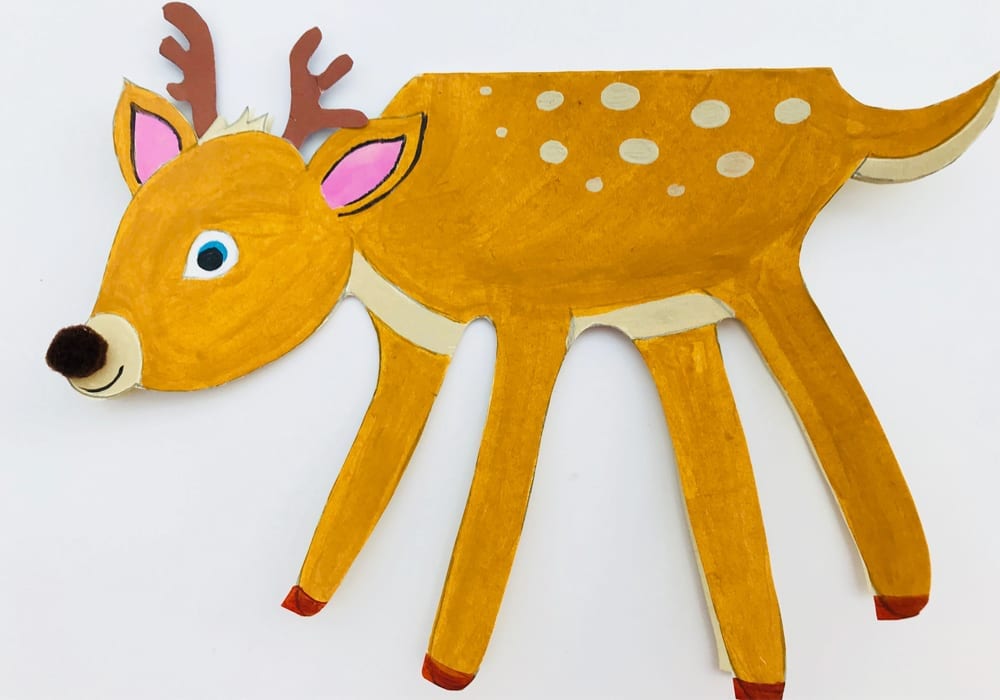
From a hand shape your child can use their own creativity to draw the rest of the deer or make it into their own reindeer for Christmas time.
 
We’ve added lots of little details to our deer but if you’re doing this craft with younger children, they might be happier making simpler drawings and paintings for their card. They work just as well.

Summary:

Time: 15 minutes
Age: Little kids to Big kids
Difficulty: Easy peasy
01
You will need:

Make Christmas cards special this year by making these handprint Christmas cards in the shape of a deer or reindeer.

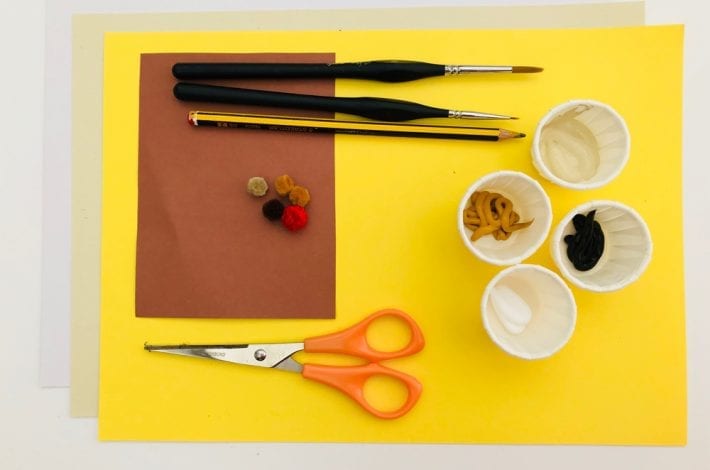
You will need:

  • White card
  • Pencil
  • Paints – light brown, white, pink, cream, black
  • Paint brushes
  • Scissors
  • Glue
  • Mini black pom pom (optional)

02
Step 1: Draw round your hand

Make Christmas cards special this year by making these handprint Christmas cards in the shape of a deer or reindeer.

Step 1: Draw round your hand

Fold an A4 piece of card in half.

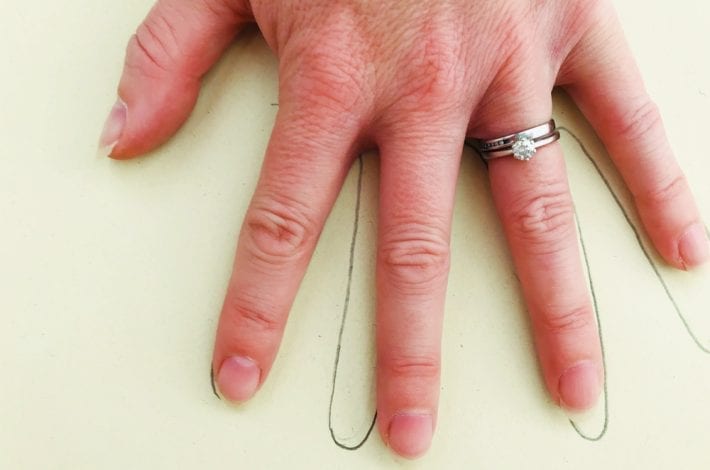
Ask your child to place their hand at the top of the card, with their palm along the folded edge.

Draw round their four fingers. These will be the deer’s legs, so your child might like to move their fingers apart a little before you start drawing round them.
03
Step 2: Here’s the beginning of your drawing

Make Christmas cards special this year by making these handprint Christmas cards in the shape of a deer or reindeer.

Step 2: Here’s the beginning of your drawing

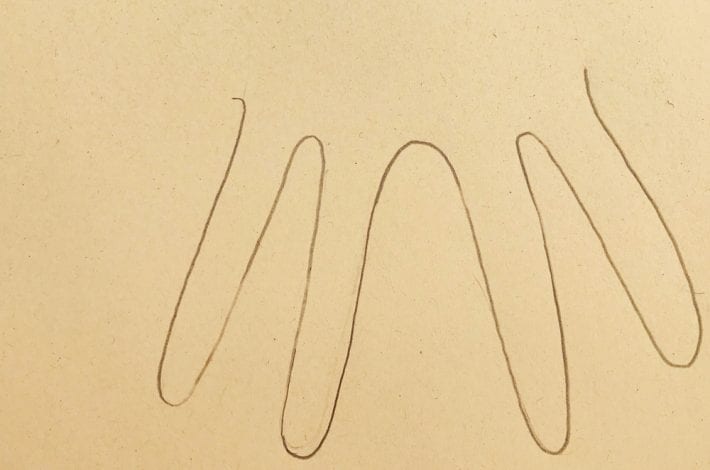
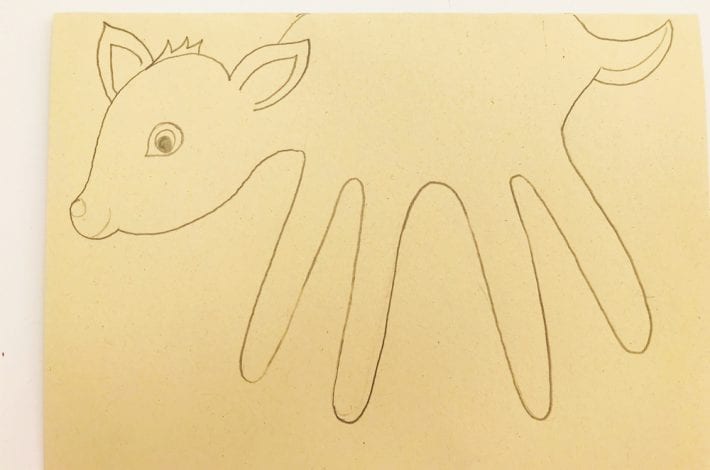
Ask your child to take away their hand and you will be left with the outlines of their four fingers, which will be the deer’s legs.
04
Step 3: Draw the rest of the outline

Make Christmas cards special this year by making these handprint Christmas cards in the shape of a deer or reindeer.

Step 3: Draw the rest of the outline

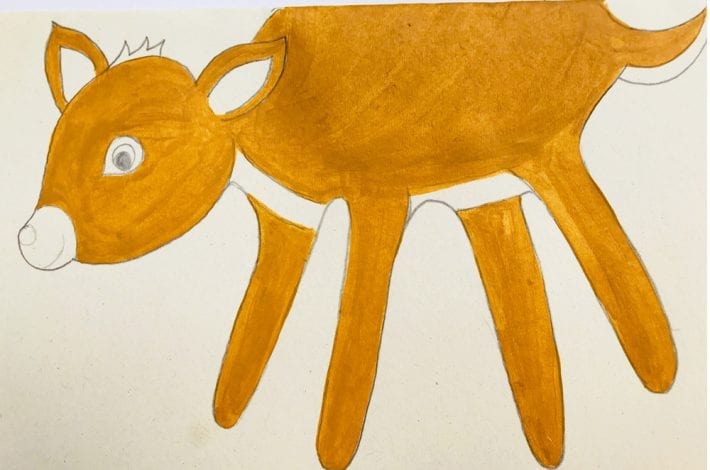
Draw a head, ears and tail to complete your outline of your deer.

The top of the deer’s body will be along the top fold of your card.
05
Step 4: Paint the deer’s fur

Make Christmas cards special this year by making these handprint Christmas cards in the shape of a deer or reindeer.

Step 4: Paint the deer’s fur

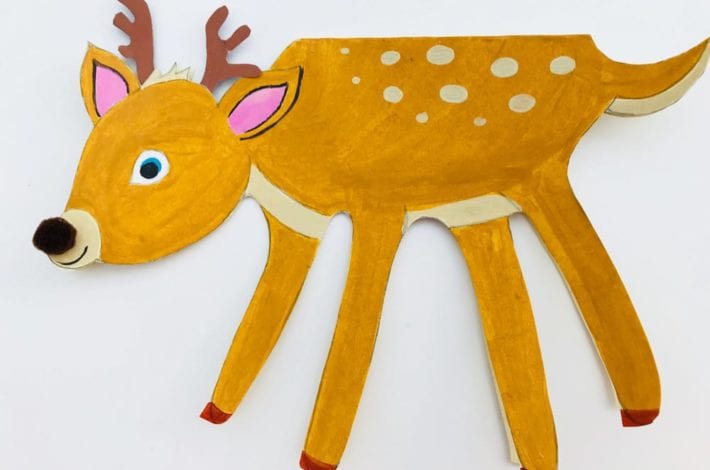
Paint the head, body, legs and tail in a light brown colour.

You can leave some parts blank like we have, for the nose, insides of the ears, belly and tail. This makes it easier to paint them in a different colour in the next step.

You could also use felt pens, crayons or coloured pencils instead if you prefer.
06
Step 5: Colour in the details

Make Christmas cards special this year by making these handprint Christmas cards in the shape of a deer or reindeer.

Step 5: Colour in the details

Now add some colour details to your little deer.

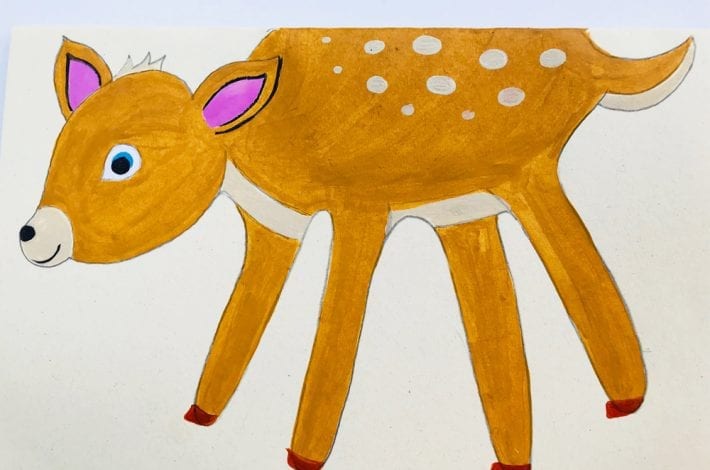
Paint the insides of the ears pink, the nuzzle, tip of the tail and eyes white or a cream colour.

Maybe even add a few dots to the fur on his back. It really is up to you.

Once you are happy with your deer picture, carefully cut round the outline. Remember DON’T cut the folded edge though.
07
Step 6: Make the antlers and nose

Make Christmas cards special this year by making these handprint Christmas cards in the shape of a deer or reindeer.

Step 6: Make the antlers and nose

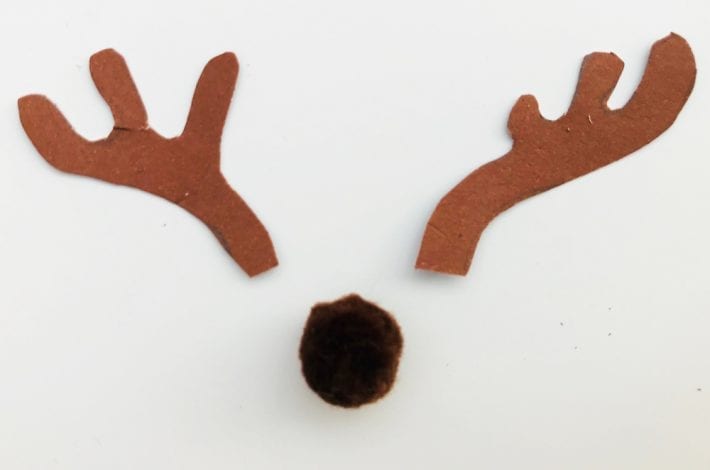
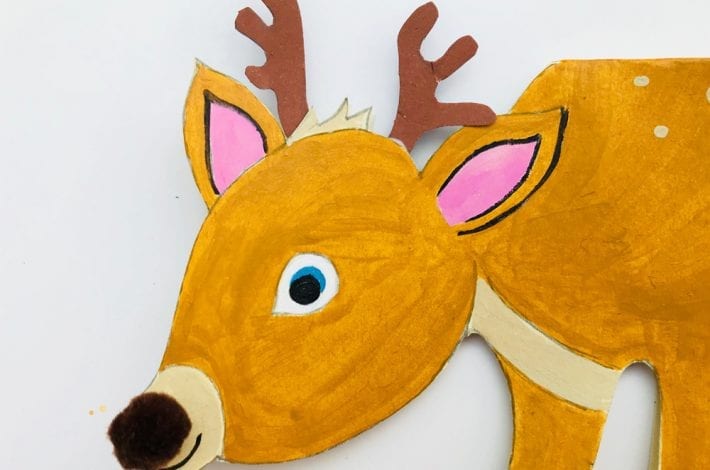
If you’re making a reindeer, then take some brown card. Draw and then cut out two antlers.

Then find a tiny black pom pom for the nose. Don’t worry if you don’t have one, you can always paint or draw on a nose. It’s just a nice added extra.
08
Step 7: Glue on the antlers and nose

Make Christmas cards special this year by making these handprint Christmas cards in the shape of a deer or reindeer.

Step 7: Glue on the antlers and nose

Glue the little pom pom on your deer’s nose and glue the two antlers on too.
09
Step 8: Write a festive message

Make Christmas cards special this year by making these handprint Christmas cards in the shape of a deer or reindeer.

Step 8: Write a festive message

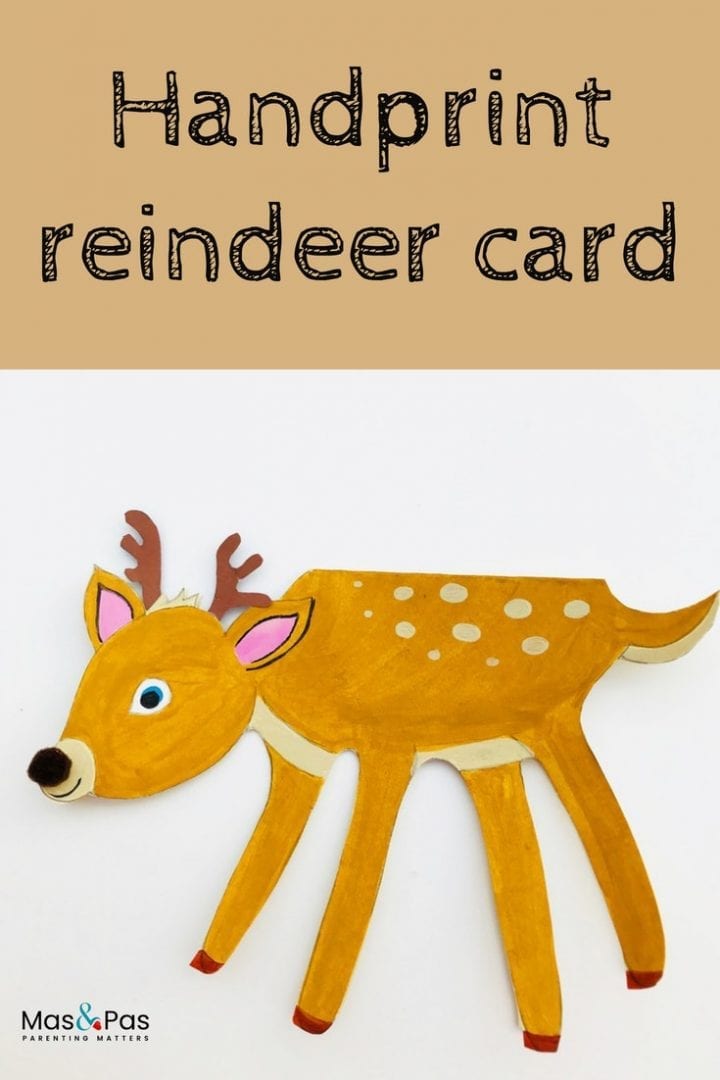
Your little reindeer card is ready.

Now it just needs a Christmas message to someone special written inside.

Make a few deer handprint Christmas cards this year for a special gift to loved ones.
Make Christmas cards special this year by making these handprint Christmas cards in the shape of a deer or reindeer.

Deer handprint Christmas cards

7
Make Christmas cards special this year by making these handprint Christmas cards in the shape of a deer or reindeer.

Handprints are always a great way to make a greeting card unique and personal.
 
Draw round your child’s hand as the starting point to make these cute deer handprint Christmas cards.
 
From a hand shape your child can use their own creativity to draw the rest of the deer or make it into their own reindeer for Christmas time.
 
We’ve added lots of little details to our deer but if you’re doing this craft with younger children, they might be happier making simpler drawings and paintings for their card. They work just as well.

Summary:

Time: 15 minutes
Age: Little kids to Big kids
Difficulty: Easy peasy

01
You will need:

Make Christmas cards special this year by making these handprint Christmas cards in the shape of a deer or reindeer.

You will need:

  • White card
  • Pencil
  • Paints – light brown, white, pink, cream, black
  • Paint brushes
  • Scissors
  • Glue
  • Mini black pom pom (optional)

02
Step 1: Draw round your hand

Make Christmas cards special this year by making these handprint Christmas cards in the shape of a deer or reindeer.

Step 1: Draw round your hand

Fold an A4 piece of card in half.

Ask your child to place their hand at the top of the card, with their palm along the folded edge.

Draw round their four fingers. These will be the deer’s legs, so your child might like to move their fingers apart a little before you start drawing round them.

03
Step 2: Here’s the beginning of your drawing

Make Christmas cards special this year by making these handprint Christmas cards in the shape of a deer or reindeer.

Step 2: Here’s the beginning of your drawing

Ask your child to take away their hand and you will be left with the outlines of their four fingers, which will be the deer’s legs.

04
Step 3: Draw the rest of the outline

Make Christmas cards special this year by making these handprint Christmas cards in the shape of a deer or reindeer.

Step 3: Draw the rest of the outline

Draw a head, ears and tail to complete your outline of your deer.

The top of the deer’s body will be along the top fold of your card.

05
Step 4: Paint the deer’s fur

Make Christmas cards special this year by making these handprint Christmas cards in the shape of a deer or reindeer.

Step 4: Paint the deer’s fur

Paint the head, body, legs and tail in a light brown colour.

You can leave some parts blank like we have, for the nose, insides of the ears, belly and tail. This makes it easier to paint them in a different colour in the next step.

You could also use felt pens, crayons or coloured pencils instead if you prefer.

06
Step 5: Colour in the details

Make Christmas cards special this year by making these handprint Christmas cards in the shape of a deer or reindeer.

Step 5: Colour in the details

Now add some colour details to your little deer.

Paint the insides of the ears pink, the nuzzle, tip of the tail and eyes white or a cream colour.

Maybe even add a few dots to the fur on his back. It really is up to you.

Once you are happy with your deer picture, carefully cut round the outline. Remember DON’T cut the folded edge though.

07
Step 6: Make the antlers and nose

Make Christmas cards special this year by making these handprint Christmas cards in the shape of a deer or reindeer.

Step 6: Make the antlers and nose

If you’re making a reindeer, then take some brown card. Draw and then cut out two antlers.

Then find a tiny black pom pom for the nose. Don’t worry if you don’t have one, you can always paint or draw on a nose. It’s just a nice added extra.

08
Step 7: Glue on the antlers and nose

Make Christmas cards special this year by making these handprint Christmas cards in the shape of a deer or reindeer.

Step 7: Glue on the antlers and nose

Glue the little pom pom on your deer’s nose and glue the two antlers on too.

09
Step 8: Write a festive message

Make Christmas cards special this year by making these handprint Christmas cards in the shape of a deer or reindeer.

Step 8: Write a festive message

Your little reindeer card is ready.

Now it just needs a Christmas message to someone special written inside.

Make a few deer handprint Christmas cards this year for a special gift to loved ones.

Make Christmas cards special this year by making these handprint Christmas cards in the shape of a deer or reindeer.
Mas&Pas

Sign up for an account

Passwords need at least 8 characters, a lower and uppercase letter and a number.
Mas&Pas

Verify your account

Please enter a valid code

Please enter a valid email

We have resent your email

We have resent your verification code to the email address you provided. Please check your inbox and spam folder.

If your email hasn't arrived or you have trouble activating your account please feel free to contact us