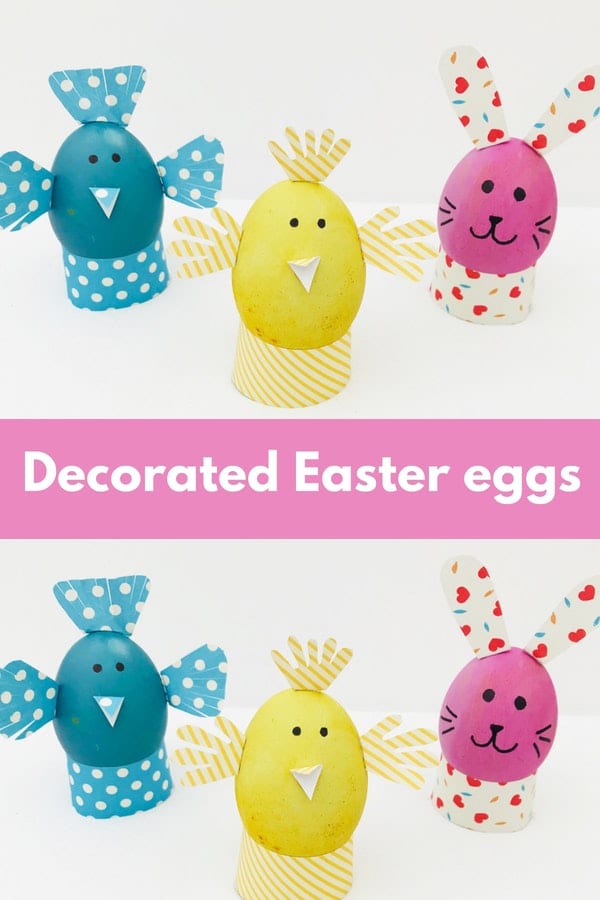
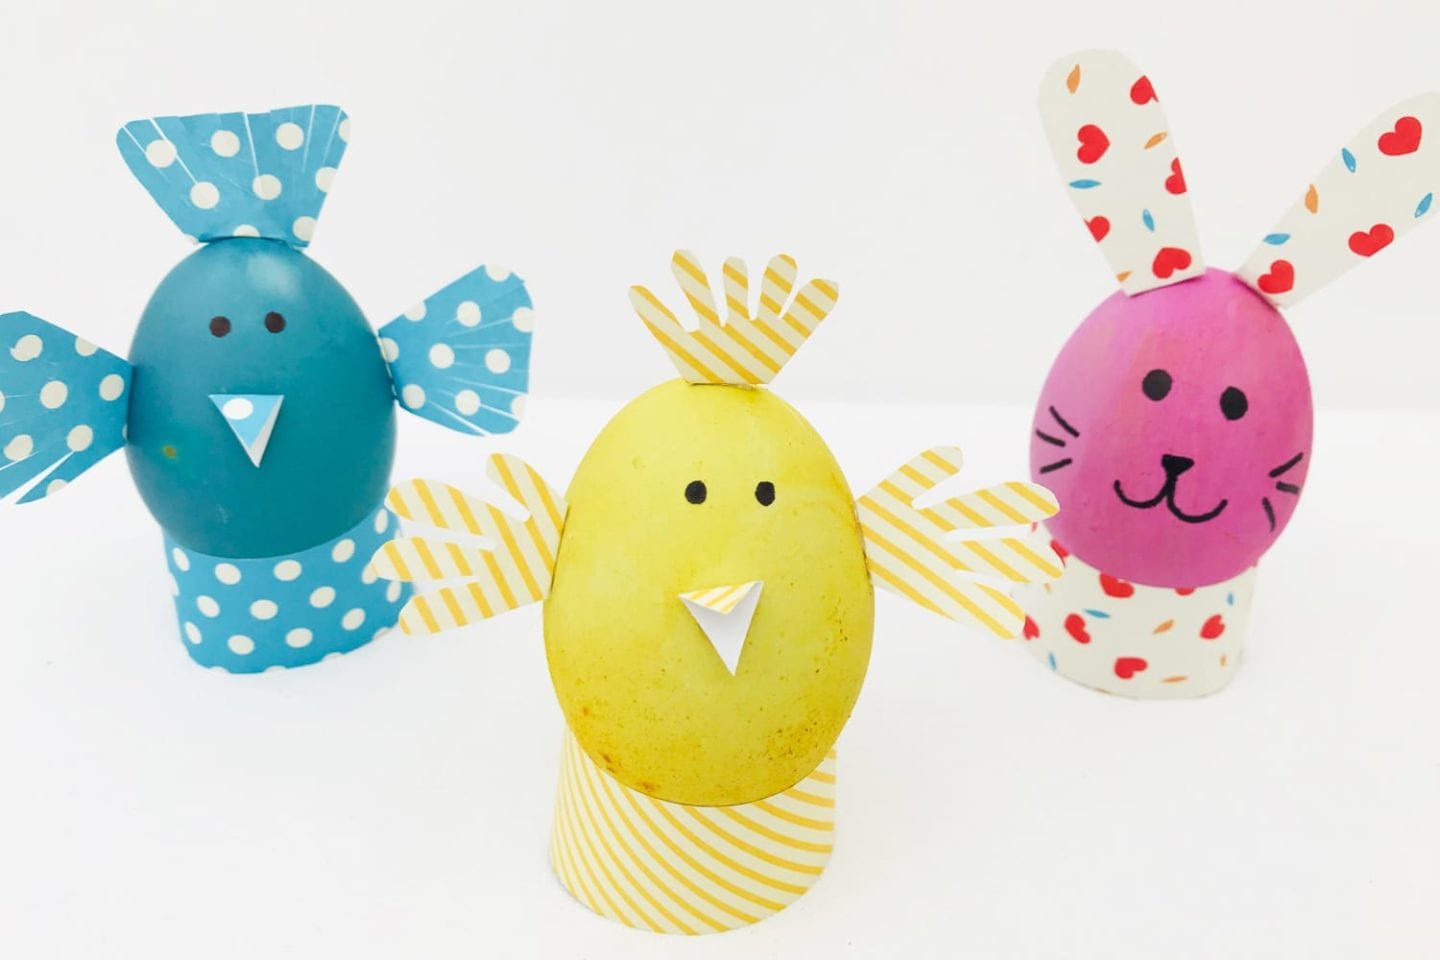
Turn hand dyed eggs into adorable little Easter egg bunnies and chicks! They are so quick and easy to make and look adorable.
Because the eggs are coloured using natural dyes you can even eat them too. But – we think they’re too cute too eat!
Summary:
Age: Little kids to Big kids
Time: 10 minutes
Difficulty: Easy peasy
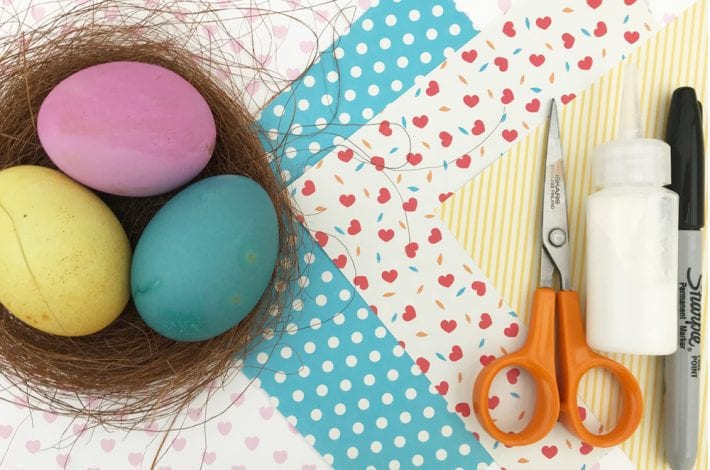
You will need:
- Dyed eggs. You can find out how to colour your eggs with natural dyes here.
- Patterned card or paper
- Scissors
- A black Sharpie
- Glue or a glue gun
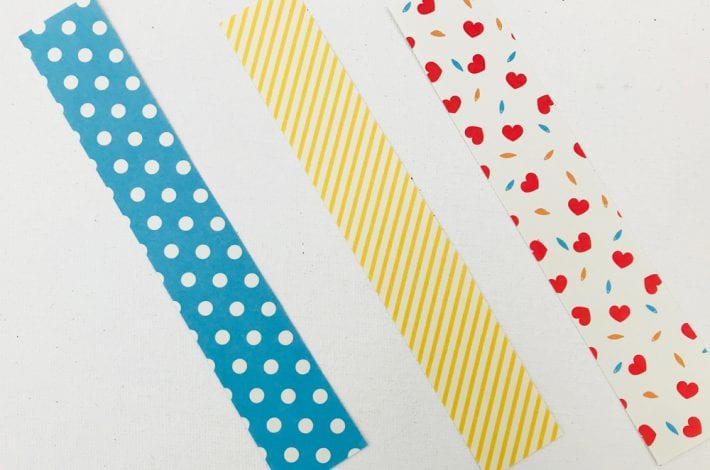
Step 1: Cut out strips of card
For each egg you are decorating cut out a long thin strip of card, about 2cm wide.
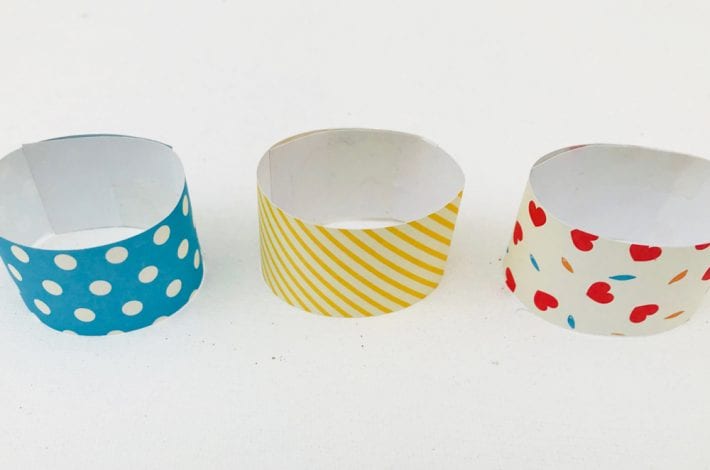
Step 2: Make your egg stands
Curl each strip of card into a circle and tape it in place.
You need this circle to be the right size to hold an egg so that it can stand upright.
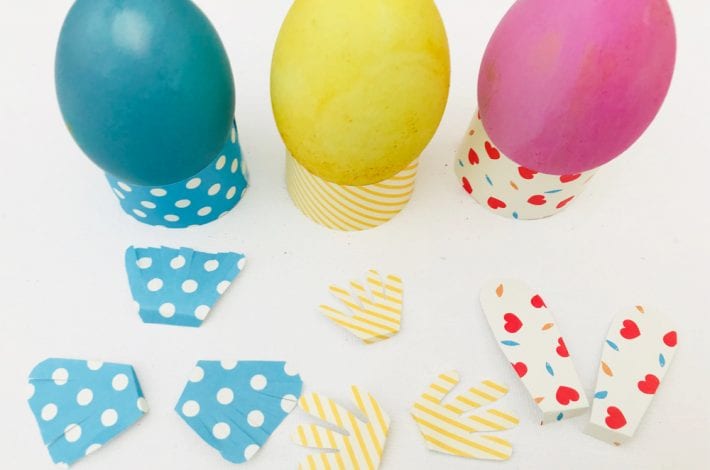
Step 3: Cut out ears, wings and feathers
From the patterned card cut out two little bunny ear shapes for the rabbit and two wings shapes for the chicks.
For the chicks also cut out a feathery shape for the top of their head too. And a tiny beak.
Make a very small fold at the edge of each shape you have cut out to make a small tab. This is where you will place the glue to stick all the pieces onto your eggs.
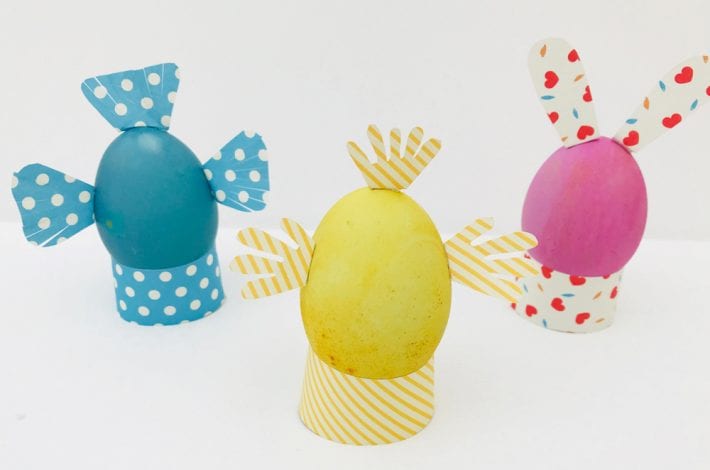
Step 4: Assemble your little bunnies and chicks
Spread some glue on the little folded tabs you made on your card pieces and stick them onto your eggs.
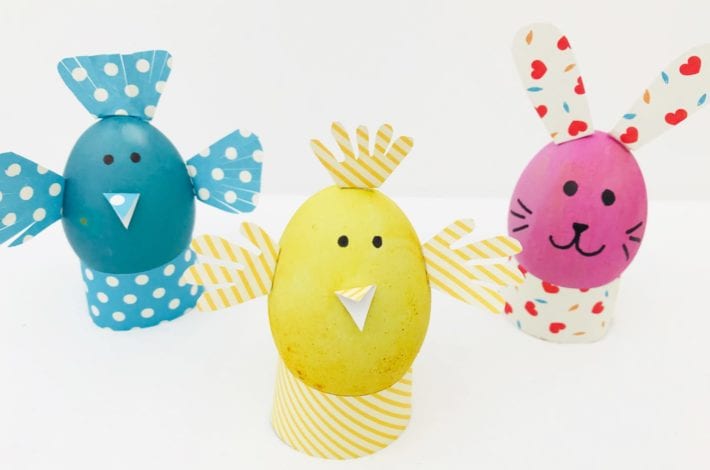
Step 5: Add eyes and details
Use a Sharpie to draw on the eyes, the bunnies nose and mouth and some whiskers. Now your little chicks and bunnies are complete.
Set little Easter egg bunnies and chicks out on the table ready for an Easter egg feast!
