You will need:
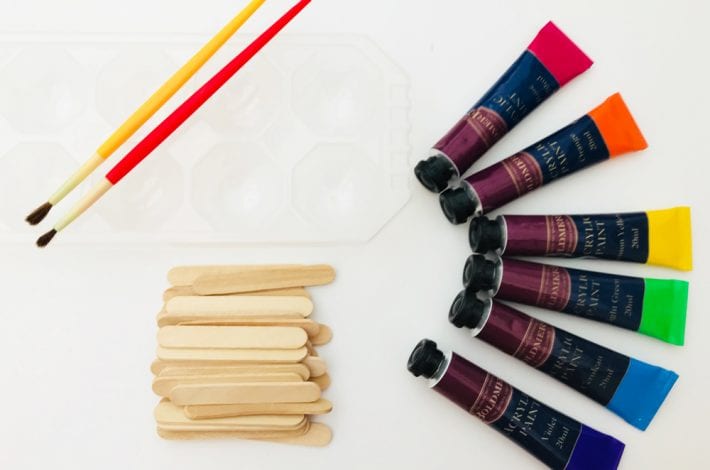
- Ice cube tray
- Paints
- Water
- Paintbrushes
- Lolly pop sticks
Step 1: Mix up your paints
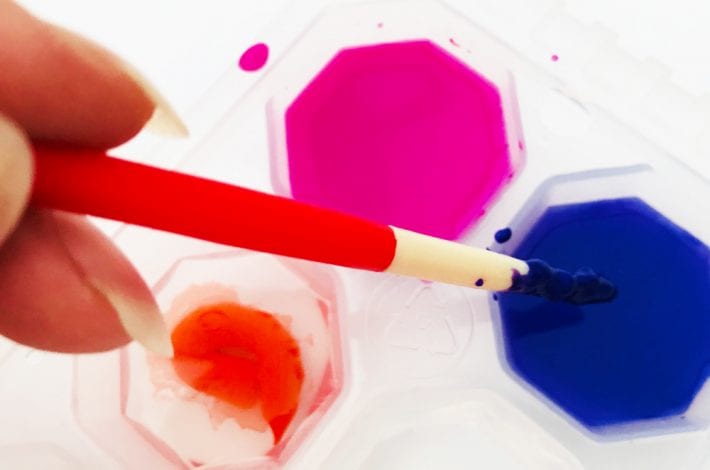
Fill each section of the ice cube tray with water, not quite to the top.
Squeeze some paint into each and mix well with a paintbrush.
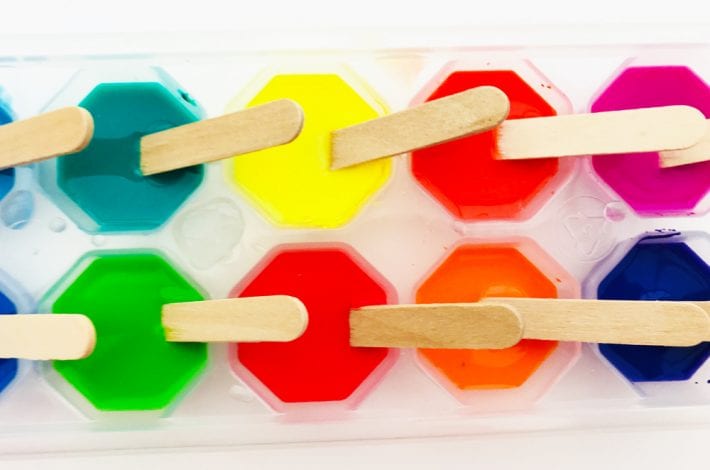
Step 2: Pop in the lolly sticks
Pop a wooden lolly stick in each ice cube mould.
We found little ones in a craft shop but you could just cut larger sticks in half.
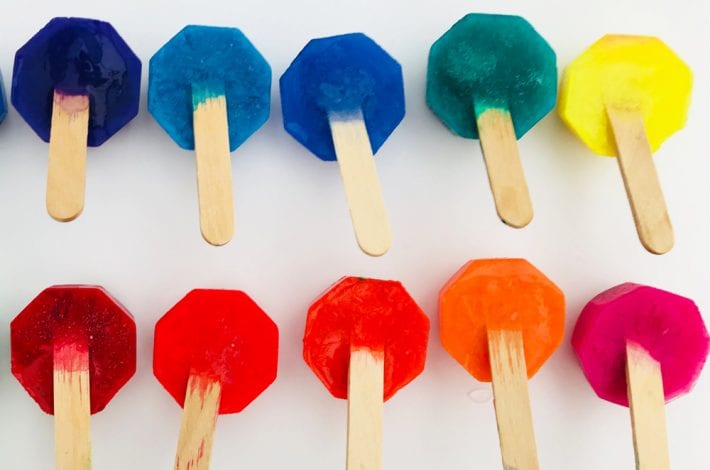
Step 4: Wait for the icy magic
Place your ice cube tray carefully in the freezer and leave overnight.
Here’s what they look like when they comes out.
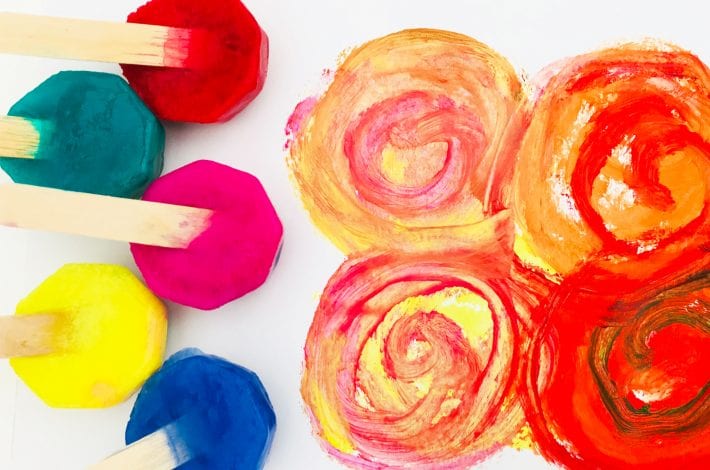
Step 5: Carefully pop out your ice paints
Gently pop out each little ice paint from the tray.
If they don’t want to budge, run the bottom of the tray under a warm tap for a couple of seconds.
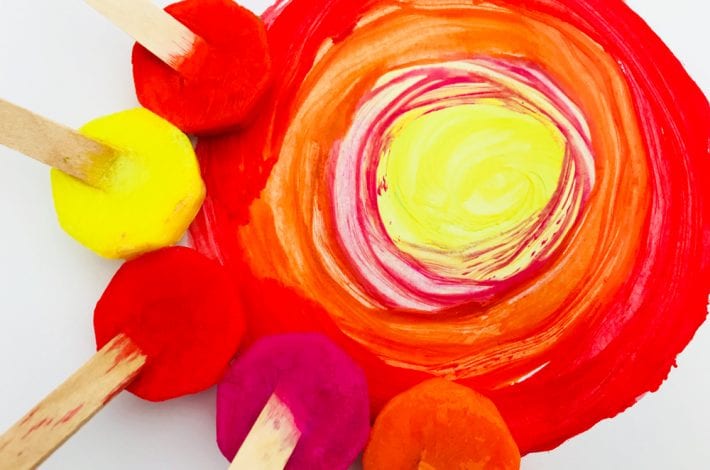
Step 6: Now for the fun bit – Start painting
Try out your ice paints.
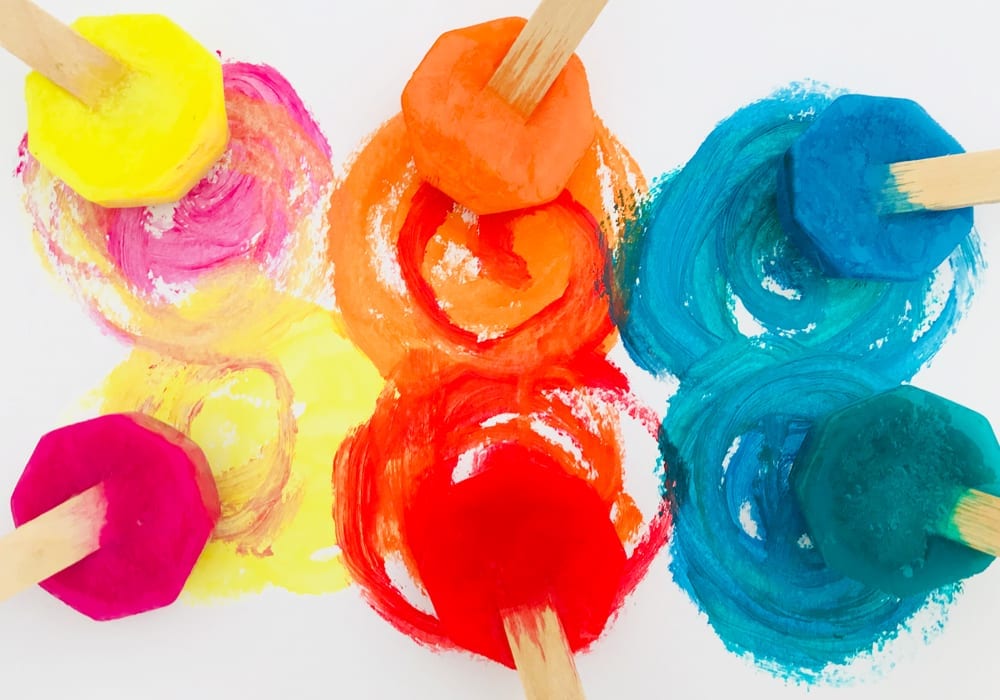
When they first come out they make quite bold lines.
As they melt the colours become more watery and begin to blend into each other.
It’s so much fun trying them out and seeing what kind of patterns and blended colours you can create.
For little ones, this activity is very much about the process rather than the product but the ice paints can make some beautiful pictures too.
We made circles
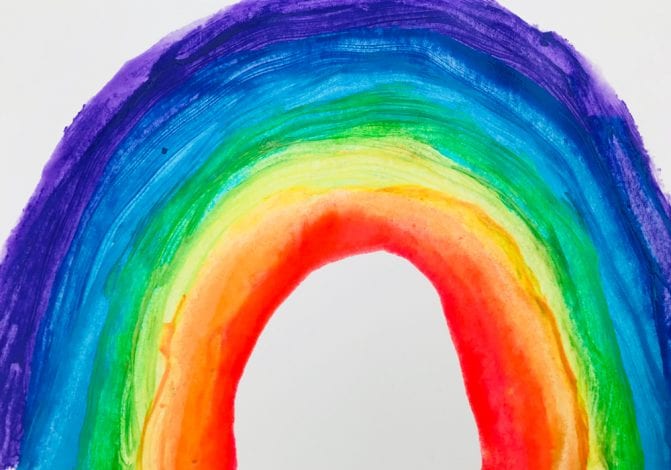
And even a pretty rainbow
Let your creativity flow
