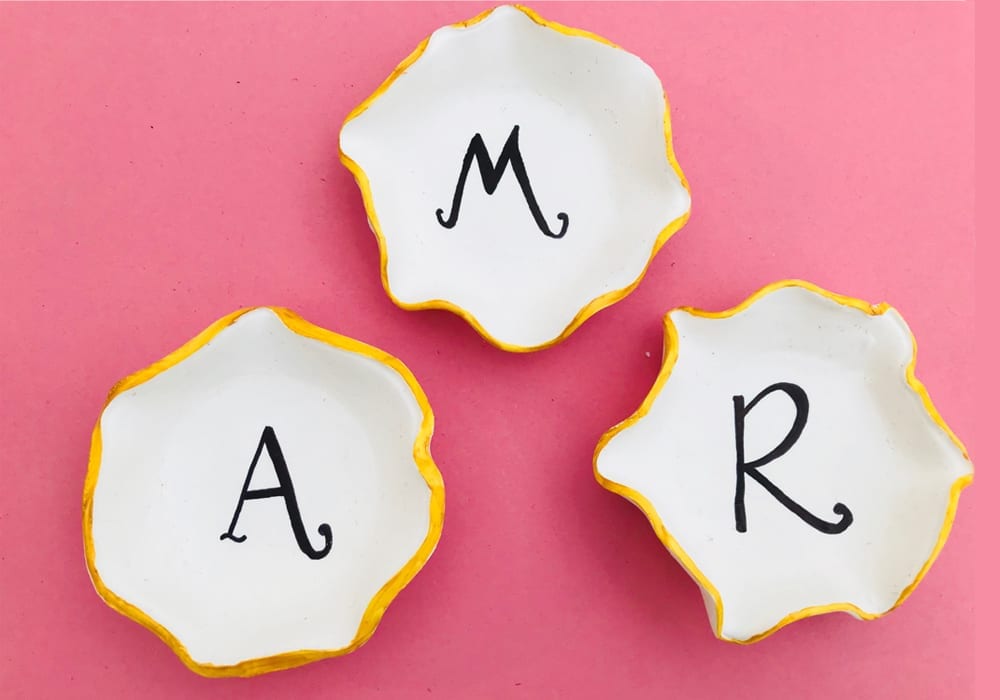
Cut out circles of oven-bake clay and bake them in the oven. Then simply add whichever finishing touches you prefer. It could be some painted edges, or colourful spots and dots.
Draw on your initials with a Sharpie pen to complete your trays and make them personalised.
A great craft for Tweens and Teens to enjoy.
Summary:
Time: 30 minutes
Age: Tweens and Teens
Difficulty: Easy peasy
Step 1: Roll out your clay
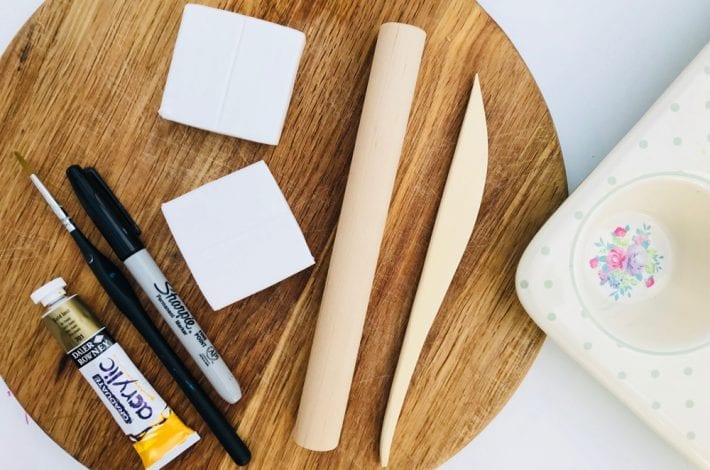
Knead your clay until it’s nice and soft. Then roll it into a ball.
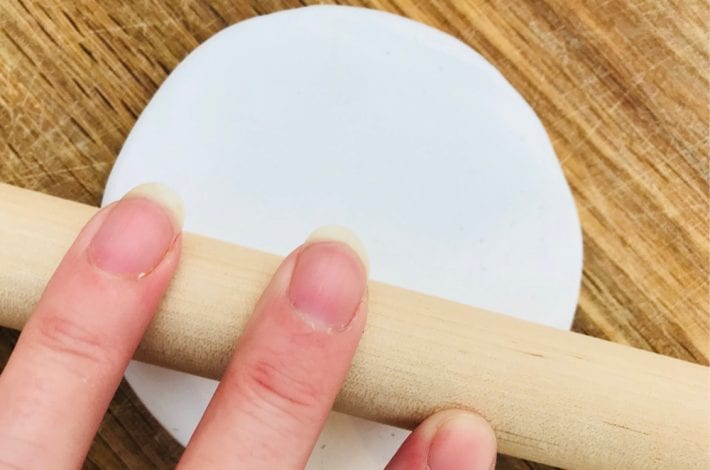
Place the ball on a board and roll it out with a rolling pin.

Step 2: Cut out your circle
Find something circular (such as a small bowl or plate) and use it to cut around to make a nice neat circle of clay.
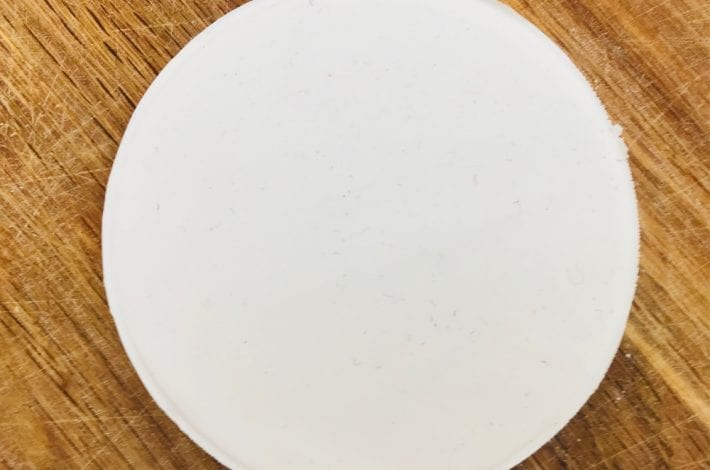
Step 3: You now have a circle of clay
You will now have a nice neat circle of clay that will soon be transformed into your trinket tray.
Carefully remove it from the board.
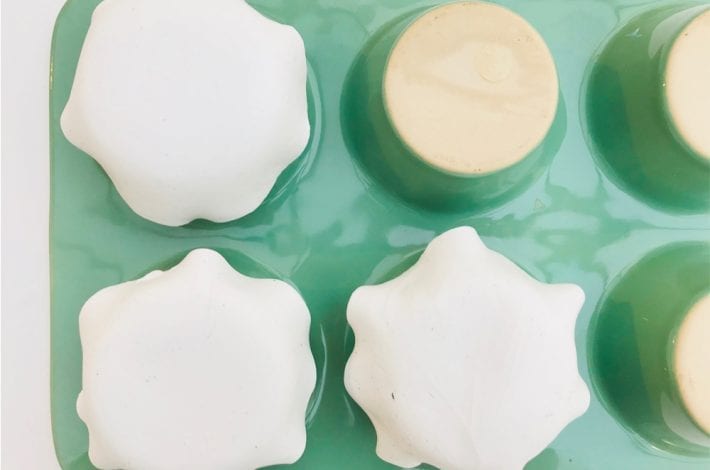
Step 4: Baking time
Take your muffin tray and turn it upside down.
Place your circle of clay over one of the muffin cases. Using your fingers, gently pinch the edges to make them sightly wavy.
Bake your trinket trays in the oven on a low heat for about 20 minutes.
There will be detailed instructions on the packaging of your oven-bake clay, so do check these before you start baking.
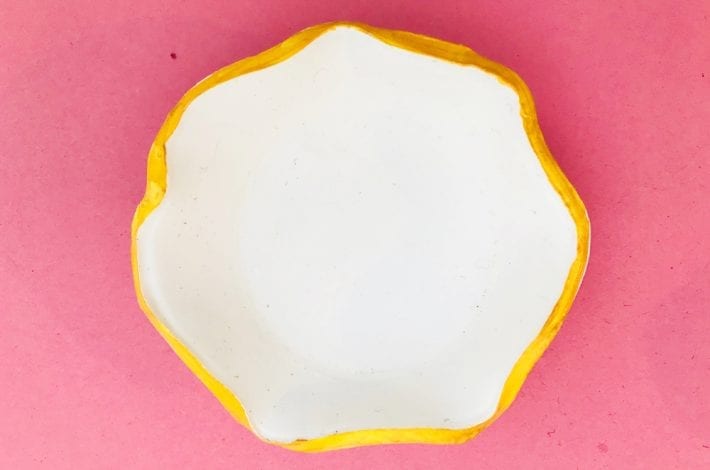
Step 5: Add the golden touch
Once your trinket tray has cooled paint all around the edges with gold paint.
You can use any colour you prefer.
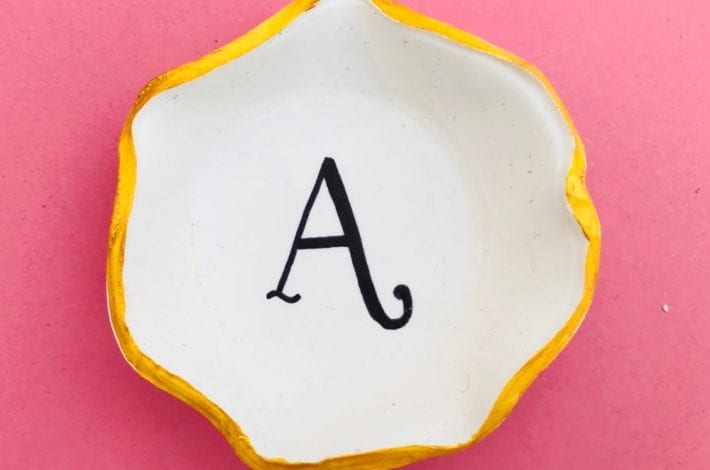
Step 6: Add an initial
To make your trinket tray personal, draw an initial letter in the centre, using a black Sharpie pen.
If you want it to look like calligraphy, you can look up letter fonts that you like.
Practice drawing letters on a sheet of paper first before drawing them on your trinket tray.
You can use your finished tray to put rings, bracelets and earrings in.
It also makes a great personalised gift for family and friends!
This post may contain some affiliate links. This means that if you click to make a purchase that we may earn a small commission at no extra cost to you.