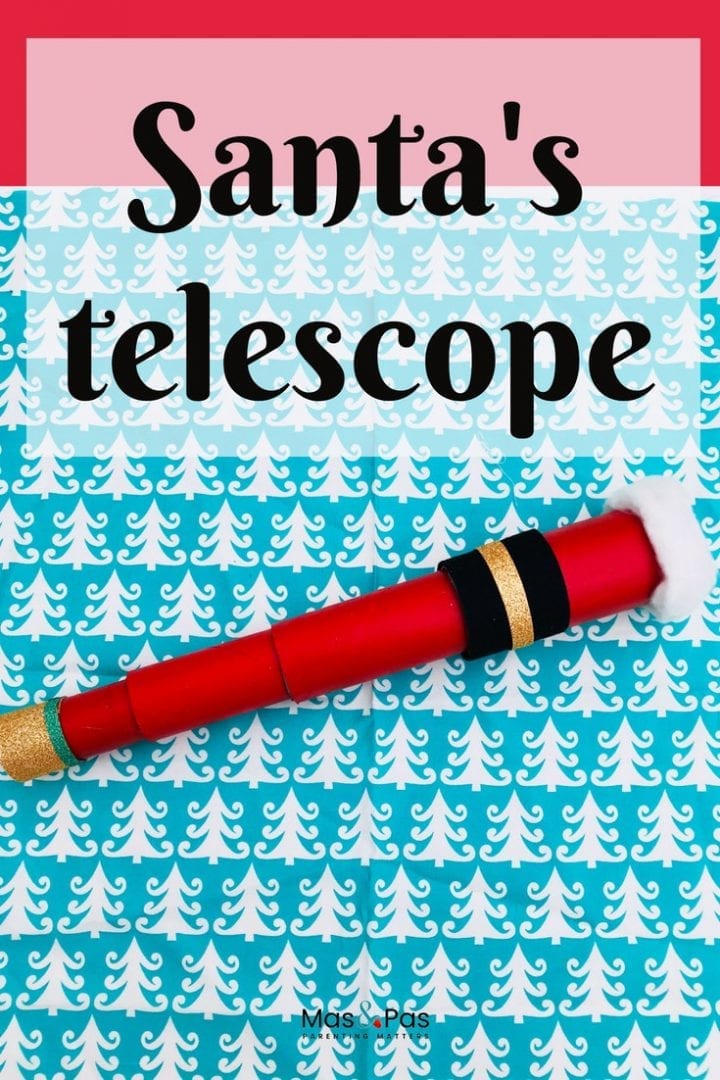
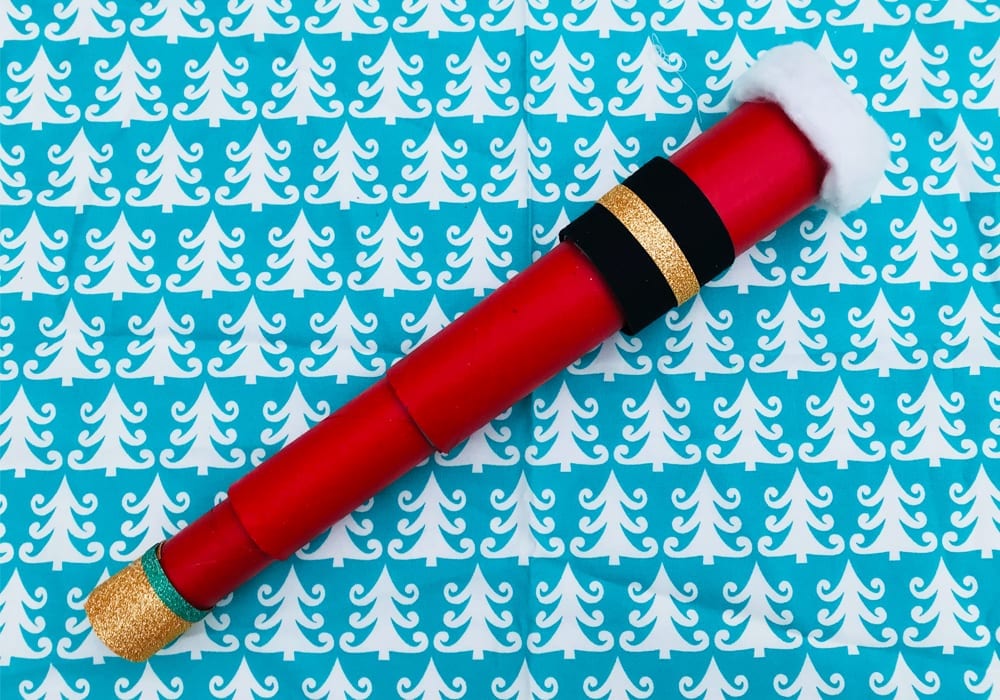
Make Santa a special telescope of your own with this quick and easy Christmas craft for kids. Maybe you can use it to look up into the sky on Christmas Eve and see if you can spot any signs of Santa flying by?
Summary:
Time: 15 minutes
Age: Little kids to big kids
Difficulty: Easy peasy
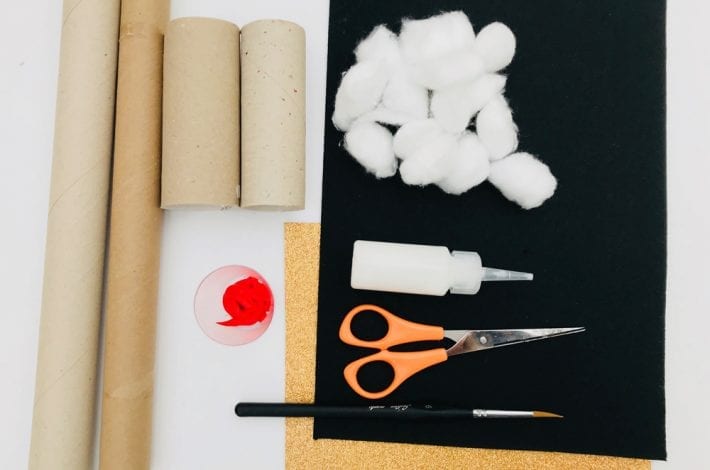
You will need:
- Selection of cardboard tubes
- Red paint – we recommend acrylic paints
- Paint brush
- Scissors
- Black felt or paper
- Gold or glittery card or paper
- Cotton wool
- Glue
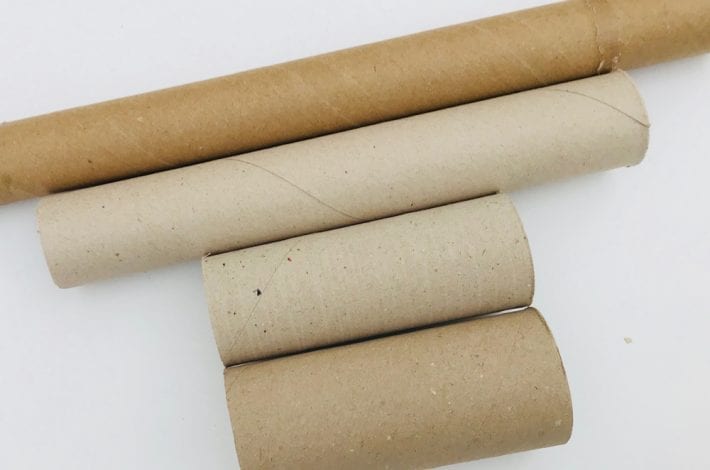


Step 1: Find some cardboard tubes
You can make a simple telescope by using just one long cardboard tube. Or you can make a super duper extending telescope by using 3 or 4 tubes.
Try to find tubes with different widths so they can slide into each other. Don’t worry though if they don’t fit exactly. We’ll show you how to fix that next.
We used a thin tube from some kitchen foil, a long thin tube from a roll of wrapping paper, a fat toilet roll and a slightly thinner toilet roll.
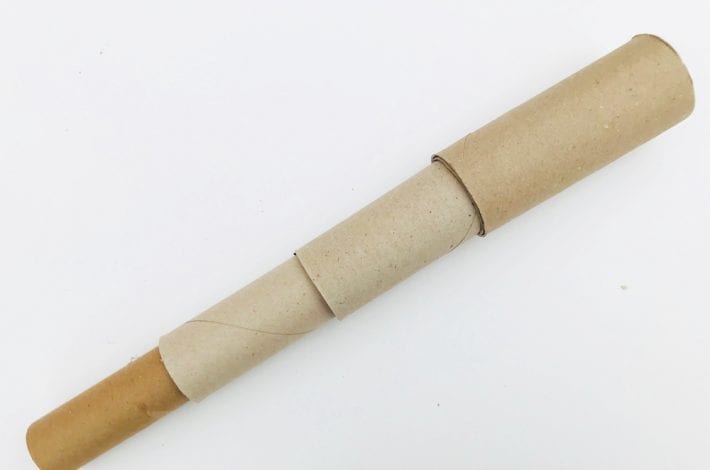


Step 2: Slot your tubes together
Take your thinnest and longest tube. Then slot the next thinnest tube over it, so they are joined together. Then add a slightly fatter tube or two to your telescope.
It’s highly unlikely that all the tubes with slot over one another perfectly. Don’t worry if there are big gaps and your telescope is feeling a bit wobbly right now.
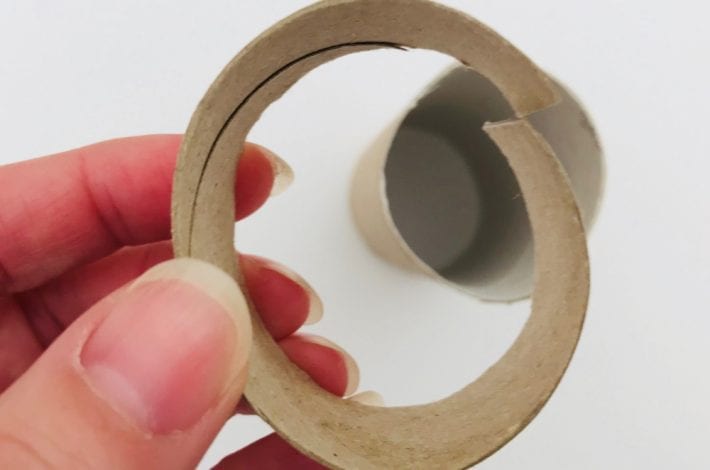


Step 3: How to make your tubes fit together more snugly
If any of your tubes are a bit wide and there’s are big gaps when you slide them onto another tube then don’t worry. You just need to make them narrower by adding strips of card inside. If you do this then all your tubes will fit snugly together and, when your child pulls them to extend the telescope none of them will fall off.
To make sure your tubes fit nicely together you need to add strips of card to the inside rim. Cut a piece off the end of a spare cardboard roll.
Snip it in one place so it is no longer a loop and you now have a ring of card that you can adjust to any size. Wrap this ring of card inside the cardboard tube, and cut it down to size.
You want to get it to the right size to fit just inside your cardboard tube. See the photos we have provided so you know you’re on the right track.
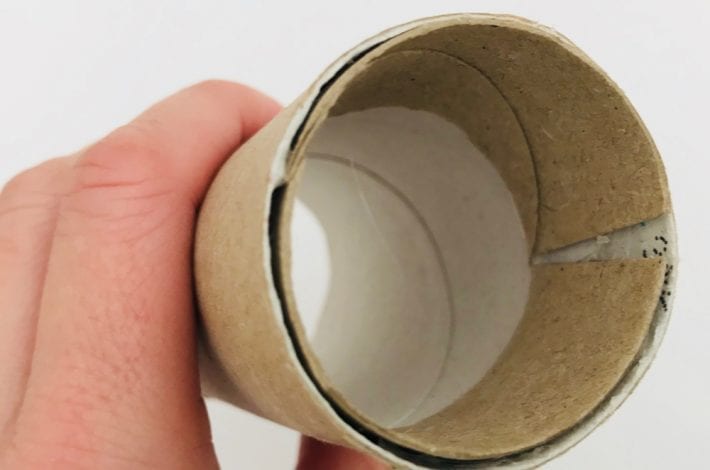


Step 4: Glue the rings of card in place
Spread glue around the inside of the top of your tube. Then stick this new ring of card all round the inside rim.
This makes the tube slightly narrower so it will slot on to another tube more snugly.
Once you have made your tube narrower it should slide onto the other tube snugly, which means that it will not easily fall off when your child extends the telescope.
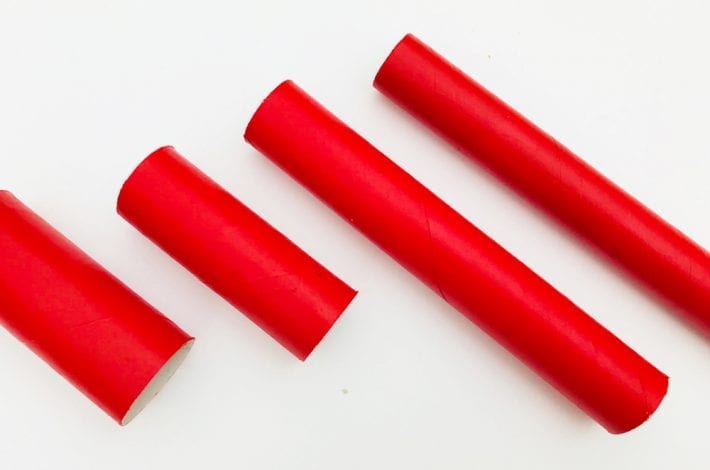


Step 5: Paint your tubes red
Paint all your cardboard tubes in a nice bright red colour.
Acrylic paint covers the cardboard really well and gives a nice glossy finish.
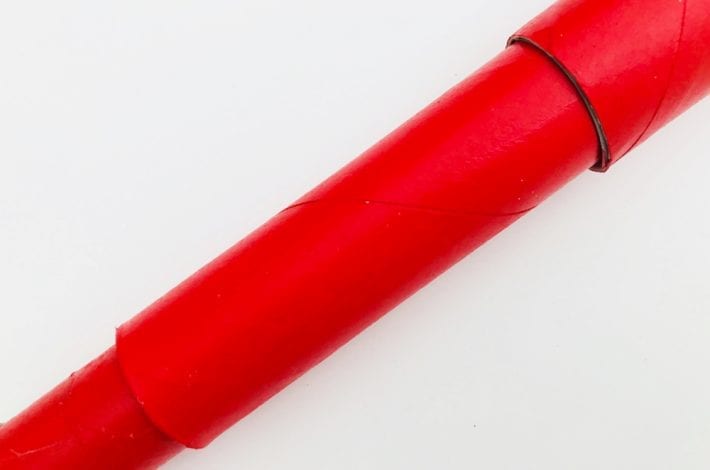


Step 6: Slot your painted tubes together
When all your painted tubes are dry, slot them together to make your telescope. Start with the thinnest tube, slot on the next thinnest and so on until all the tubes are in place.
You should now be able to extend your telescope by moving the tubes forward and make it smaller again by moving the tubes back. Just like a real telescope.
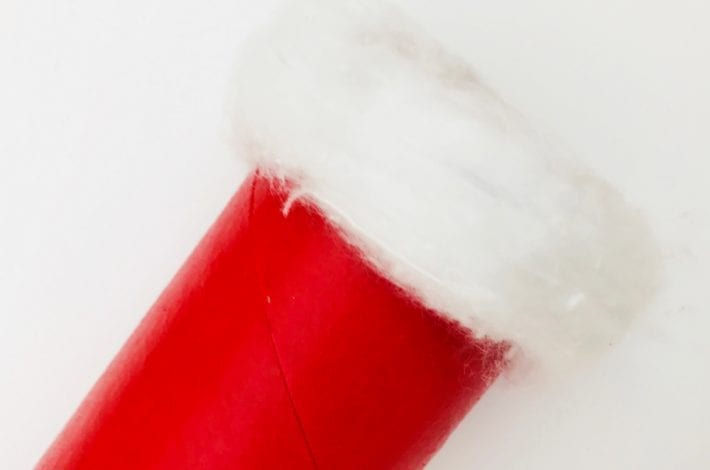


Step 7: Add some cotton wool
Now for the decoration. Spread some glue at the very end of your telescope and stick some cotton wool all the way round. Already it’s looking more like Santa’s telescope.
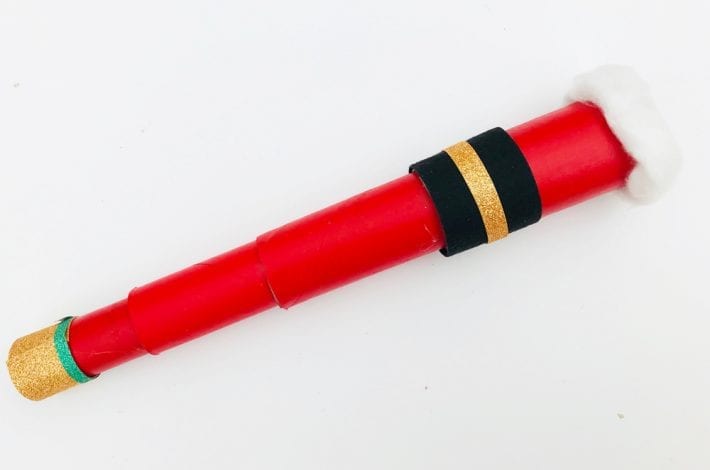


Step 8: Add some finishing touches
It’s really up to you how else you want to decorate your telescope.
We glued a strip of black felt and some glittery gold card around ours, to look like Santa’s belt.
We also glued some gold shiny paper at the bottom of our telescope as an added extra.
What will you spy when you look through your very own Santa telescope?
