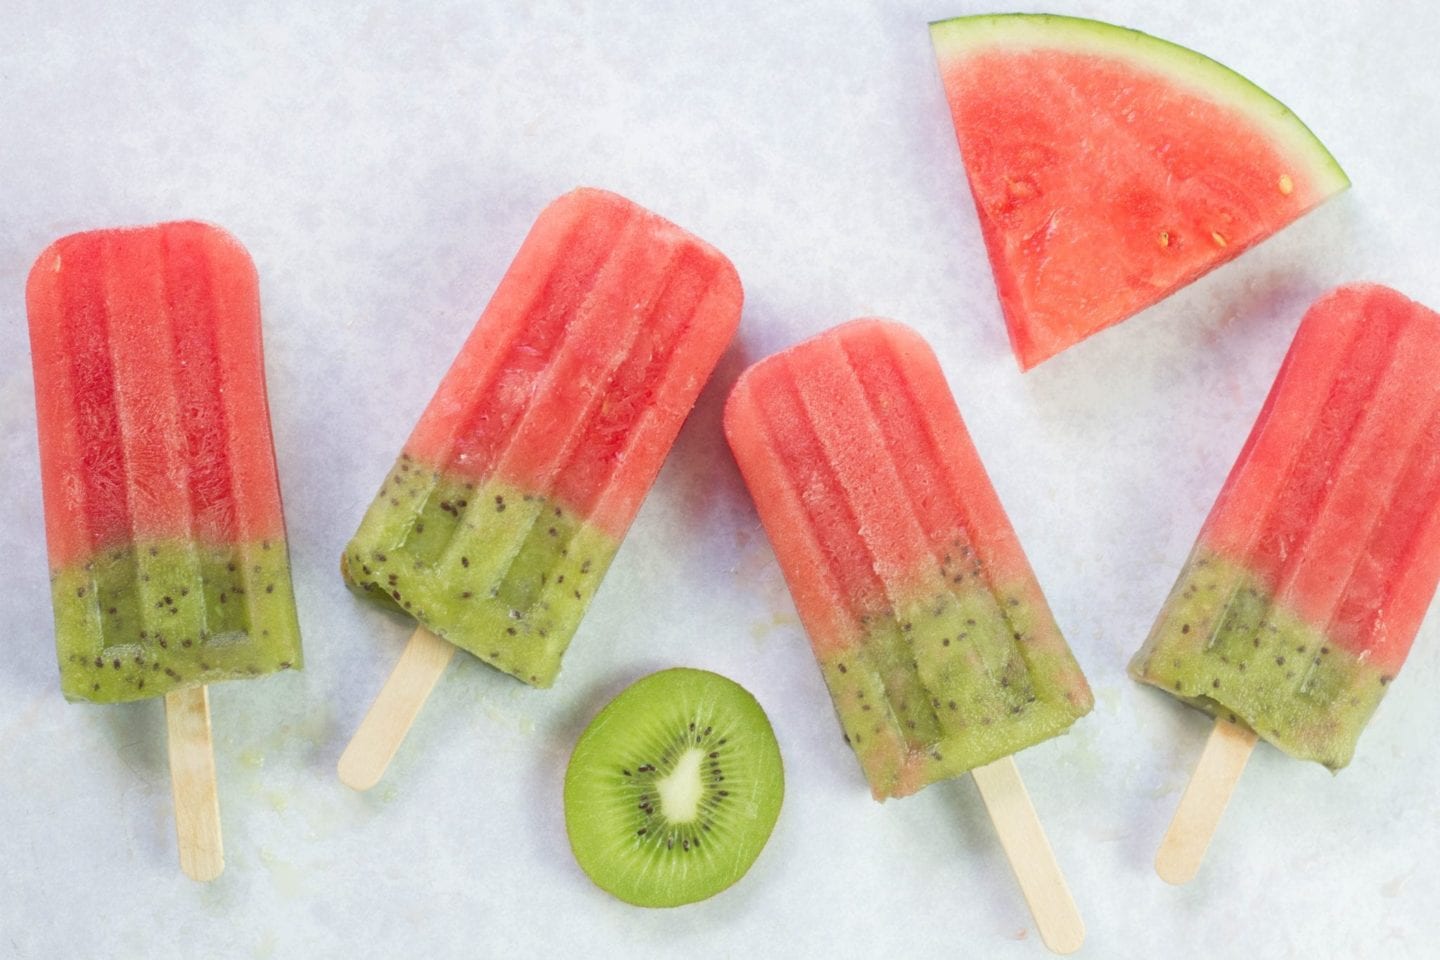
Ice lollies are easy to make, as well as being healthy and refreshing so they tick all the boxes!
And kids love nothing better than lollies in brightly coloured layers. So these kiwi and watermelon popsicles have quickly become one of our favourite ice lolly recipes.
Made with 3 simple ingredients, they’re a healthy, all natural and fun way to enjoy a summer snack!
Summary
Prep: 5 minutes
Freezing: 2 hours or overnight
Ages: Toddlers to Teens
Difficulty: Easypeasy
Makes: 6 ice lollies
Are kiwi watermelon ice lollies vegan?
Watermelon ice lollies can easily be made vegan. We have made ours using honey, but you can replace the honey with maple syrup and they’re completely vegan.
There are no other additives, just the fruits themselves blended with water.
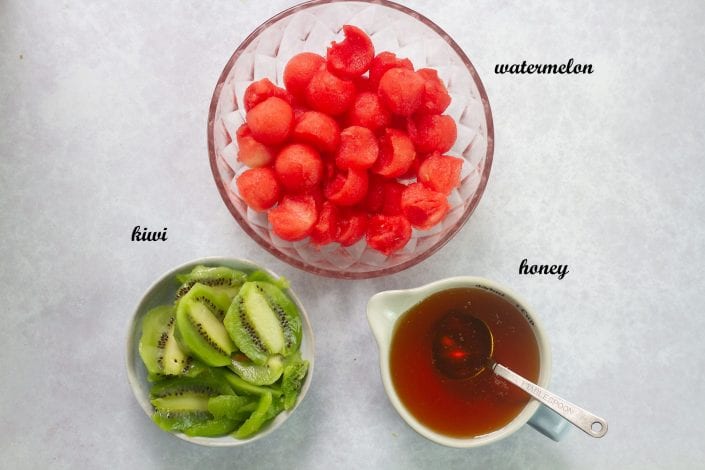
How to make watermelon ice lollies?
Making homemade watermelon ice lollies is very simple.
You simply blend your fruits, one at a time, with your honey or maple syrup.
So for these layered kiwi watermelon ice lollies you would blend the watermelon first with some honey or maple syrup and spoon it into ice lolly moulds and place them in the freezer.
You would then blend the kiwi with the honey and spoon that in over the watermelon layer. And that’s it you’ll have a 2 layered watermelon ice lolly.
Ingredients
Watermelon layer
- 320 grams watermelon – pips removed
- 1 tbsp honey or maple syrup
Kiwi layer
- 180 grams kiwi
- 2½ tbsp honey or maple syrup
Instructions
- Remove the seeds of the watermelon and blend with your honey or maple syrup in a food processor until smooth.
- Take your 6 ice lolly moulds and pour the watermelon mixture into each one, filling them until they are about ⅔ full.
- Place them in the freezer for 30 minutes or more, until slightly firm.
- Rinse your mixer and then blend the kiwi with your honey or maple syrup, to make the second layer.
- When your ice lollies are ready, remove them from the freezer and pour in the remaining third of the height with the kiwi mixture.
- Pop the sticks in the ice lollies, and the tops on and freeze for 2 hours or overnight.
Kiwi watermelon popsicles – our step by step guide:
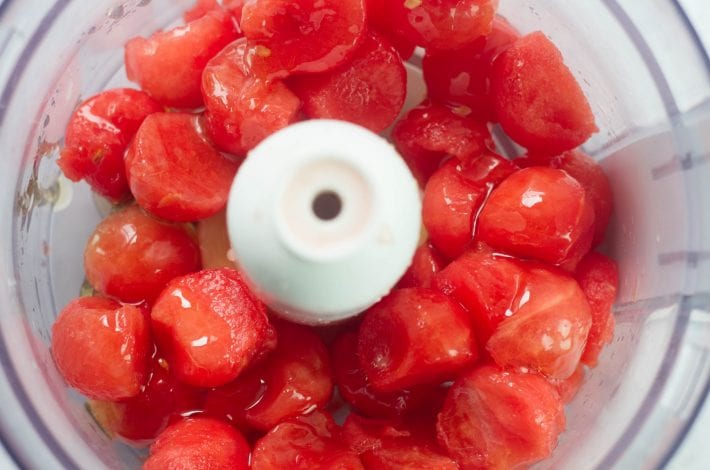
Blend your watermelon with honey
Remove any seeds from your watermelon pieces.
Place in a blender with your honey or maple syrup.
Blend until smooth.
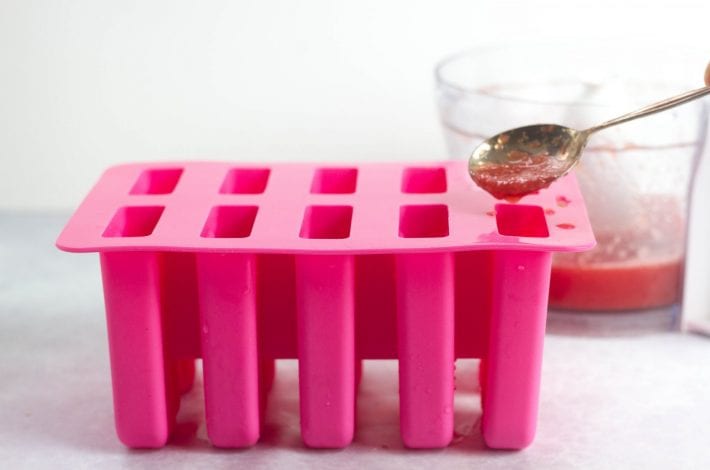
Pour your watermelon layer into the ice lolly moulds
Either pour or spoon the smooth watermelon mixture into your ice lolly moulds until they are two thirds full.
Freeze for 30 minutes or longer if needed, until the mixture is a bit firmer (no longer completely liquid).
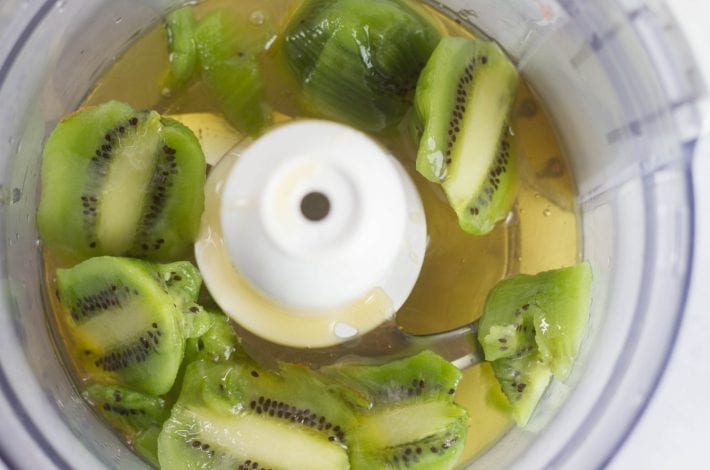
Blend your kiwi
Mix your kiwi slices with your honey or maple syrup and blend until smooth.
We like to keep the seeds in so we didn’t sieve the mixture, we left it as it is.
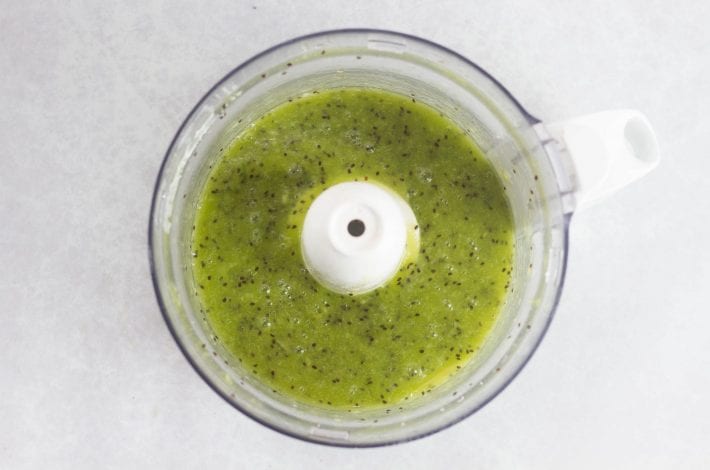
Pour the kiwi layer into the popsicle moulds
Pour or spoon the kiwi layer into the moulds, to make up the last third of the ice lolly.
Freeze for 2 hours or overnight and your kiwi watermelon popsicles are ready!
Let them thaw for a moment and then wriggle them free from the moulds.
Enjoy a healthy and refreshing summertime snack!
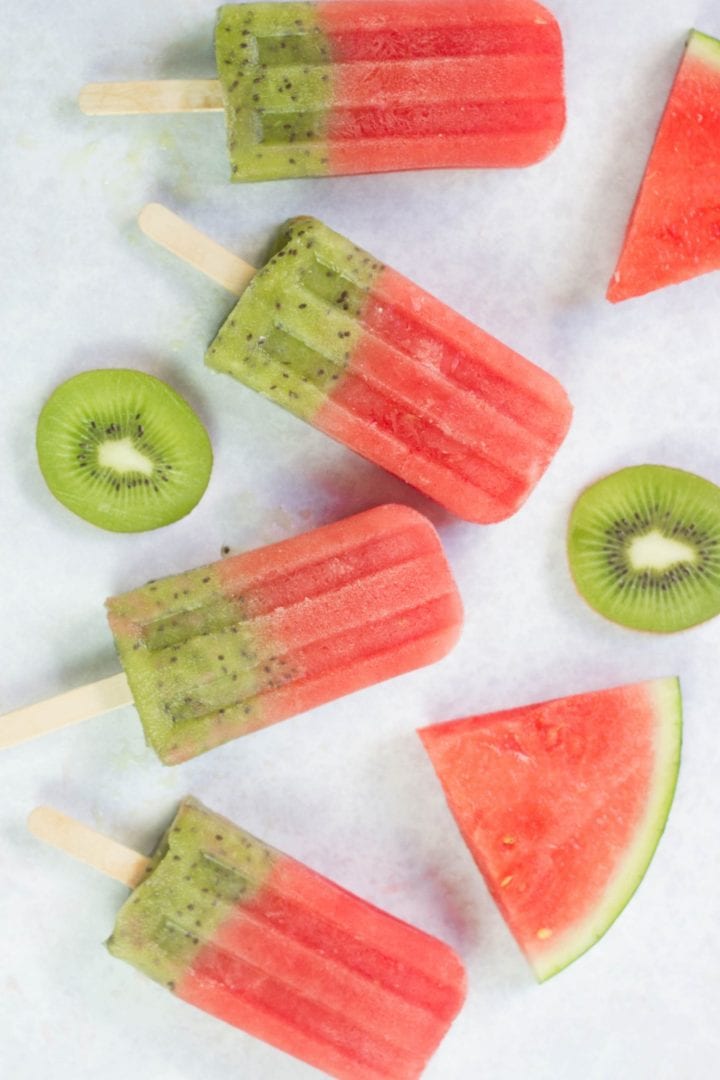
Kiwi watermelon popsicles
Ingredients
Watermelon layer
- 320 grams watermelon pips removed
- 1 tbsp honey or maple syrup
Kiwi layer
- 180 grams kiwi
- 2½ tbsp honey or maple syrup
Instructions
-
Remove the seeds of the watermelon and blend with your honey or maple syrup in a food processor until smooth.
-
Take your 6 ice lolly moulds and pour the watermelon mixture into each one, filling them until they are about ⅔ full.
-
Place them in the freezer for 30 minutes or more, until slightly firm.
-
Rinse your mixer and then blend the kiwi with your honey or maple syrup, to make the second layer.
-
When your ice lollies are ready, remove them from the freezer and pour in the remaining third of the height with the kiwi mixture.
-
Pop the sticks in the ice lollies, and the tops on and freeze for 2 hours or overnight.

