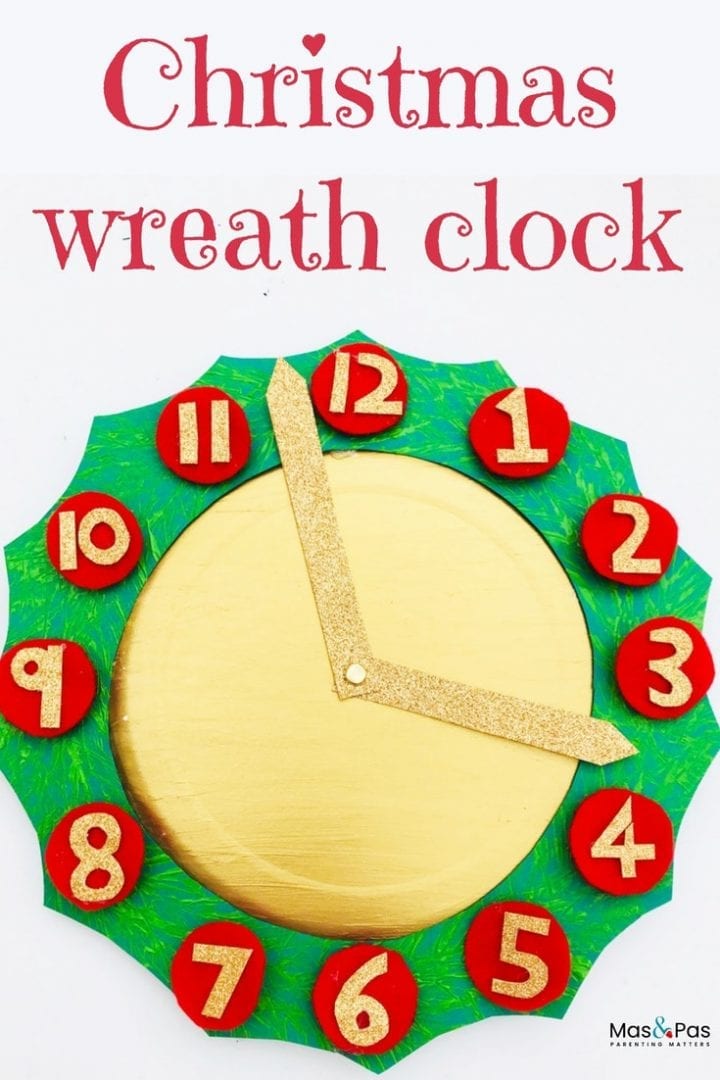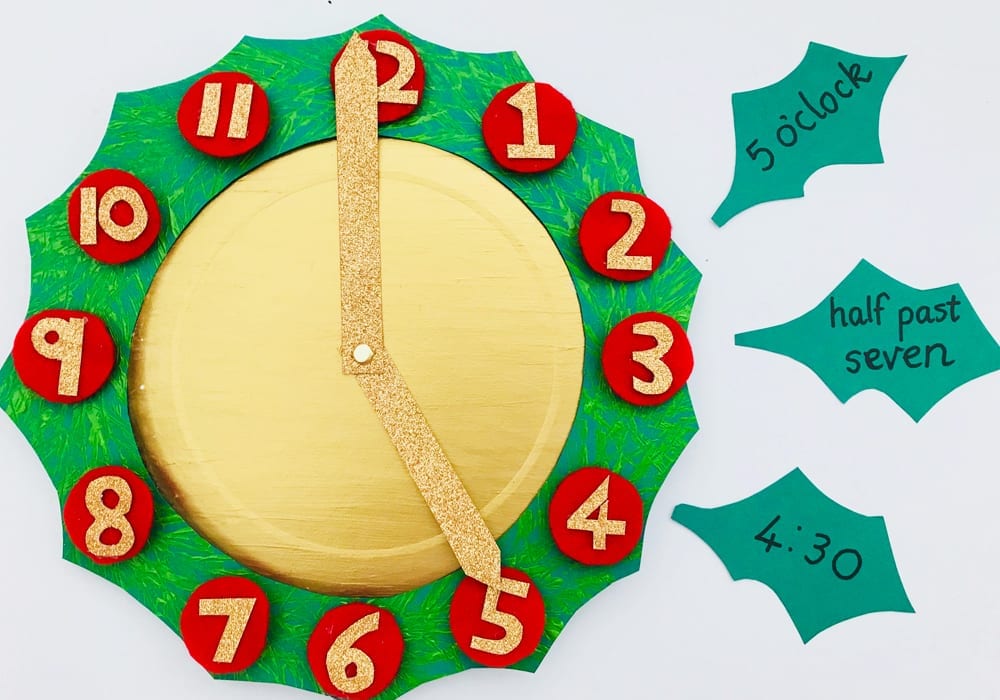

They can move the clock hands around the clock face to tell simple times, such as o’clock and half past. What can be a tricky concept, becomes easier to learn when broken up into smaller chunks.
And they might even enjoy counting down the hours until bedtime on Christmas Eve with their new-found skills!
Summary:
Time: 15 minutes
Age: Big kids
Difficulty to make: Easy peasy
Skill: Telling the time
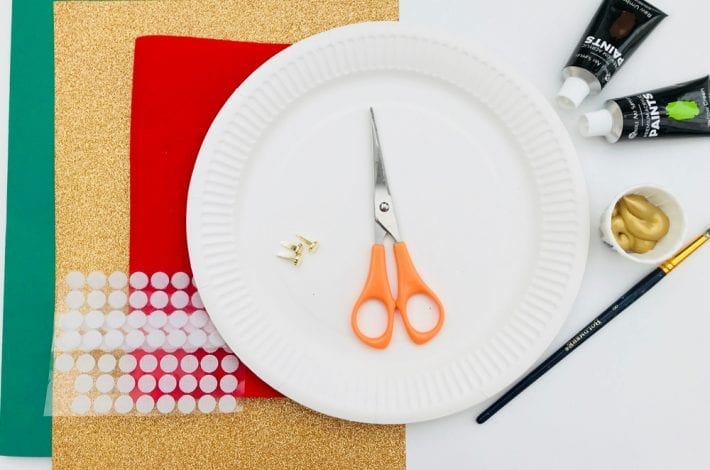

You will need:
- Paper plate
- Green card
- Light green paint – we recommend acrylic paints
- Gold paint – we recommend acrylic paints
- Gold glittery card
- Red felt
- Velcro sticky dots (or a strong glue)
- Butterfly pin
- Scissors
- Glue
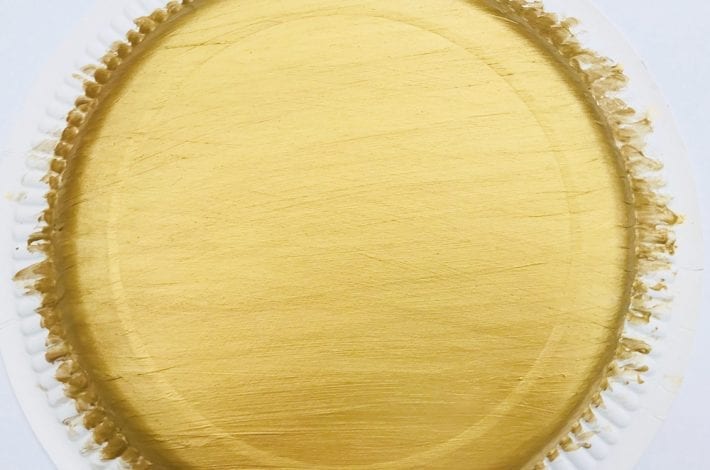

Step 1: Paint the middle of your paper plate
Turn over your paper plate and paint the middle in a great festive colour.
We chose gold and used 2 coats of acrylic paint to get a nice finish.

Step 2: Make a wreath border
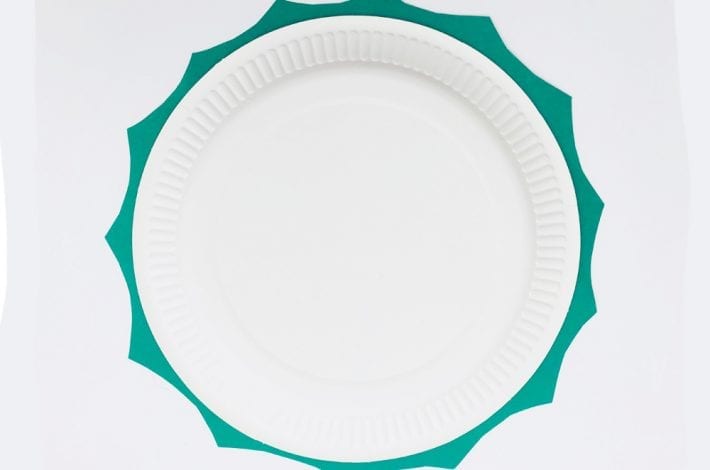
Take a piece of green card and place your plate on top of it.
Now cut a circle of card, slightly larger than your plate. Cut a curved edging round the outside of your circle, to make it look a bit like the edges of a holly leaf (see photos).


Step 3: Cut out the centre of your circle
Now remove the plate and cut out the centre of your green circle.
You will be left with a shaped ring that will be the background of your wreath.

Step 4: Make your printing tool
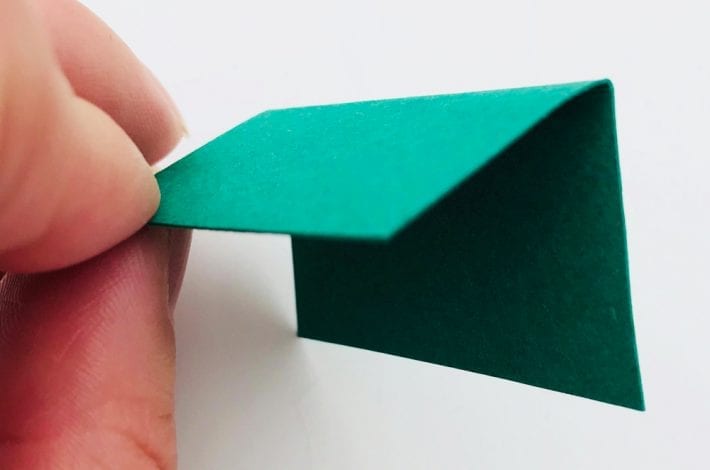
Cut a small rectangle of card and fold it in half.
This will be what you use to print paint onto your wreath, making lots of little ‘v’ shapes.
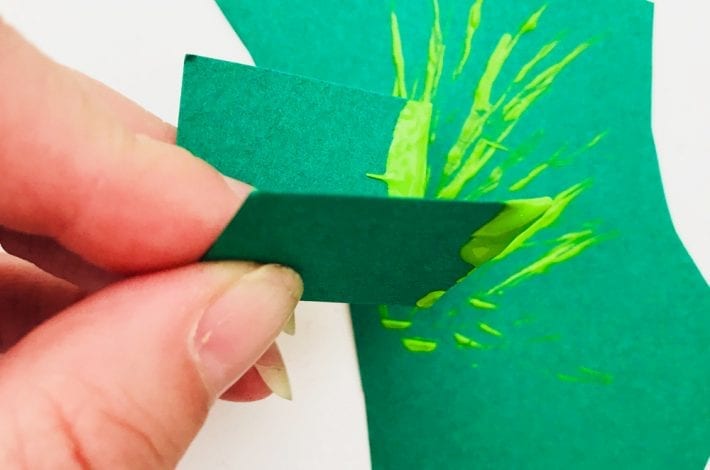

Step 5: Start printing
Dip your printing tool in green paint and print all over the wreath.
It will start to look like pine cone needles.
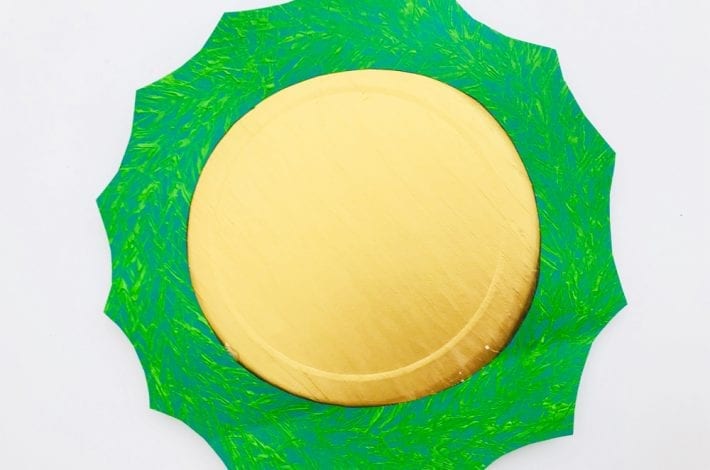

Step 6: Glue your wreath onto your plate
Now glue your printed wreath onto your plate, sticking it down evenly around the rim.

Step 7: Make the clock numbers
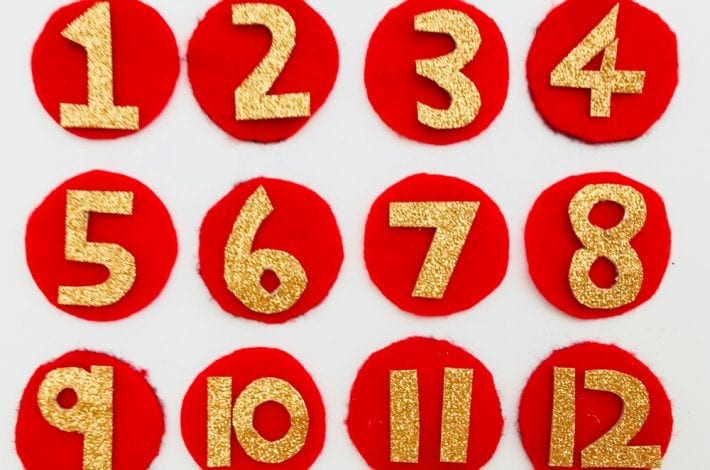
Draw around a circular shape (such as a coin) and then cut out 12 red circles of felt.
To add the numbers to each felt shape you can simply draw them on with a Sharpie, or with thick coloured glitter glue. Or you can cut out numbers from glittery card and stick them on, as we have done.

Step 8: Make your clock hands
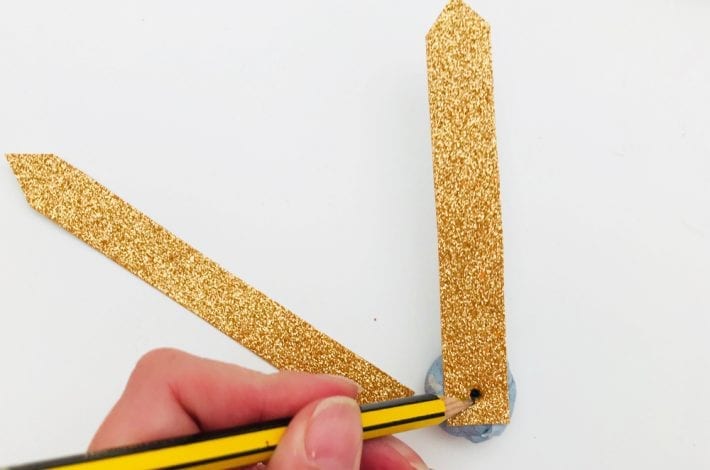
Cut one big and one smaller clock hand from glittery card.
Place a blob of blue tac or plasticine underneath the ends and use a pencil to poke a hole in the bottom of each hand. Use a butterfly pin to fix the hands in place in the centre of your clock.

Step 9: Add some velcro dots
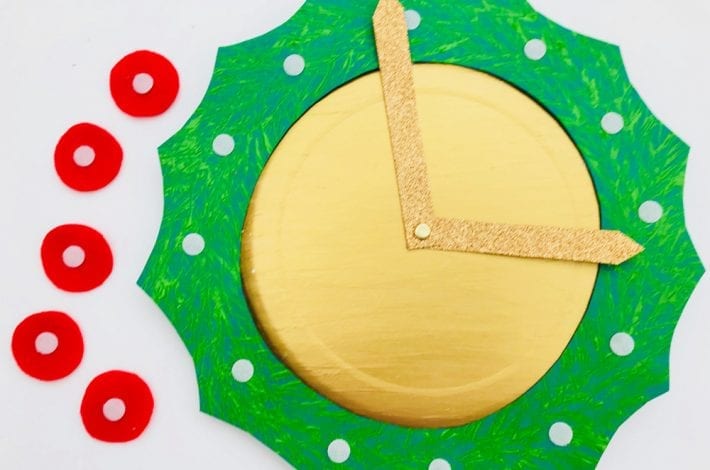
Stick velcro dots around your wreath where the 12 numbers of the clock will go.
It helps to start with where the 12, 3, 6, and 9 will go and then to fill in the gaps for the remaining numbers. Stick the other halves of the velcro sticky dots onto the back of your red felt number discs.
If you don’t have velcro dots you can use a strong glue to stick them in place. You just won’t be able to remove and add them back over and over again.

Learning the hours activity: where do the clock numbers go?
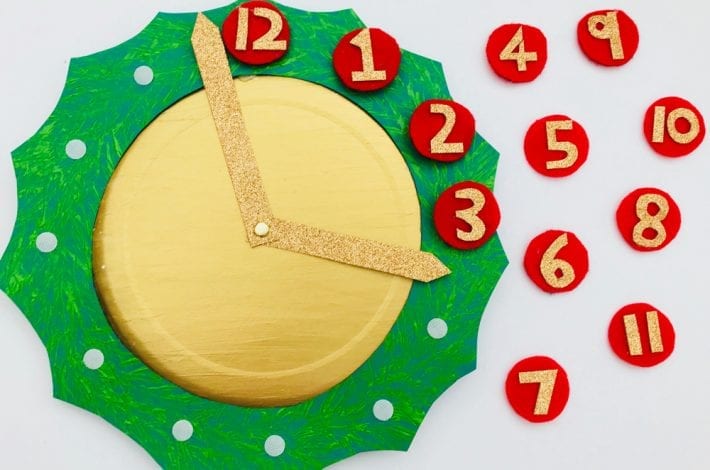
Place all 12 felt discs on a table and ask your child to put them in the right place around the clock face.
You can help them by telling them that the 12 goes at the top and then they need to count from 1 to 11, placing on the other numbers.
Because the numbers are all easy to put on and pull off your child can practice putting them in the right place again and again until they become familiar with the clock face.
Learn the minutes activity
To extend the activity you can then tell your child that each number also represents 5 minutes for the big hand.
Ask them to count around the clock in 5’s. For example, you point to the number 1 and they say 5 minutes, to the number 2 and they say 10 minutes, to the number 3 and they say 15 minutes, and so on until they become comfortable with it.
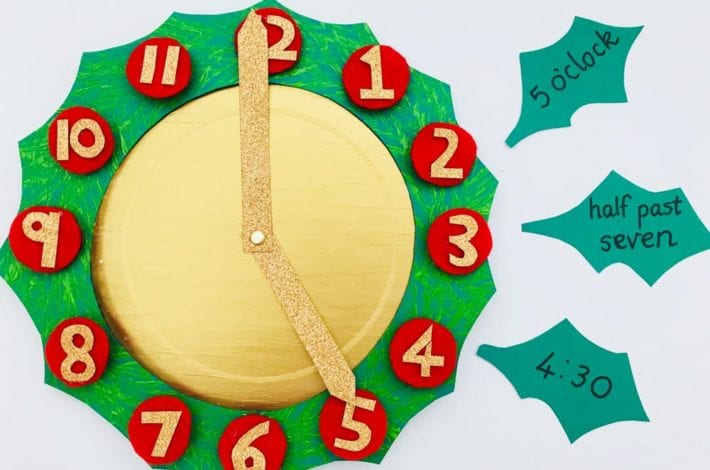

Telling the time game – Making the clock tell different times
You can cut out little holly shapes from card with lots of different times for your child to make on their clock.
Start by asking them to move the clock hands to make lots of o’clock times.
When they have practised lots of ‘o’clock’ times, you can show them how to move the hands of the clock to show half past, quarter past and quarter to each hour.
Teach telling time with this beautiful Christmas wreath clock and make it so much fun!
