When the end of October is fast approaching, children start getting in the mood for witches, wizards, ghosts, bats and pumpkins. Why not enjoy this quick and easy Halloween craft for kids! It’s takes not time at all and helps them create a beautiful masterpiece that they will be proud of.
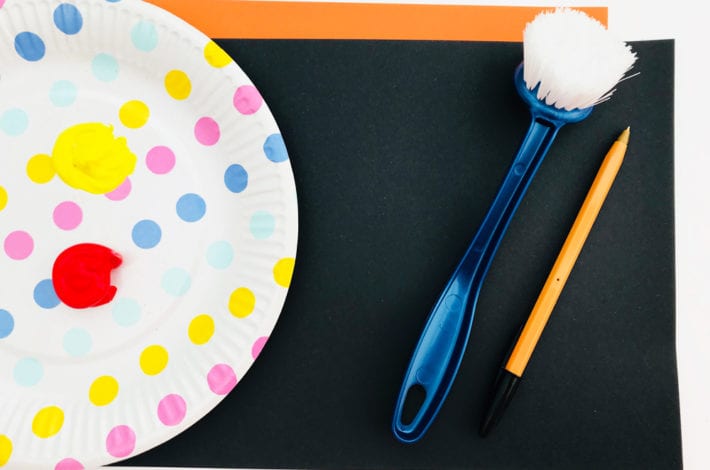
What you need:
- Black card
- Coloured card
- Red and yellow paint
- Washing up brush (or sponge)
- Scissors
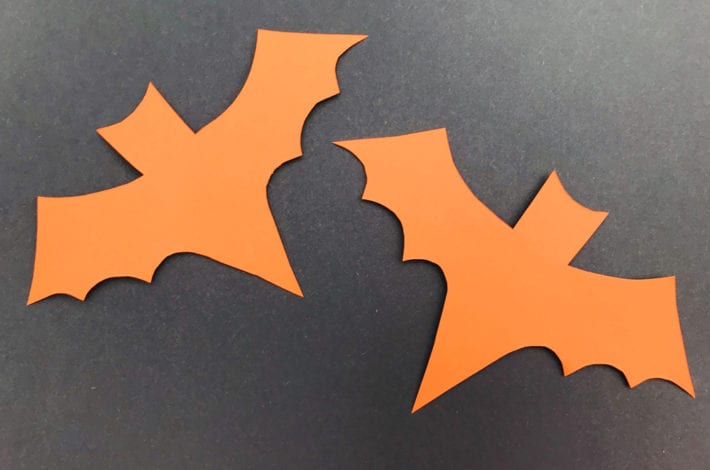
Step 1: Cut out some bat shapes
Cut out two bat shapes from a piece of card. If you are doing this craft with toddlers then you can do this bit for them. Older kids might like to draw and cut out their own. Place your bats on a piece of black card.
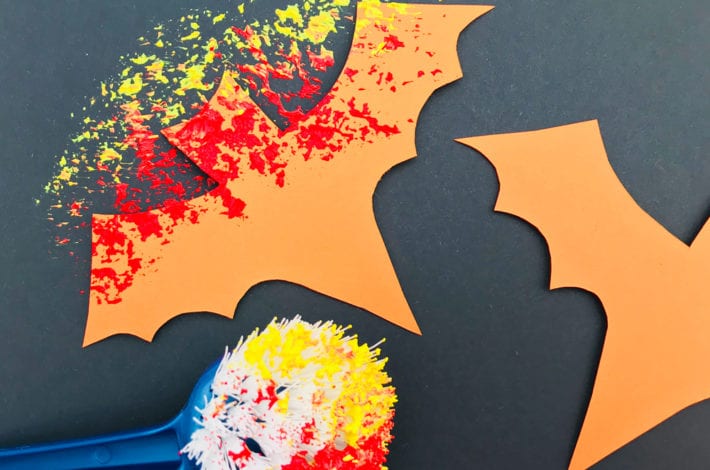
Step 2: Dip and print
Dip your washing up brush into the red or yellow paint and start making prints. Use your fingers to keep the bats in place and print all the way round them. You can dip into both the yellow and red paints and, as you print, the colours will merge to form lovely orange prints too.
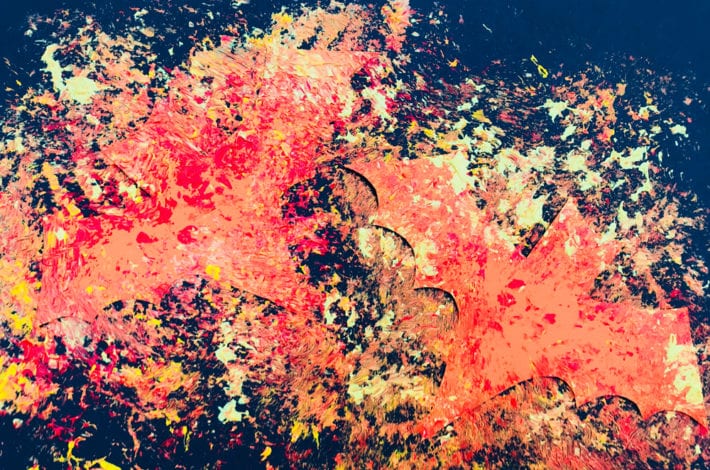
Step 3: Keep printing
Keep printing until all the outlines of your shapes have been covered. Don’t worry if you print all over the bat shapes too.
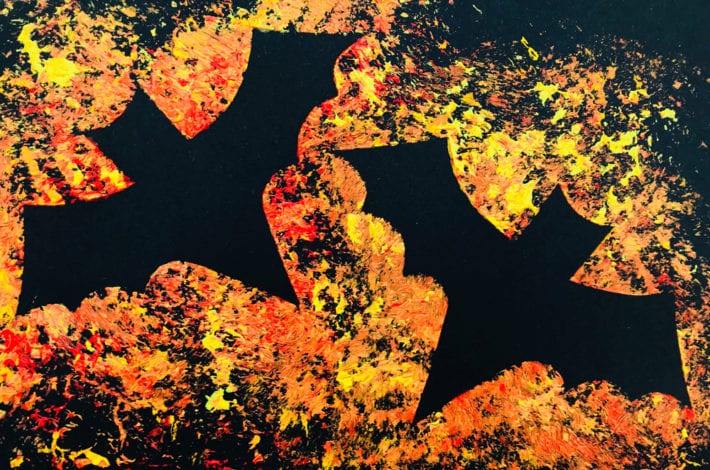
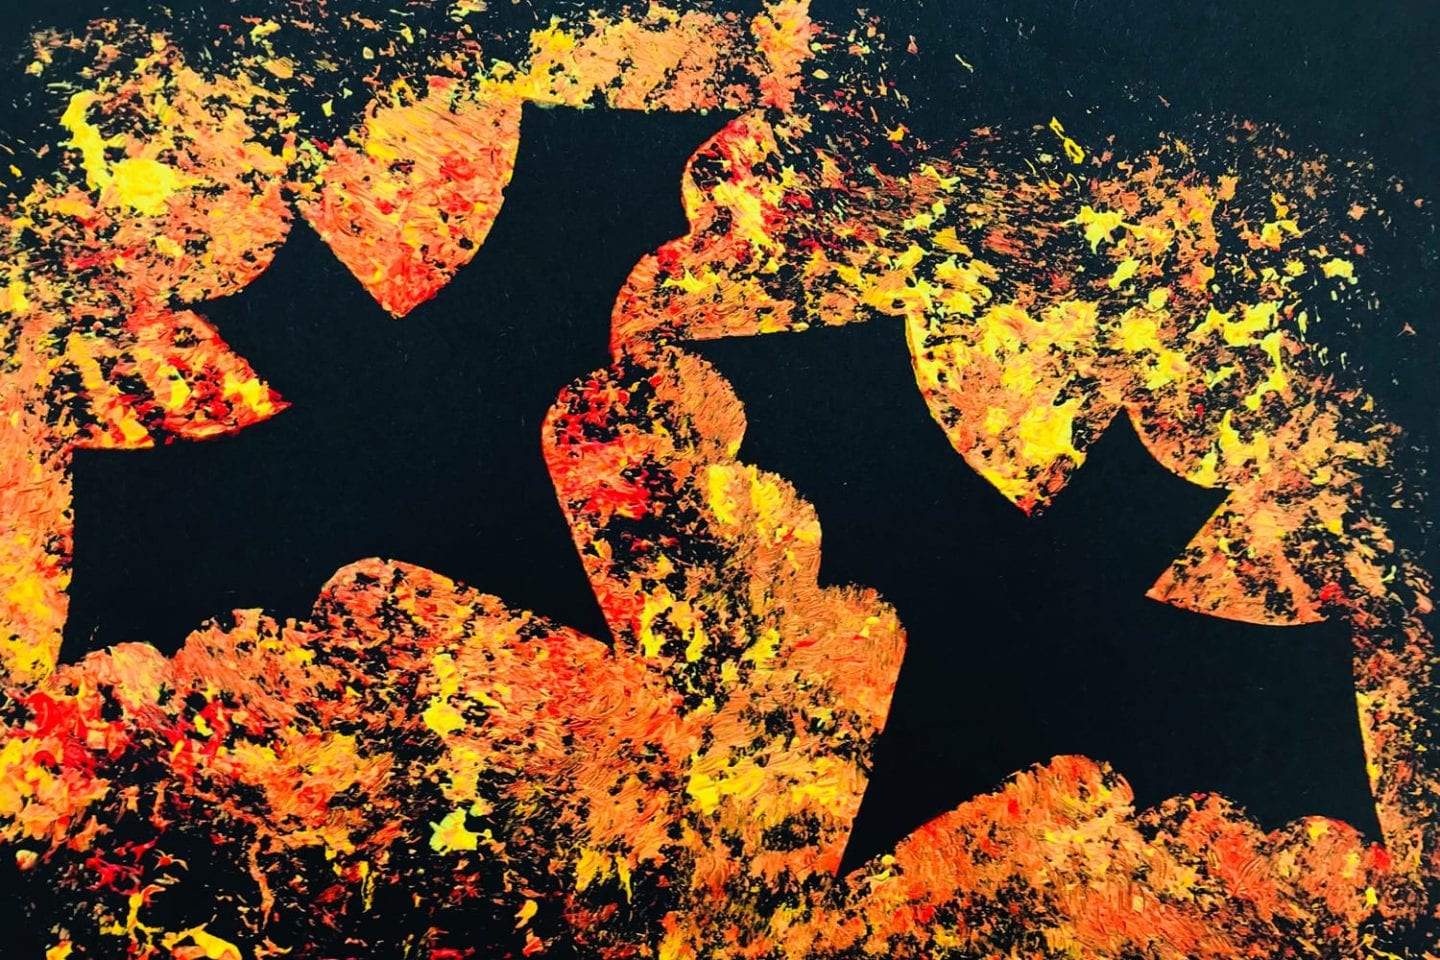
Step 5: Let your bats fly
Carefully take away the bat shapes to reveal your masterpiece.