What you need:
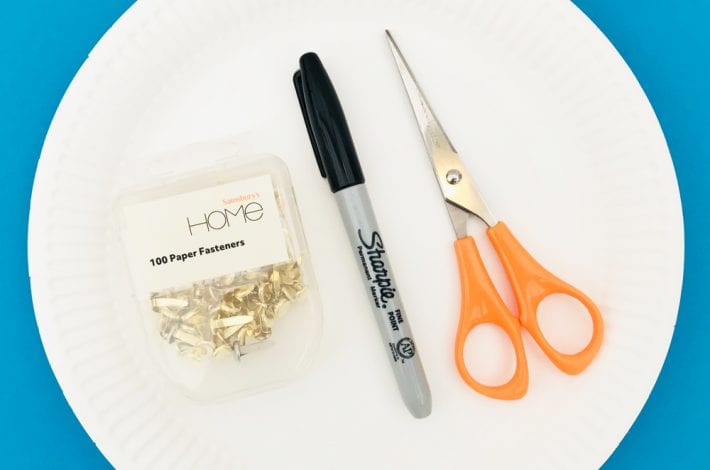
- Paper plates (at least 2)
- Paper fasteners
- Felt-tip pens
- Scissors

Step 1: Cut out a window
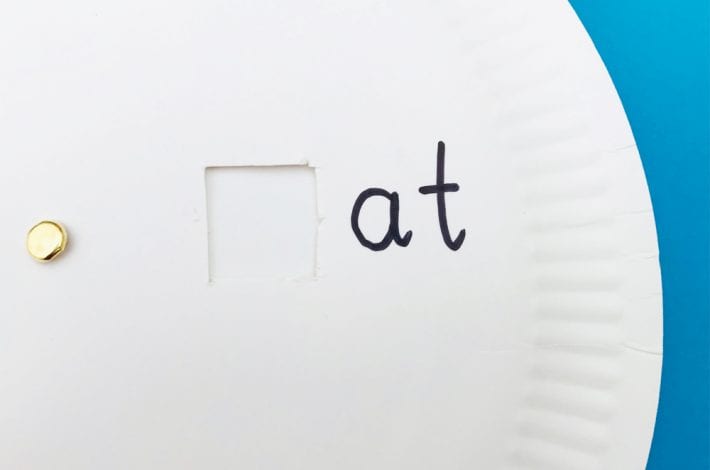
Take one paper plate and cut out a small square (about 1cm by 1cm) about an inch away from the centre.
Step 2: Fix two plates together
Place two paper plates together and place a paper fastener through the centre. Fold out the two wings of the pin at the back to secure in place.
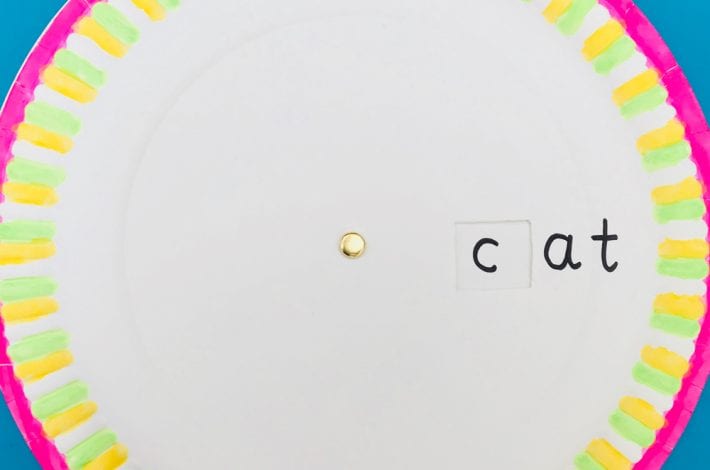
On the top plate, next to your cut out square, write your rime. These are the two letters that will form the end of each rhyming word. On this wheel we have written the letters ‘at’. Use lower case letters.
Step 3: Add the first letters
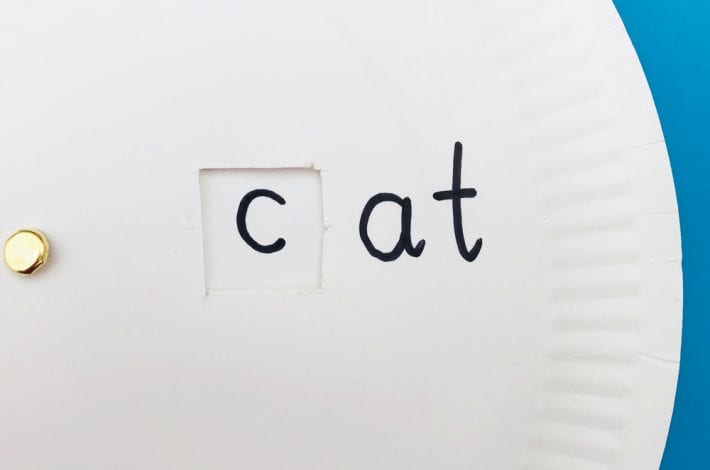
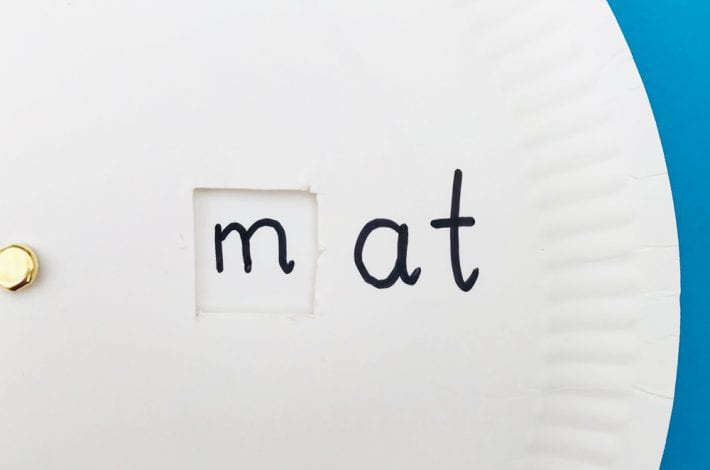
Level out the cut out square and the rime letters you have written (‘at’). Now write an initial (onset) letter in the box. We wrote a ‘c’. You will be writing this letter on the bottom plate, using the cut out square as a guide as to where to write.
Step 4: Spin the wheel
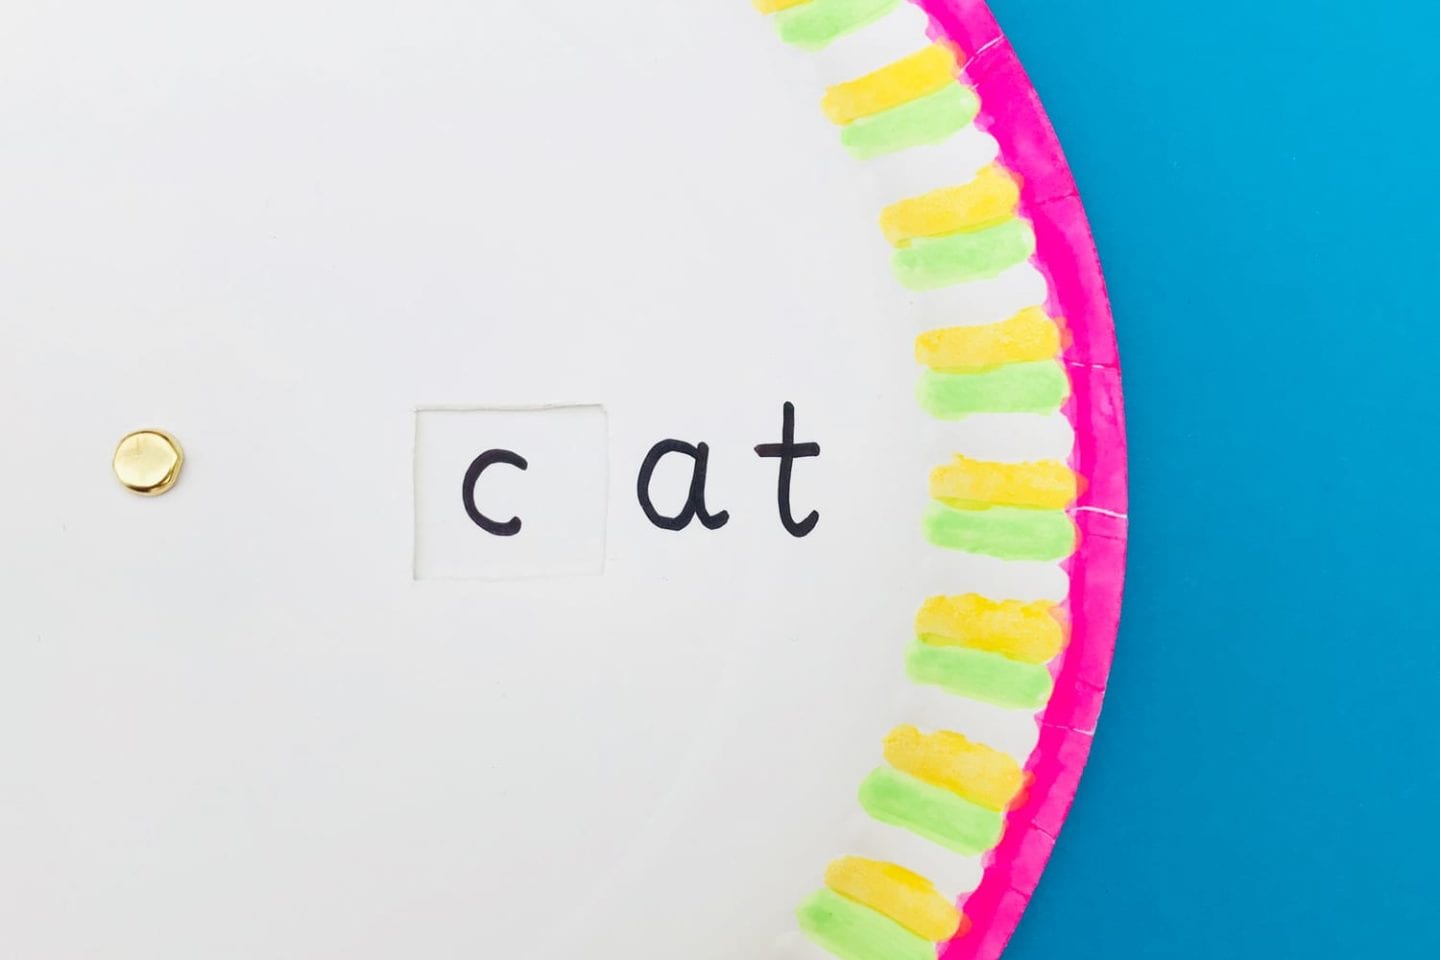
Now spin the bottom wheel until the ‘c’ disappears and write another onset letter in the cut out box. Continue spinning the wheel and writing letters until you see your first letter (‘c’) appear in the cut out square again. For these rhyming words we wrote the letters c, s, m, f, b, h, r and p to make the words cat, sat, mat, fat, bat, hat, rat and pat when the wheel was spun.
Step 5: Time to play
Now it’s time to play. Ask your child to spin the wheel until a letter appears in the window. Help them blend the beginning letter and the rime to make new words. We decorated our wheel by colouring in the edges to make it look prettier but this is just an extra flourish.
More rimes to try
You can make different wheels for different rhyming words. Rimes to try include: -et, -ot, -op, – ot, -at, -ut, -an, -ig, -ab, -ag, -ack, -ap, -am, -ad, -ake, ate; -ed, -en, -ell, -eck, -eel, -est, -id, -ill, -ig, -ick, -ip, -ide, -ike; -ock, -og, -oat; -ug, -uck

