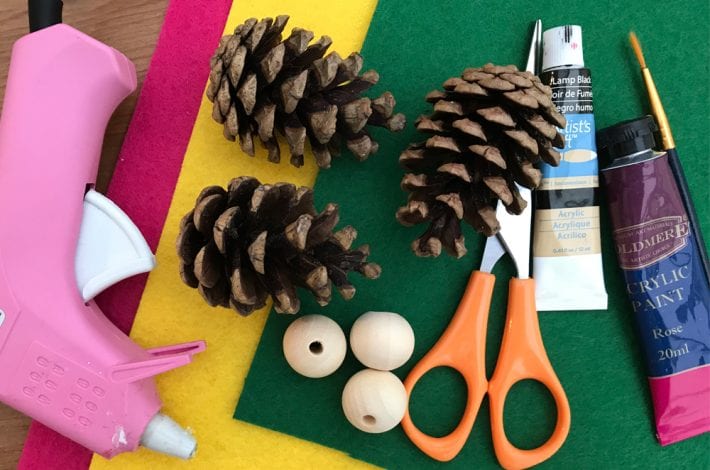
You will need:
- Pine cones
- Small wooden balls (you can buy these cheaply online or from craft shops)
- Felt
- Scissors
- Acrylic paints and fine paintbrush or a fine felt tip pen
- Glue gun
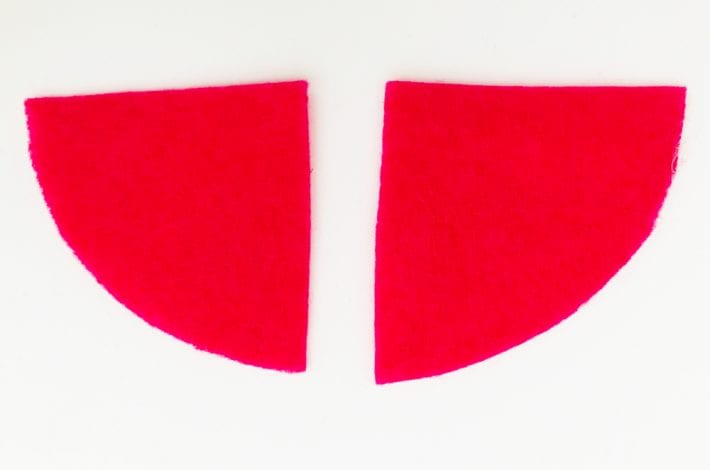
Step 1: Make your elf hat
You need to cut a quarter of a circle out of felt (see photo). This will become the elf’s hat. You can make sure it fits round the wooden ball at this point to check it’s the right size.
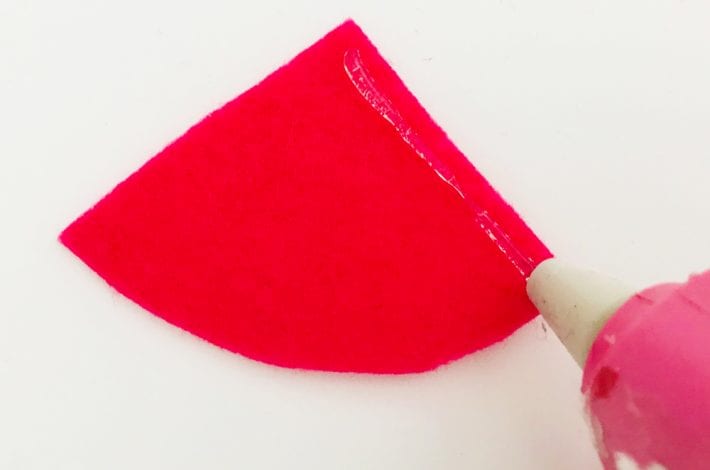
Step 2: Add glue
Using a glue gun place glue on one edge of your felt piece.
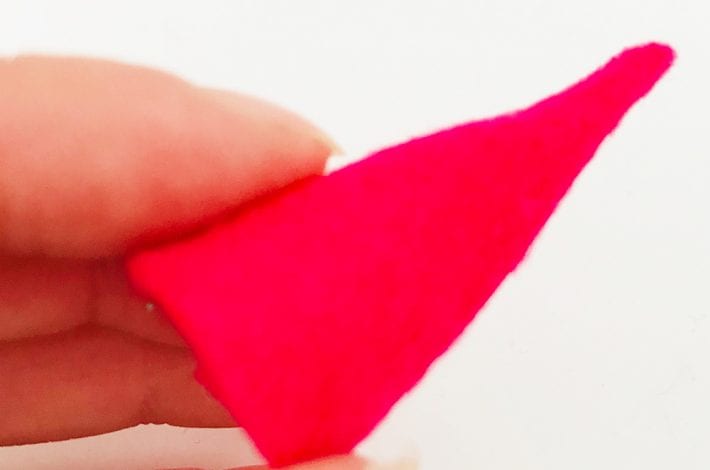
Step 3: Make the hat
Now bring the two edges together and stick down to make a little cone hat.
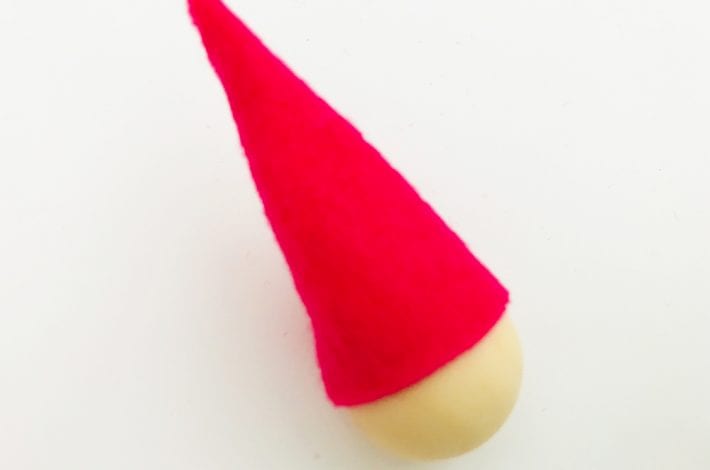
Step 4: Make the elf’s head
Squeeze glue round the inside of your elf hat and glue a small wooden ball in place.
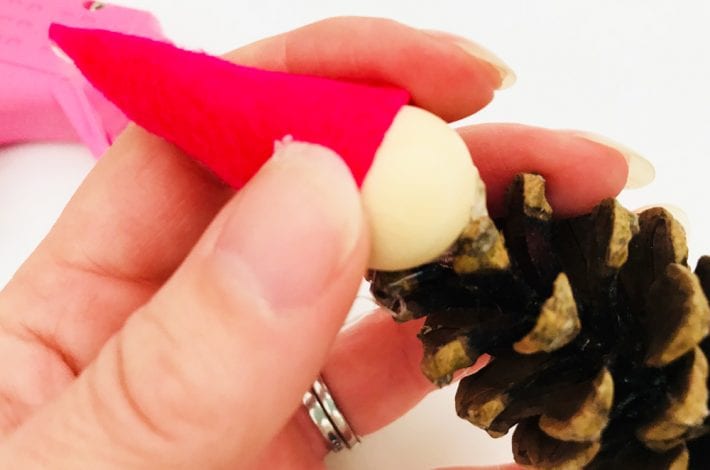
Step 5: Add the pine cone
Squeeze a big blob of glue onto the top of your pine cone and stick the elf’s head in place.
Don’t worry too much if it looks messy with the glue as you will soon be covering this up with the elf’s scarf.
Hold your elf’s head in place until the glue is dry.
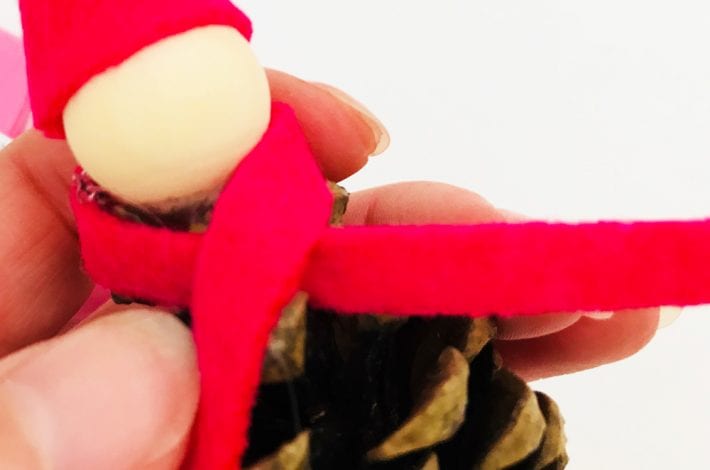
Step 6: Add a scarf
Cut a thin strip of felt and glue in round your elf’s neck as a scarf.
Snip the ends of the scarf to add detail.
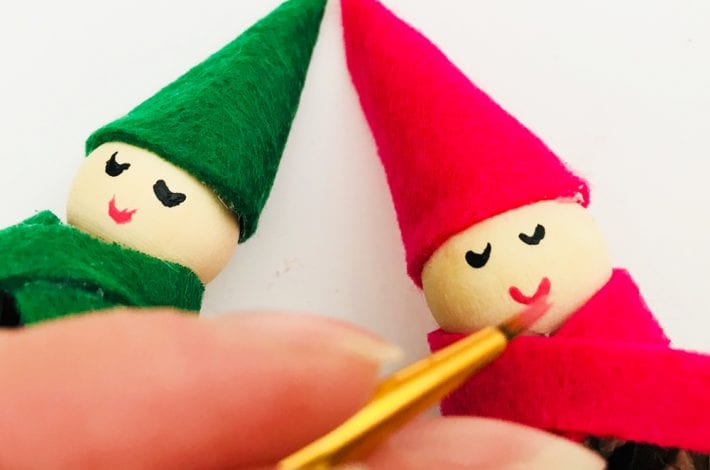
Step 7: Bring your elf to life
All that’s left to do is carefully paint on eyes and a smile.
Use a very fine paintbrush and acrylic paint or a fine felt tip pen.
You could also glue on ribbon or thread so that your little elves can hang from the branches of your Christmas tree.
