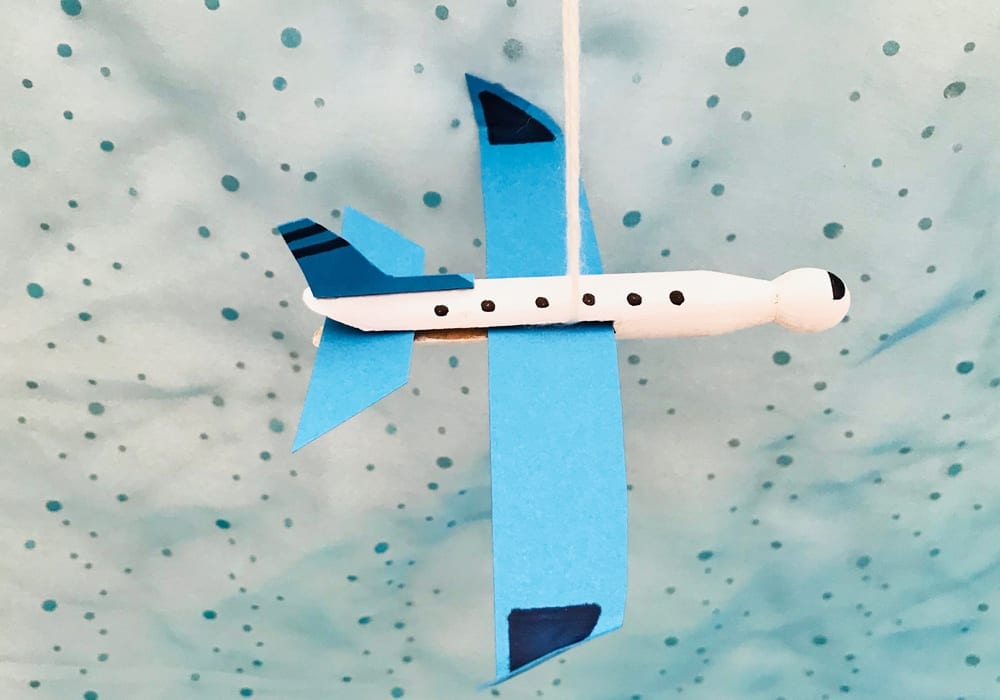
We love this peg airplane craft for kids. It’s quick and easy to make. The planes look like miniature models that can be played with again and again. All you need is a lick of paint and a bit of card. If you add some string then you can hang them from the ceiling and watch as they zoom through the skies.
Summary:
Time: 10 minutes
Age: Little kids to Big kids
Difficulty: Easy peasy
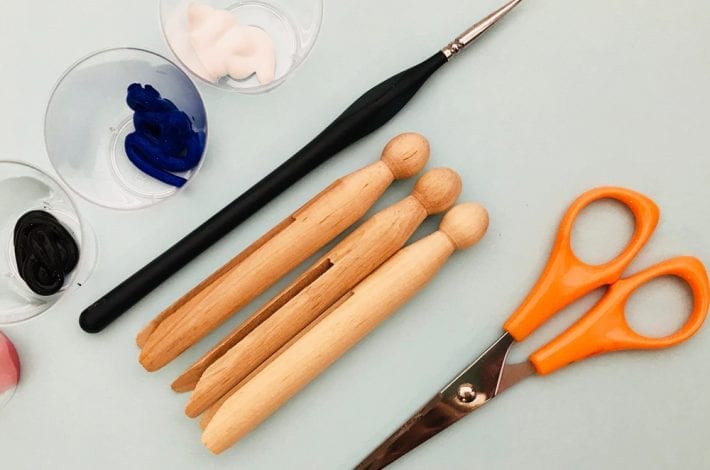
You will need:
- Wooden dolly pegs
- Card – we used blue card
- Scissors
- Tacky glue
- Paint – we prefer acrylic paints
- Pens to decorate
- String or wool
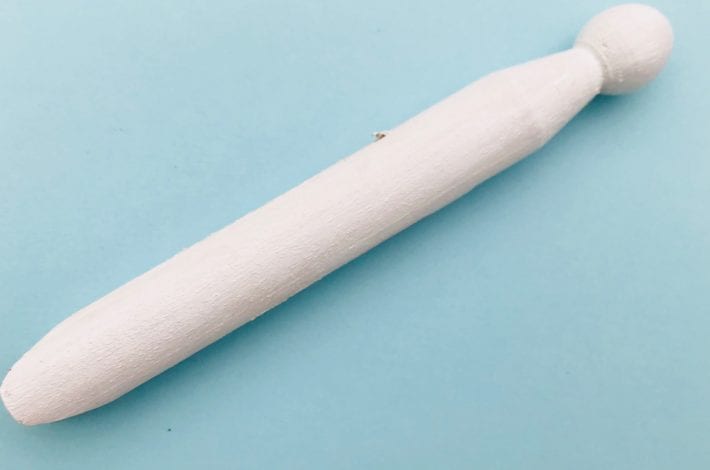
Step 1: Paint your dolly peg
Paint your wooden dolly peg all over in one colour. We chose white but you could paint your plane any colour you like.
Acrylic paint works well as it gives a nice thick coat over the wood.
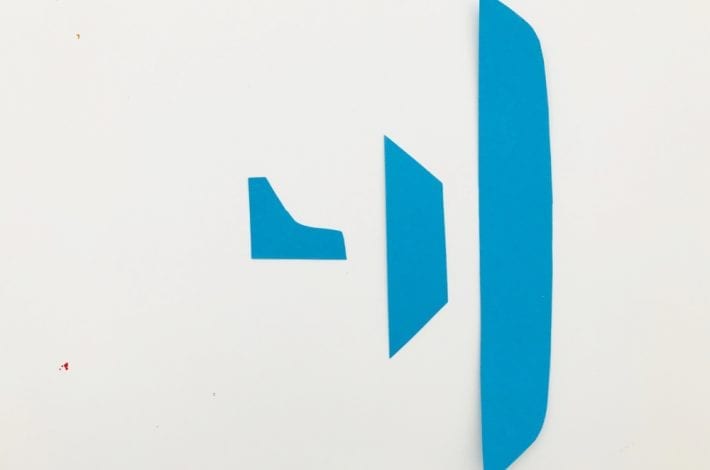
Step 2: Cut out the wings
From a piece of card cut a long and thin rectangle and round off the ends to make the main wings for your plane. Then cut out a smaller set of back wings and a shape for your plane’s tail.

Step 3: Glue the wings in place
Spread some glue in the middle of the wings. Slide them carefully between the gaps in your peg and stick them in place.
Make a small fold on your tail piece. Glue this folded, flat part to the top of your plane, at the back.
A glue gun works well to secure your card to the peg. If you don’t have one use some strong tacky glue instead.
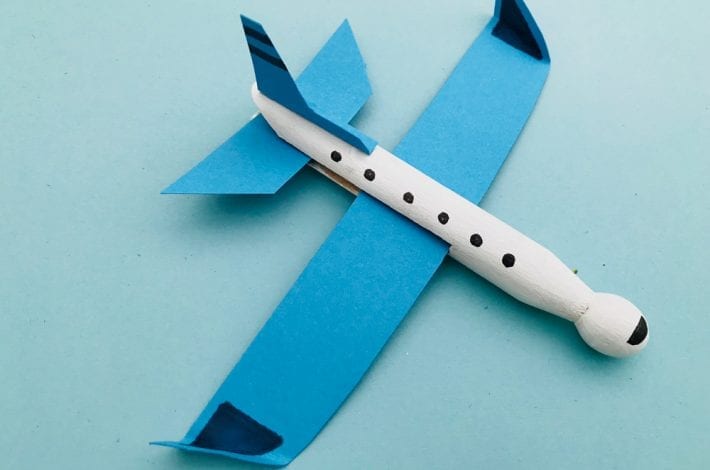
Step 4: Decorate your plane
Either using paint or Sharpie pens, add windows and any decoration you like to your plane.
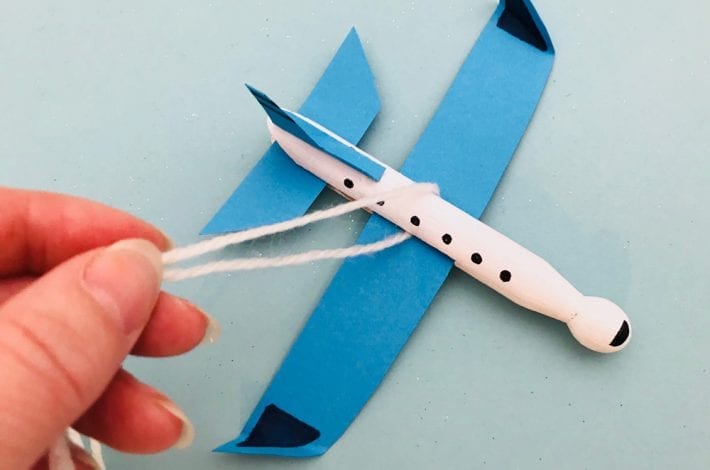
Step 5: Make a hanger (optional)
Slide a piece of string through the gap in your peg and tie at the ends to make a hanger.
You can now hang your plane from the ceiling as it flies through the air.
Your plane is all ready for take off. Where will it go on it’s first flight?


