Fun Kids Craft
Disney’s Lightning McQueen Craft
The Cars characters are packed with their own individual personalities. Little kids laugh with them and quote all the funny things they say.
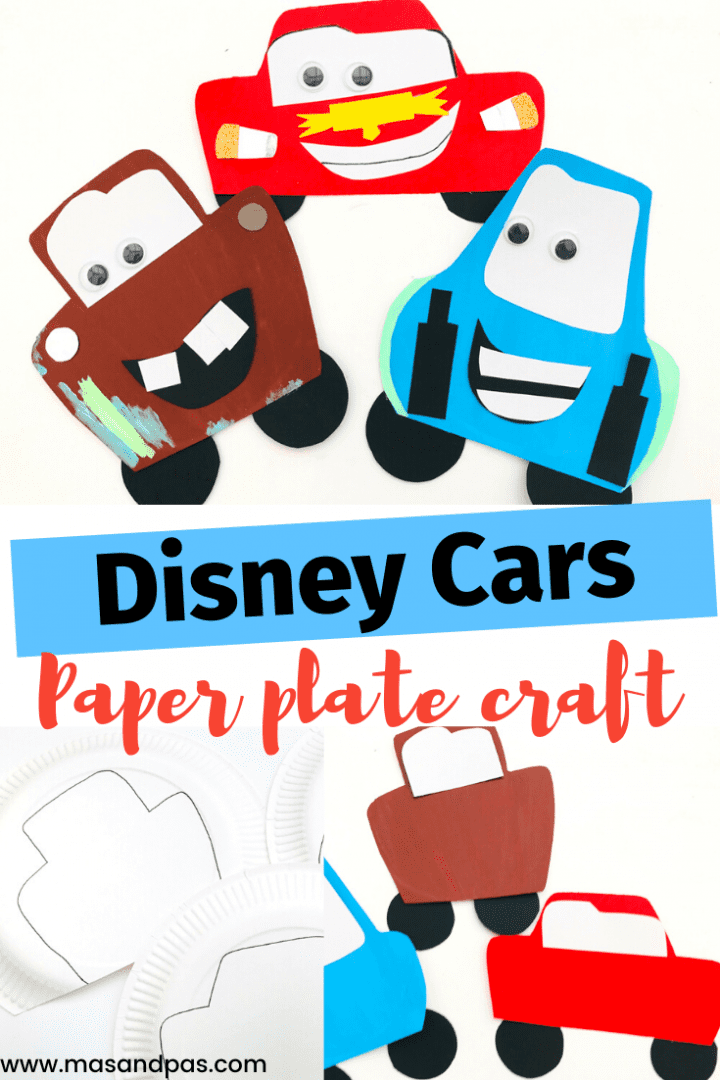
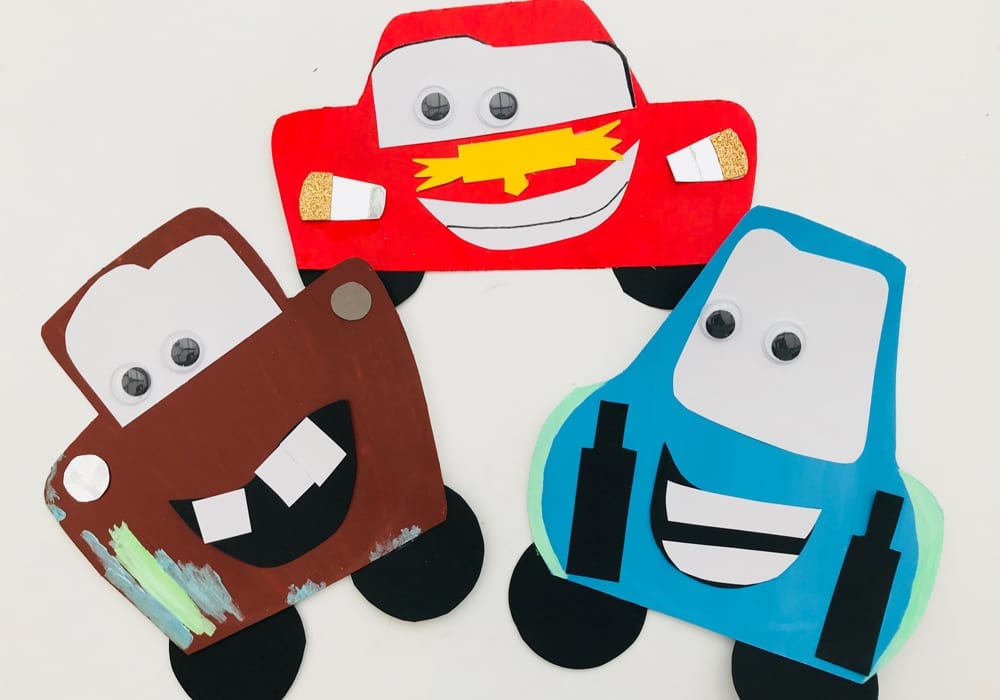
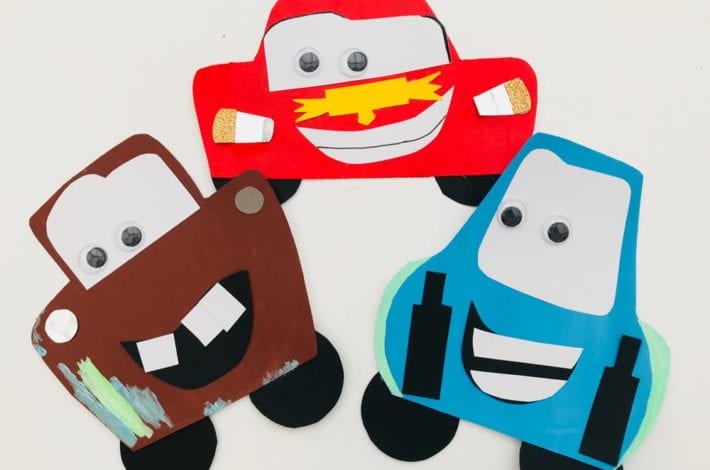
So they get pretty excited at the thought of making their own version of the cast. This easy paper plate craft can be adapted for all the characters, but we’ve started it off with Lightning McQueen, Guido and Mater.
Each character starts out as a paper plate. Bright paints and cardboard shapes bring each car to life. You can adapt and change it to add the features that you want. And you can easily expand it to all the characters in the cast.
Which Disney Car character will your child make first?
Summary:
Time: 15 minutes
Ages: Toddlers to Big kids
Difficulty: Easy peasy
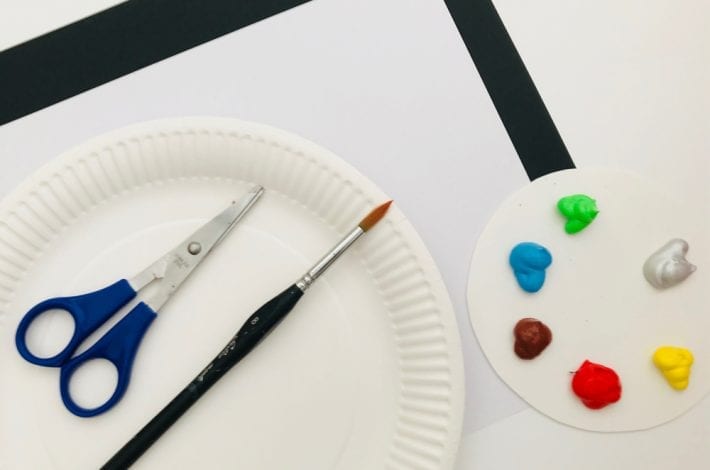
You will need:
- Paper plates
- Scissors
- Paints – we prefer acrylic paints
- Paint brush
- Black and white card
- PVA glue
- Googly eyes
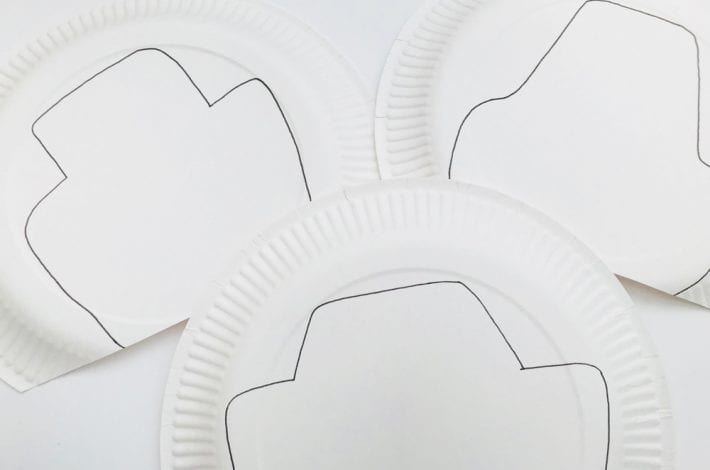
Step 1: Draw your car shapes
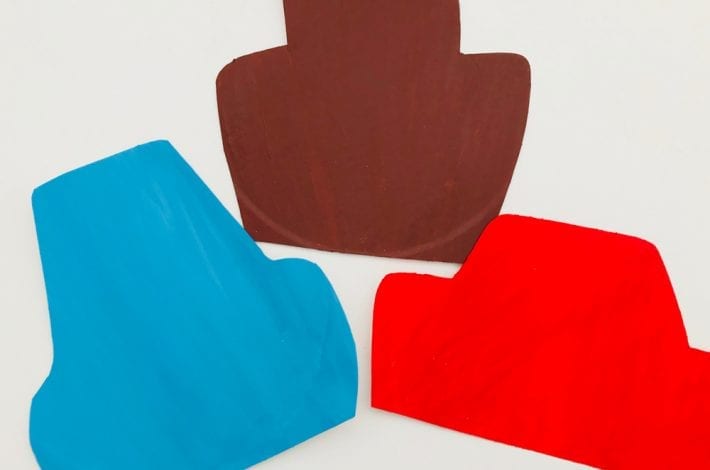
Take a paper plate and cut off the bottom so that there is a straight edge. Then draw an outline of the shape of a car. Disney Car characters have quirky, square and tall shapes.
You can look at our photo to guide you.
Step 2: Paint your cars
Cut around the outlines that you’ve drawn. Then paint your cars.
We used acrylic paints, which cover the paper plates in a thick layer of colour.
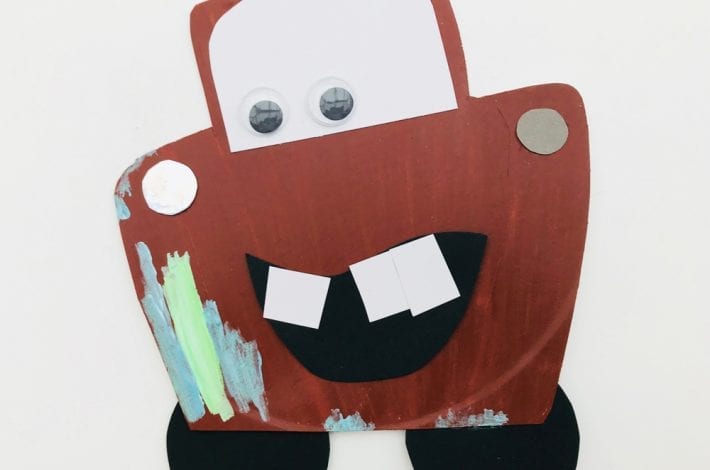
We did one red for Lightning McQueen, one blue for Guido and one a woody brown colour for Mater.
Step 3: Cut out black circles for the wheels
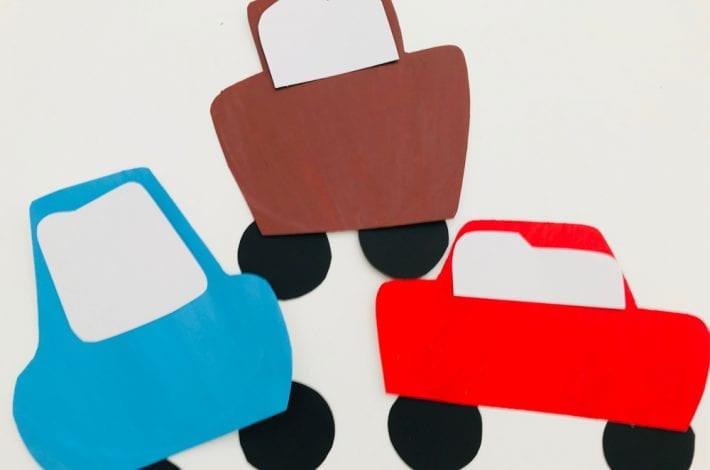
Cut out little circles from your black card to make their wheels.
Then cut shapes for the windscreens from white card.
Again, you can use our photo as a guide as to what shapes to cut. Glue the wheels and windscreens in place.
Step 4: Cut out more shapes
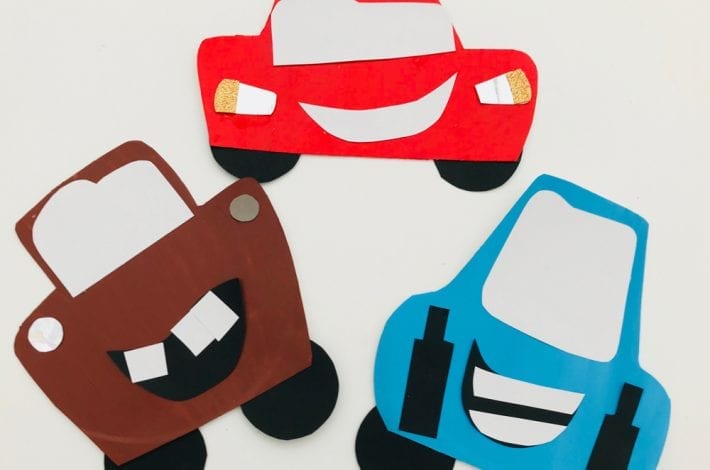
Using black and white card, cut more shapes to add details to each Disney Car character.
We cut some:
- black and white smiles
- small white rectangles for teeth
- black funnels
- small white circles for the car lights.
Have fun with it and add the features you like best.
Glue your shapes in place onto your cars.
Step 5: Add some paint details (optional)
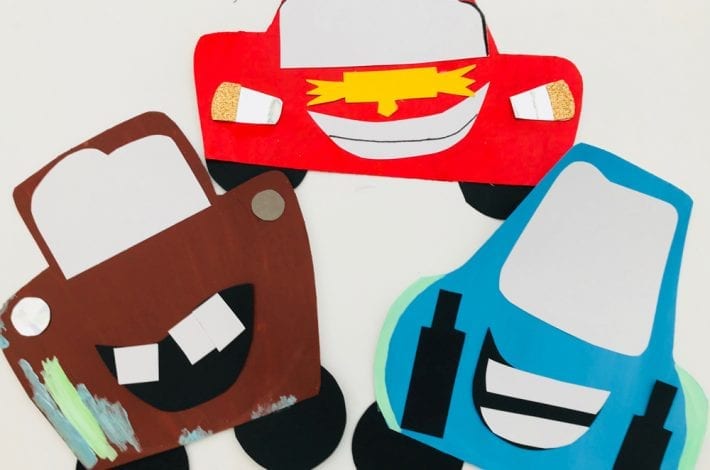
To really make our Cars characters shine we painted little patches of colour.
On the blue car (Guido) we painted pale green stripes at each side of the bonnet.
On the brown car (Mater) we painted loose strokes of pale green and blue paint, as he has some rusty and patchy paintwork.
On the red car (Lightning McQueen) we cut a little yellow flash shape to stick on his bonnet. We also painted some black outlines around the windscreen.
Step 6: Add some eyes
Finally stick on some large googly eyes to bring your Cars to life.
Your Lightning McQueen craft is ready!
How many more Disney Car characters can you make?
We made 3 of the cars from the movie in this craft. But there are so many more in the film that your child could create, using the same technique.
You can choose more characters and use the same simple technique to bring them to life.
You might even build up to the whole cast!
Pin this Lightning McQueen craft for later!
