You will need:
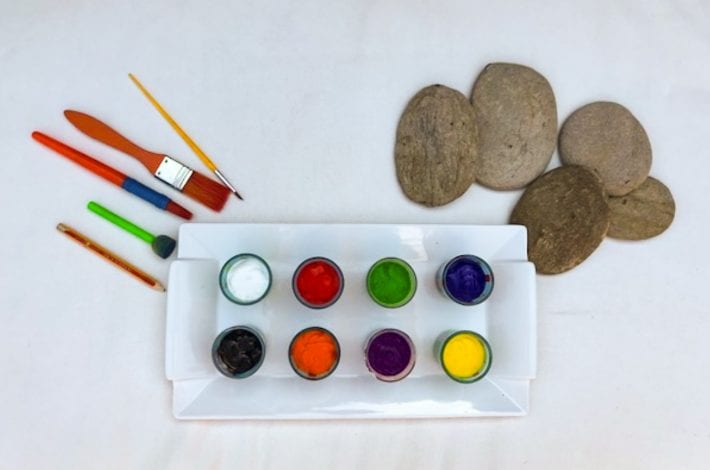
- Acrylic paints
- Paintbrushes – one thick one small
- Collection smooth stones
- Pencil
- Round sponge stick or cotton buds – optional
Step 1: Let the wings take shape
Collect some smooth round stones from a local beach. Wash them and pat them dry.
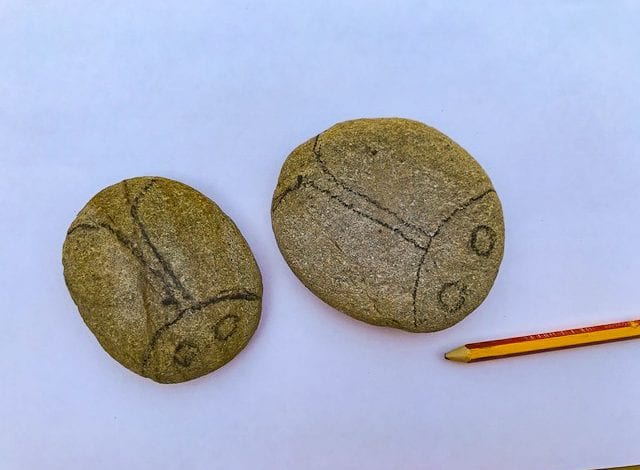
Decide on how big you want the ladybird’s face to be and how the wings will look.
Draw the outline of these areas with a pencil.
Step 2: Paint the ladybird face and wings
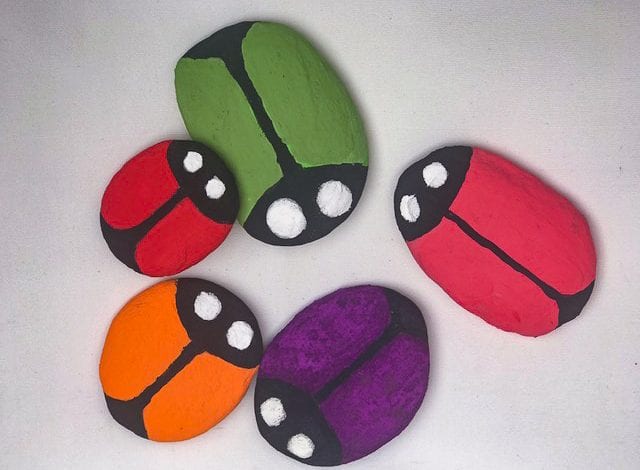
Colour in the wing areas in bright colours and the face, bottom and line down their back in black paint.
If you prefer to avoid the pencil outline, you could also paint the entire pebble one bright colour, let it dry, and then paint the black areas on top of it.
Add some white for the base coat of the ladybird’s eyes.
You may have to do 2 coats to help the colour set well.
Step 3: Add the eyes
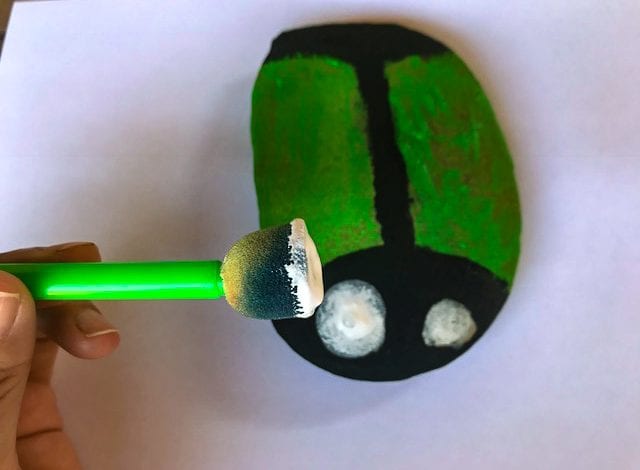
When the paint has dried, take a round sponge stick or a cotton bud.
Dip it in white paint and press it on the ladybird’s face to make the whites of its eyes.
Step 4: Give it some spots
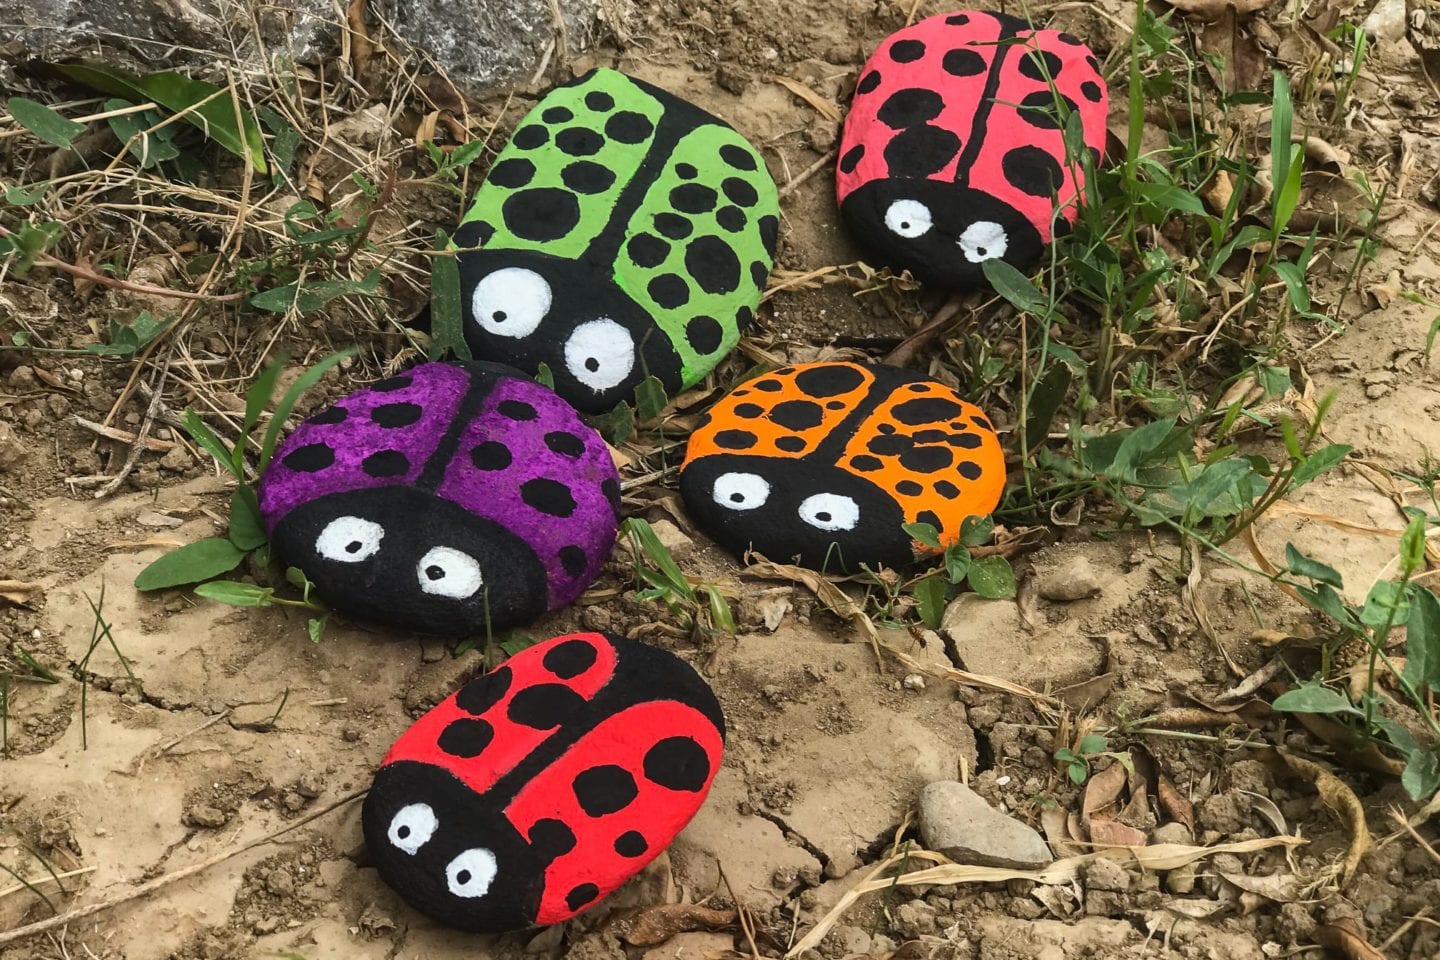
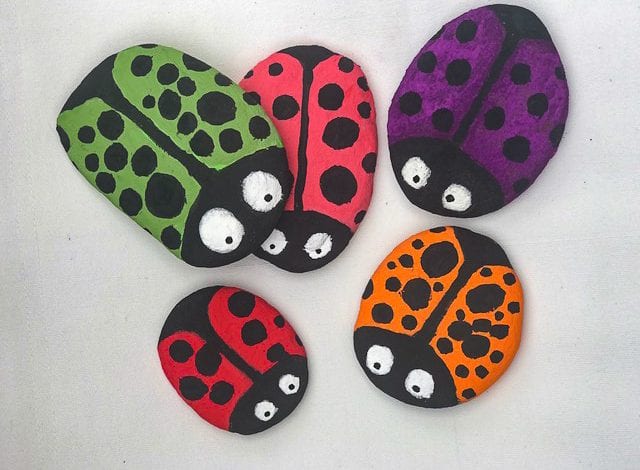
Use a thin paintbrush and black paint to add on the ladybird’s spots.
Make them lots of different sizes all over their backs.
You can also use a clean cotton bud again for the spots, or the sharp end of a paintbrush dipped in black paint.
Add two black dots for the ladybird eyes.
Step 5: Add varnish (optional)
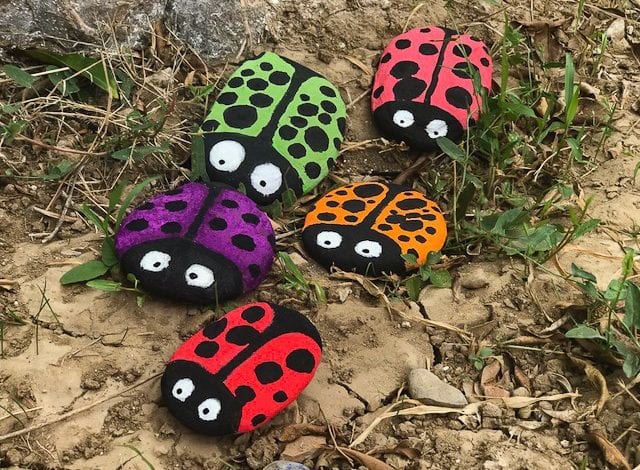
If your ladybirds will sit out in the garden it’s a good idea to add some outdoor varnish so that they will last longer.
Lay them out around the garden for the whole family to enjoy!
If you’ve enjoyed making these pretty ladybird pebbles, try one of our other rock crafts. We have Rock Monsters, Unicorn Stones and even a Pebble Hedgehog Family.

