Fun Kids Craft
Dancing Dolls Dolly Peg Craft
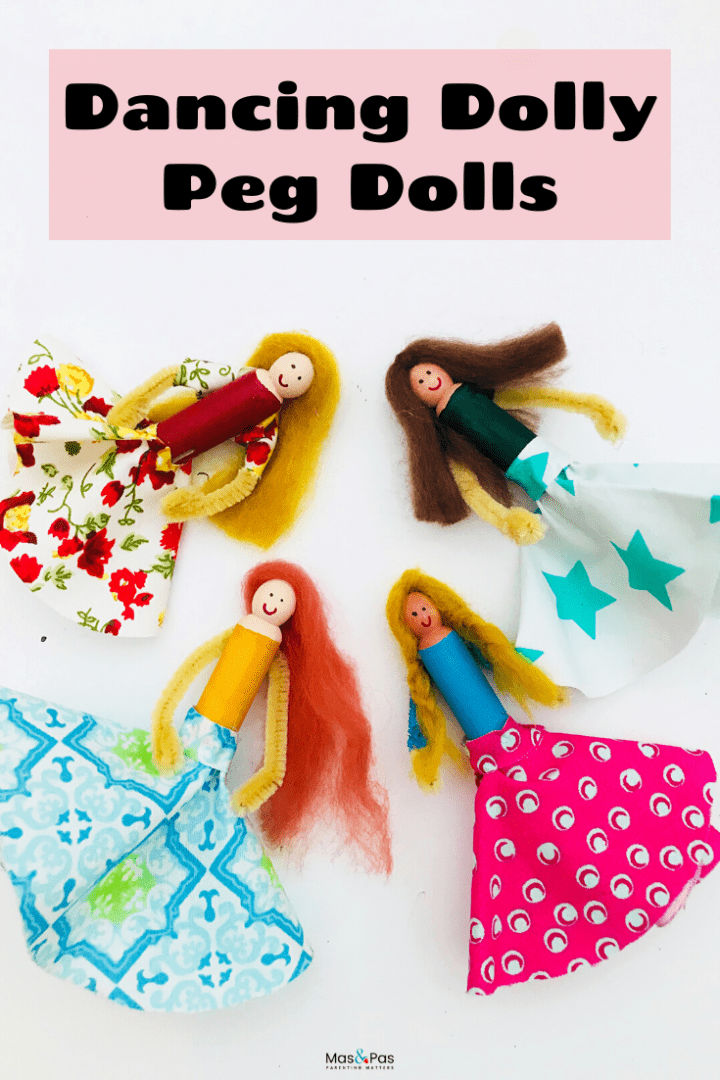
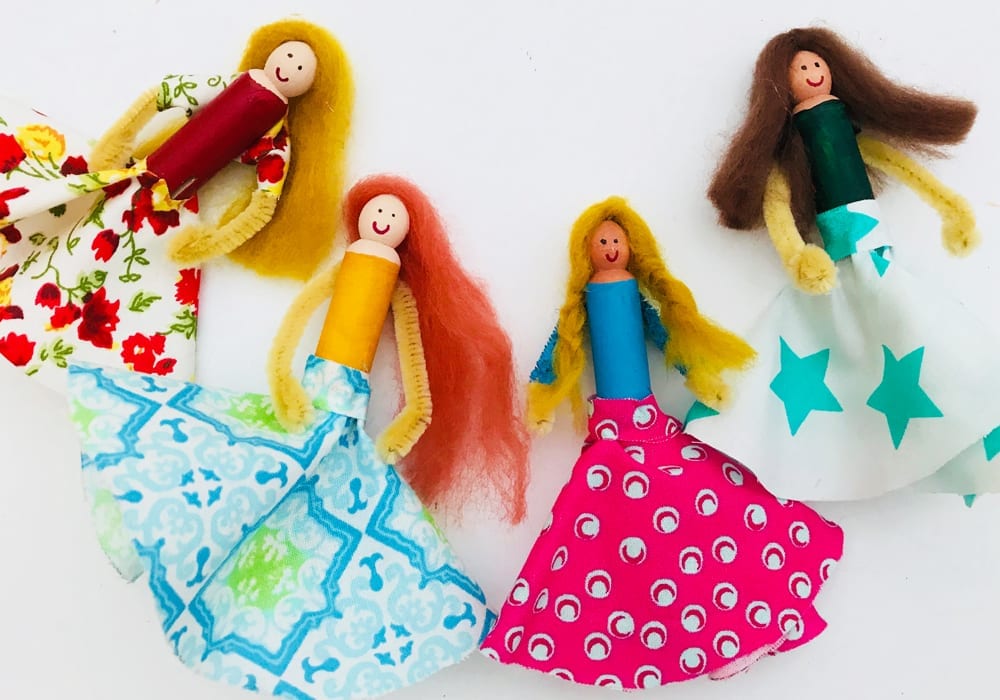
This dolly peg craft looks great and is actually real easy to make.
You can use this technique to make all sorts of different dolls in different designs. And spend a happy afternoon crafting wooden peg dolls of your own.
Summary:
Time: 20 minutes
Ages: Big kids
Difficulty: Easy peasy
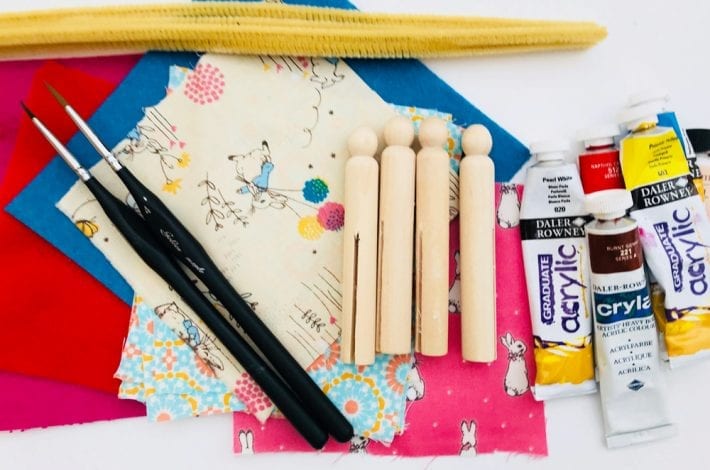
You will need:
- Wooden dolly pegs
- Paints – acrylic paints work best
- Paint brush
- Fabric or felt (for the skirts)
- Scissors
- Glue
- Pipe cleaners
- Wool or needle felting wool
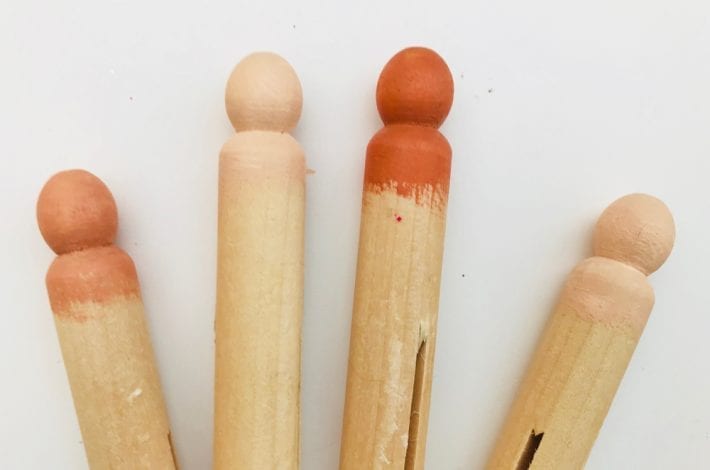
Step 1: Paint the face
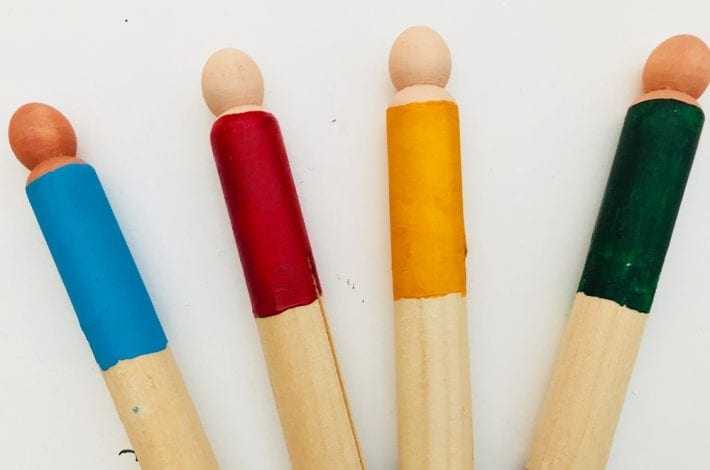
Paint the top of your dolly pegs (the round parts) in a skin colour for your doll’s face.
Step 2: Paint the top
Paint the top half of your wooden peg in a nice bright colour. This will be your dancing doll’s top.
We used acrylic paints and painted it on in one block of colour. However you could paint on dots or stripes or whatever design you like.
Step 3: Cut a circle of fabric
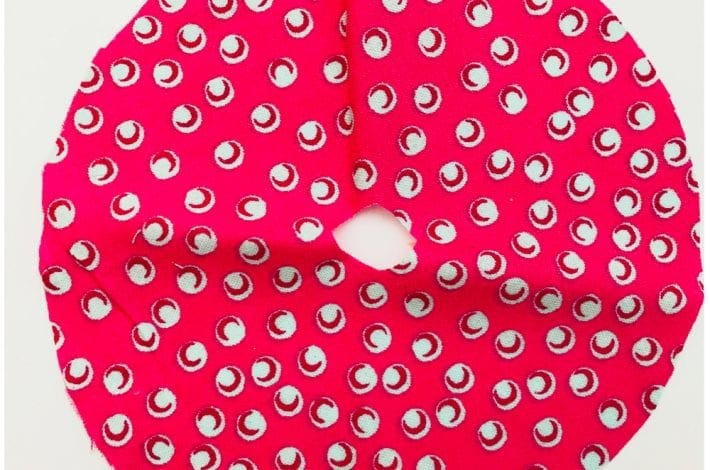
Take a square piece of fabric (or felt) – we used one that was about 5cm by 5cm.
Cut out a circle. Then fold the circle and cut out a little hole in the centre. Don’t worry if this centre circle is a little messy as it will be covered up in the end.
It just needs to be big enough to pop onto your peg.
Step 4: Dress your dolly
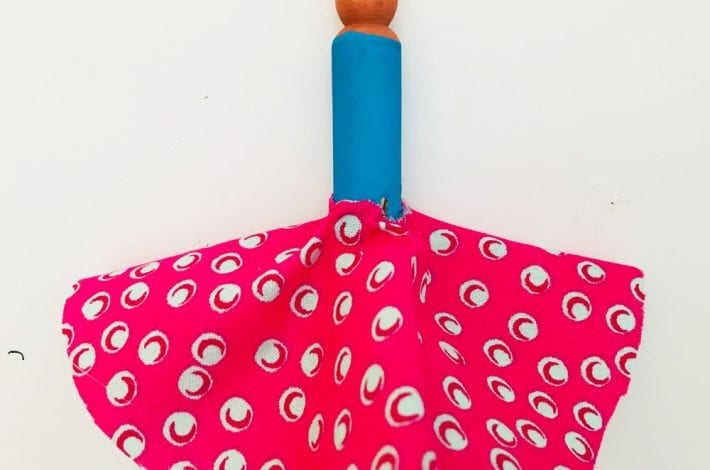
Place the fabric circle onto your peg.
Lift it slightly higher than where you want the skirt to go. Then spread some glue around the middle of the peg and stick the skirt in place.
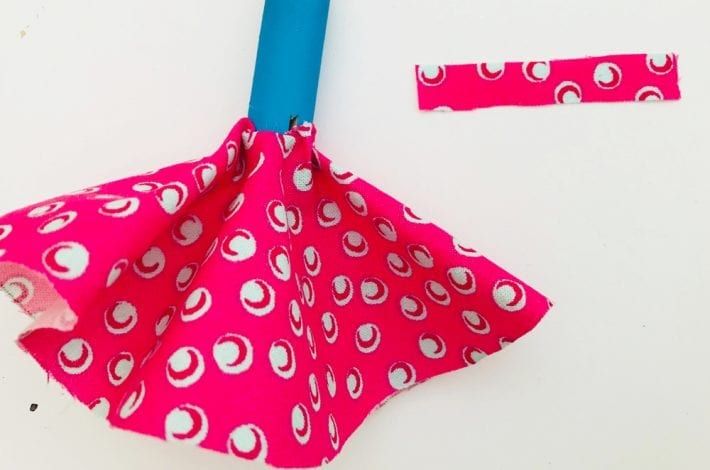
You can make little folds in the fabric to make the pleats in the skirt.
Step 5: Make a waistband
Cut a small strip of fabric. This could be out of the same fabric as the skirt, or a different colour.
Wrap this around the top of the skirt to make a waistband and hide any messy edges.
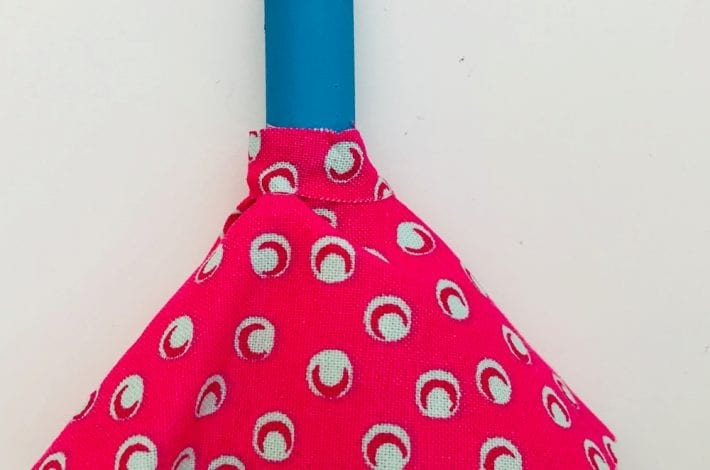
Step 6: Glue the waistband in place
Spread glue along the back of the fabric strip and stick in around the top of the skirt.
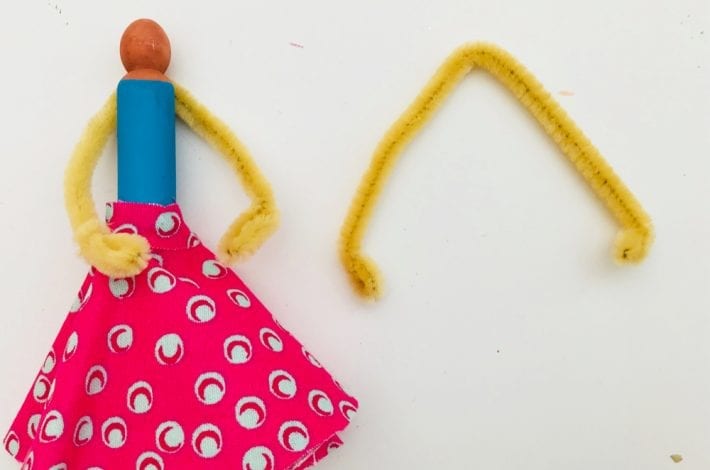
Step 7: Make some arms
Cut a pipe cleaner in half. Then bend over a tiny bit at each end to make little hands. Glue the pipe cleaner to the back of your peg doll.
Then bend the arms into the pose you would like.
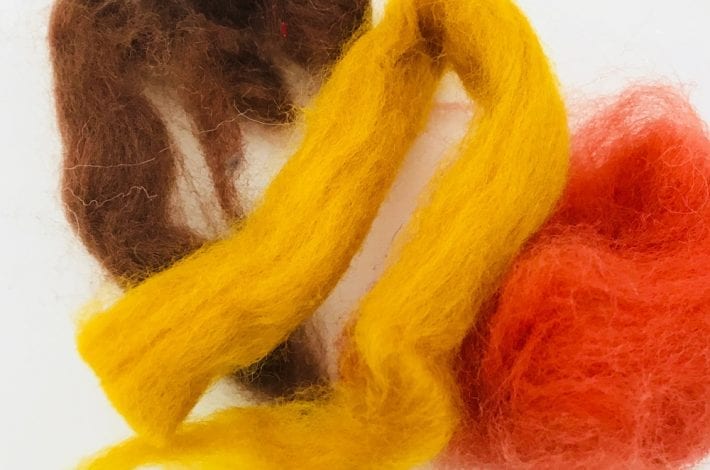
Step 8: Now for the hair
For the doll’s hair you can use lengths of wool. Glue the strands to the top of your peg.
Or, another nice idea is to use needle felting wool. You can buy this easily at craft shops of online.
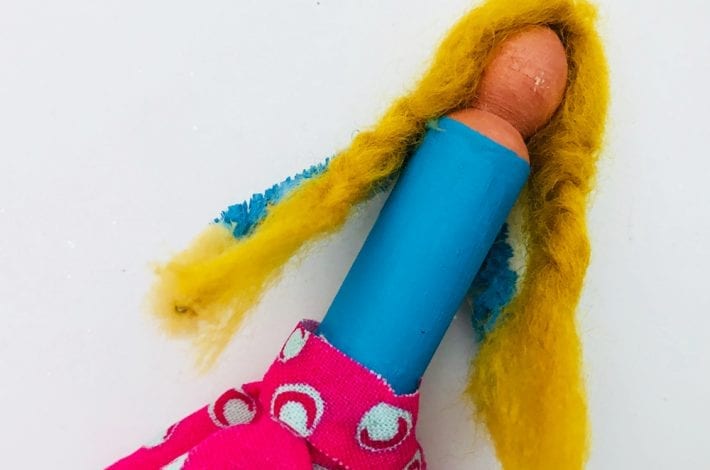
Step 9: Keep gluing down the hair
Take a piece of wool or needle felting wool and glue it down to the top of the peg.
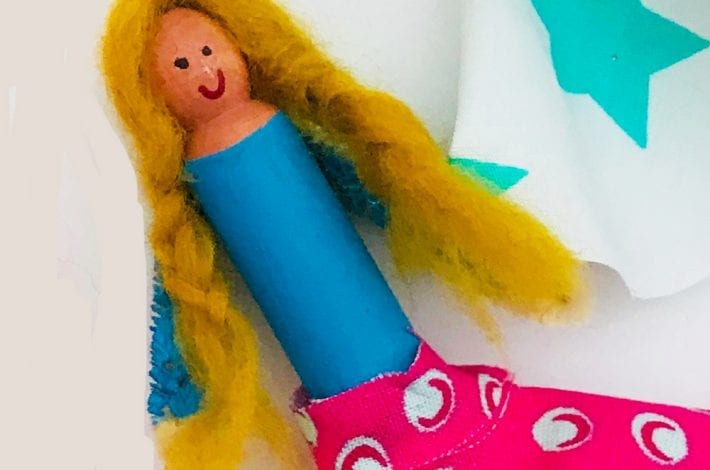
You can then shape it, plait or and cut it to the style you like. We gave this doll two plaits.
Step 10: Give her a smile
To complete your peg doll paint on two dots for eyes and a smile. And she’s ready to dance!
If you make a few of these dolls, you can make them all look different quite easily. Just by using different fabrics for their skirts and giving them different hairstyles and details.
What will your dancing dolls look like with this dolly peg craft?
