They become beautiful Christmas decorations. Line your dolly peg angels up on the mantelpiece or hang them on the tree. Either way, may they add some festive sparkle to your home!
Summary:
Time: 15 minutes
Age: Big kids
Difficulty: Easy peasy

You will need:
- Wooden dolly pegs
- White doilies
- White felt OR shiny paper
- Yellow wool
- Gold pipe cleaners
- White, pink and yellow paint
- Paint brush
- Black pen
- Scissors
- Glue gun or strong PVA glue
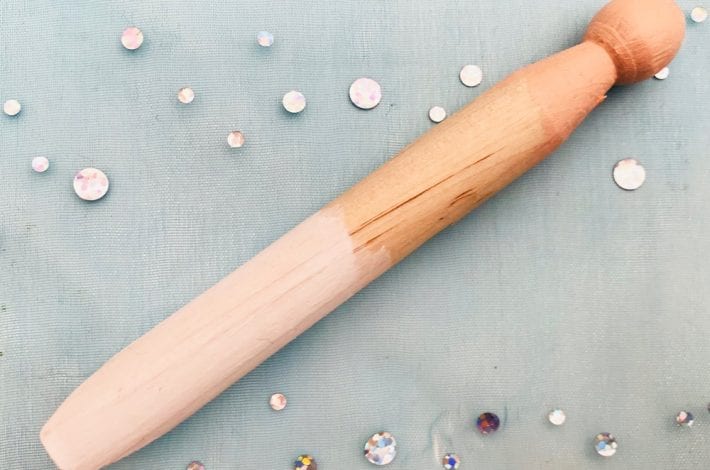
Step 1: Paint your peg
Paint the top of your dolly peg in a pale pink colour for the angels face. And then paint the bottom of your peg white.
We recommend using acrylic paints as they cover the wood well.
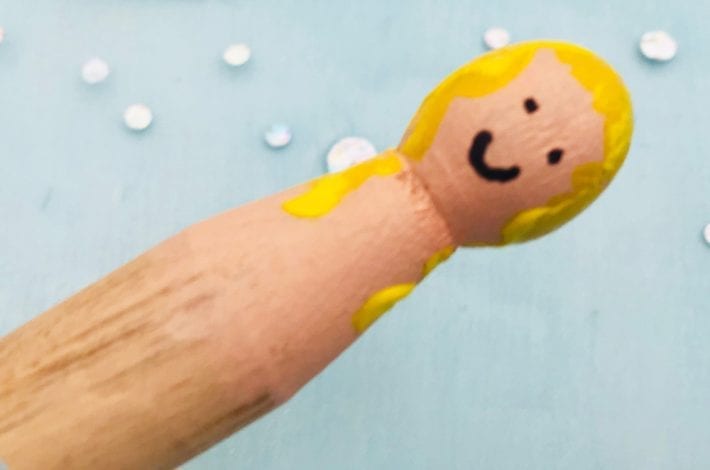
Step 2: Give your angel some hair and a face
Paint some hair on your angel.
Once the paint is dry, use a black Sharpie to draw on eyes and a smile.

Step 3: Cut out the angel’s dress and wings
Cut a triangle shape out of your doily and then cut off the top section, leaving a curved edge (see the photograph here).
Then take a piece of felt or shiny card. Cut out the shape of a pair of wings.

Step 4: Glue on the dress
Wrap the doily around your peg and secure it in place at the back.

Step 5: Add the wings
Now glue the wings to the back of your angel.
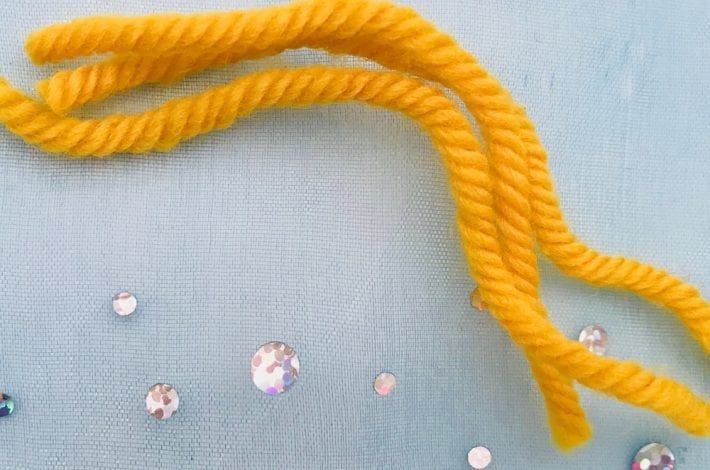
Step 6: Cut some angel hair
Cut 2 or 3 strands of wool for your angel’s hair. You could also use gold thread if you prefer.
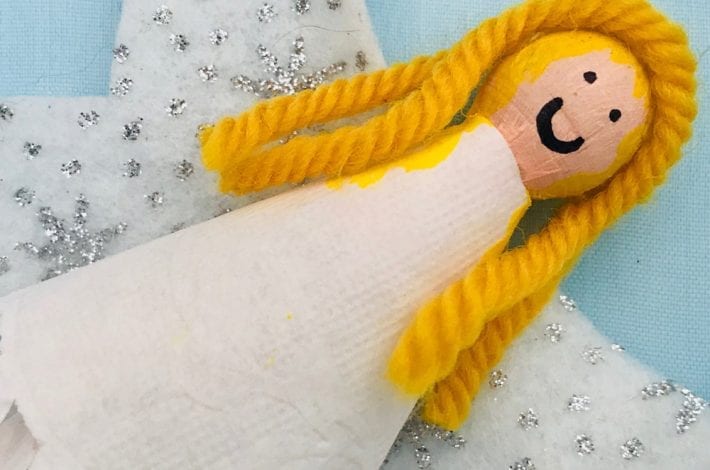
Step 7: Glue on the hair
Glue the hair in place using a glue gun on strong glue.
We left our strands of hair quite long and gave them a small trim once they were glued down.

Step 8: Make a halo
Every angel needs a sparkly halo. Make yours by bending a gold pipe cleaner into a little loop. Then twist the ends together.

Step 9: Glue on the halo
To complete your angel glue the halo in place at the back of your peg. A glue gun is the easiest way to do this.
If you don’t have a glue gun or strong glue, then you may need to use some tape to hold the pipe cleaner securely in place.
Why not make a whole choir of angelic dolly peg angels?
