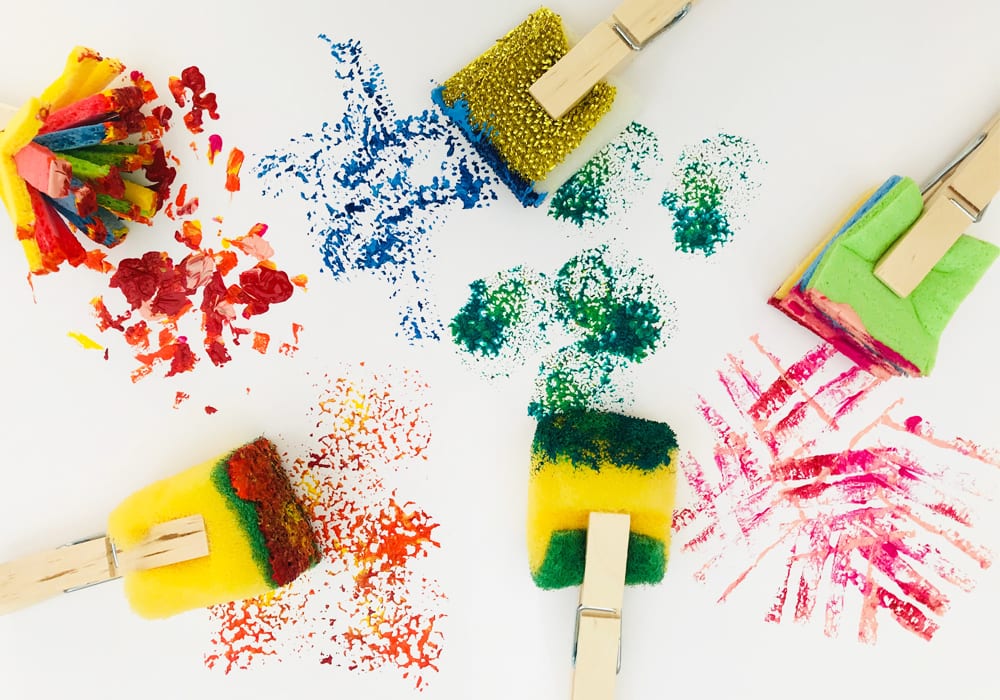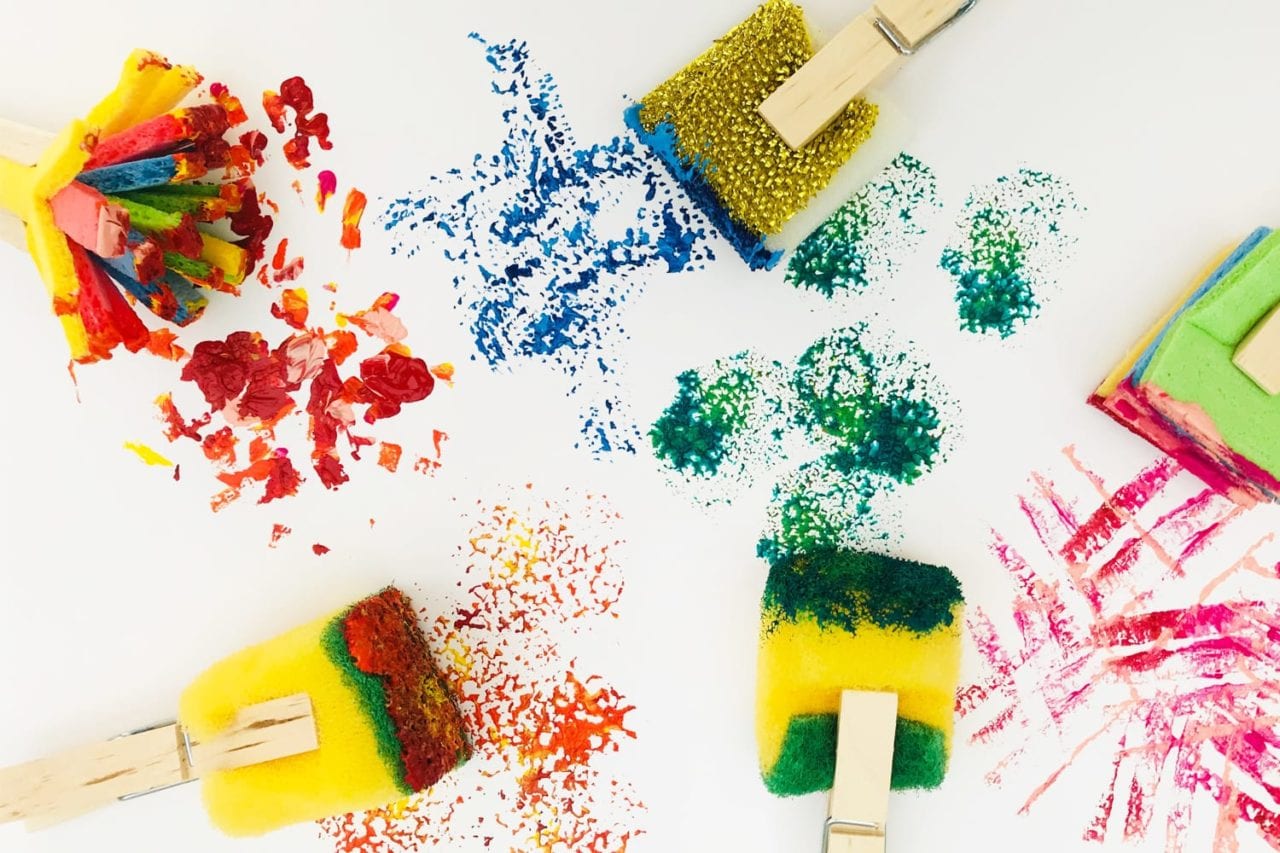

A few simple steps to make your own handmade splodgy sponge paint brush. These help kids and adults can get creative with some wonderful marks in different colours. They’re a fun way to get experimenting!
Your child can enjoy making different paint effects or they can use their sponge brushes to create vibrant paintings.
Summary
Time: 10 mins
Ages: Toddlers to Little Kids
Difficulty: Easy peasy
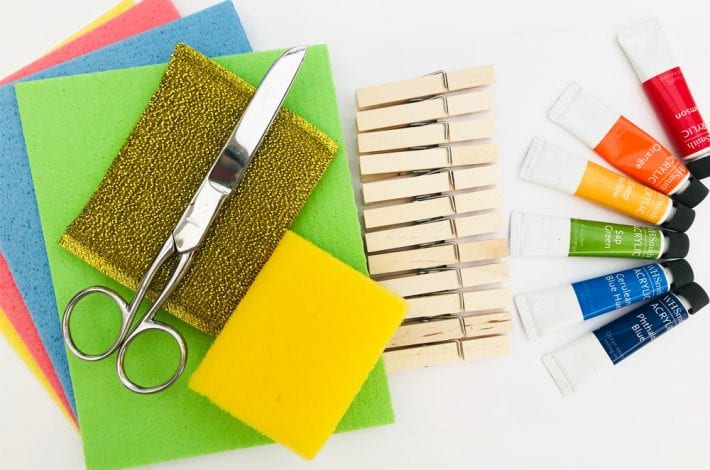

What you need:
- Sponges
- Pegs
- Scissors
- Paints
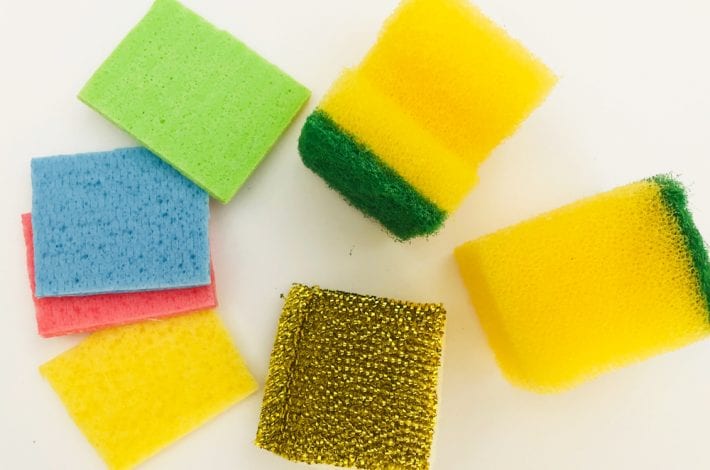

Step 1: Chop up some sponges
Gather a collection of different sponges with different textures.
Cut them into small squares.

Step 2: Make thin sponges into a splodgy paint brush
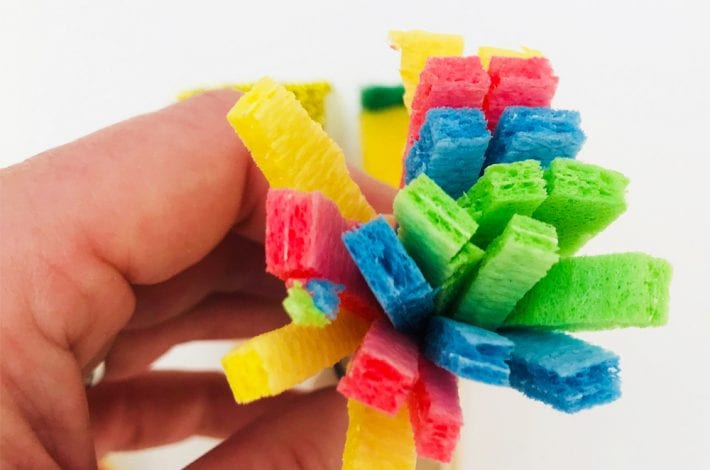
A nice idea is to take a few thin sponges and combine them to make one sponge paint brush.
Layer 4 thin sponges one on top of the other.
Cut them into squares so that you have four squares of thin sponge all stacked together.
Then make snips with scissors to cut out long strips within the squares.
Hold them together with a peg to make your own splodgy paint brush.

Step 3: Add pegs
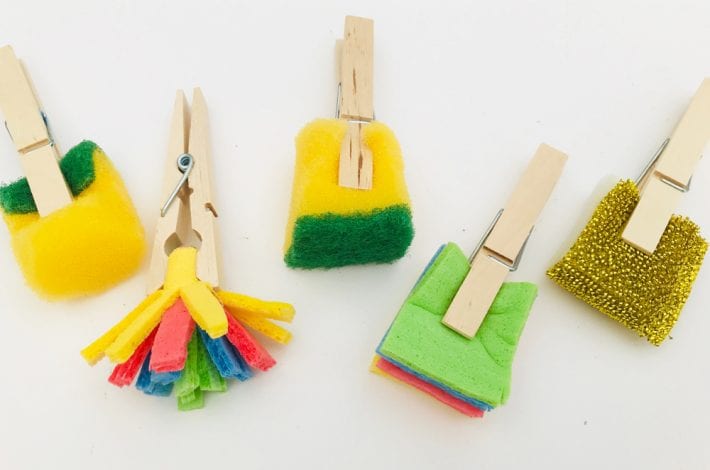
Pop a peg onto each sponge to make your own collection of spongy paintbrushes.

Step 4: Dip your brushes in paint
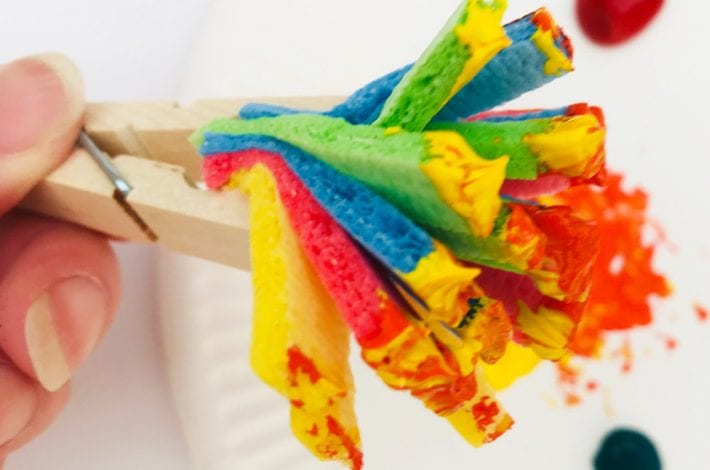
Squeeze out lots of blobs of paint and dip each sponge brush into one or more colours.

Step 5: Get painting
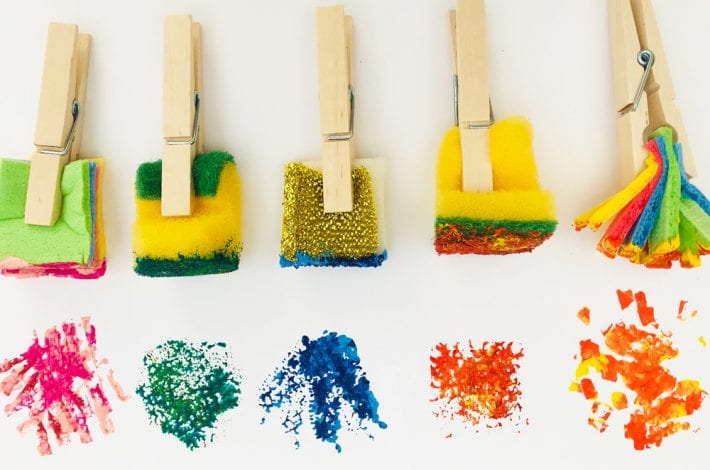
Enjoy painting with your sponge brushes, finding out what mark each one makes.
You can dab them, swirl them or brush them on your paper to get different effects.
Let toddler enjoy seeing what marks and colours each sponge makes.
Older kids can start to build up patterns of paint brush marks to create their own individual paintings.
Enjoy this fun activity together!
