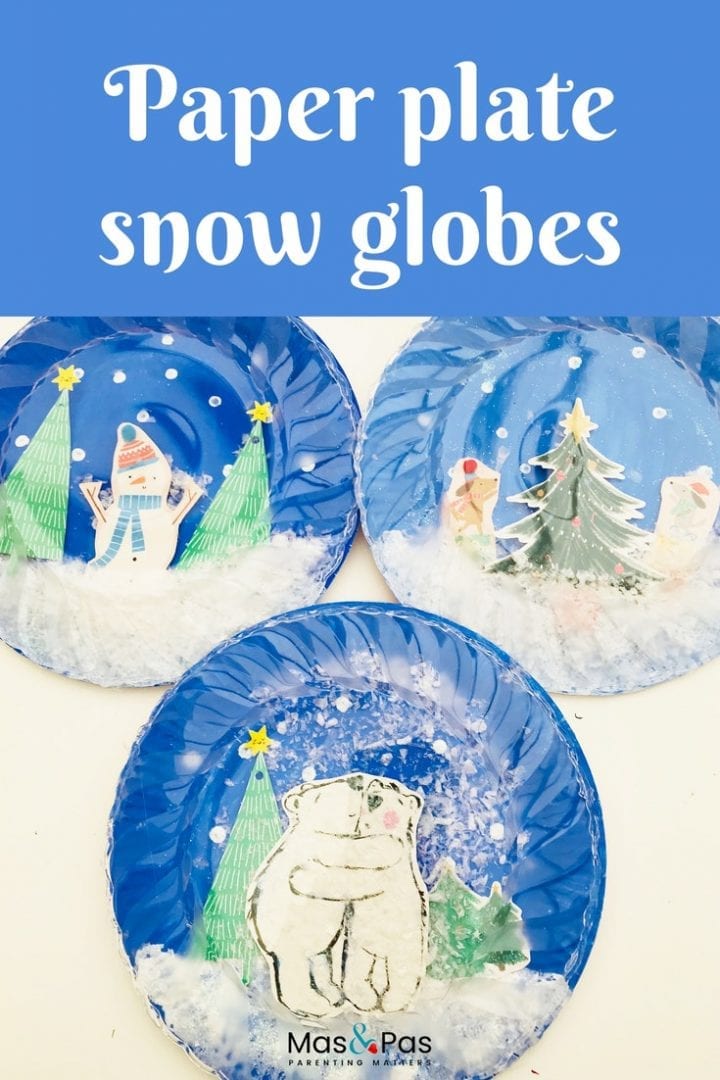
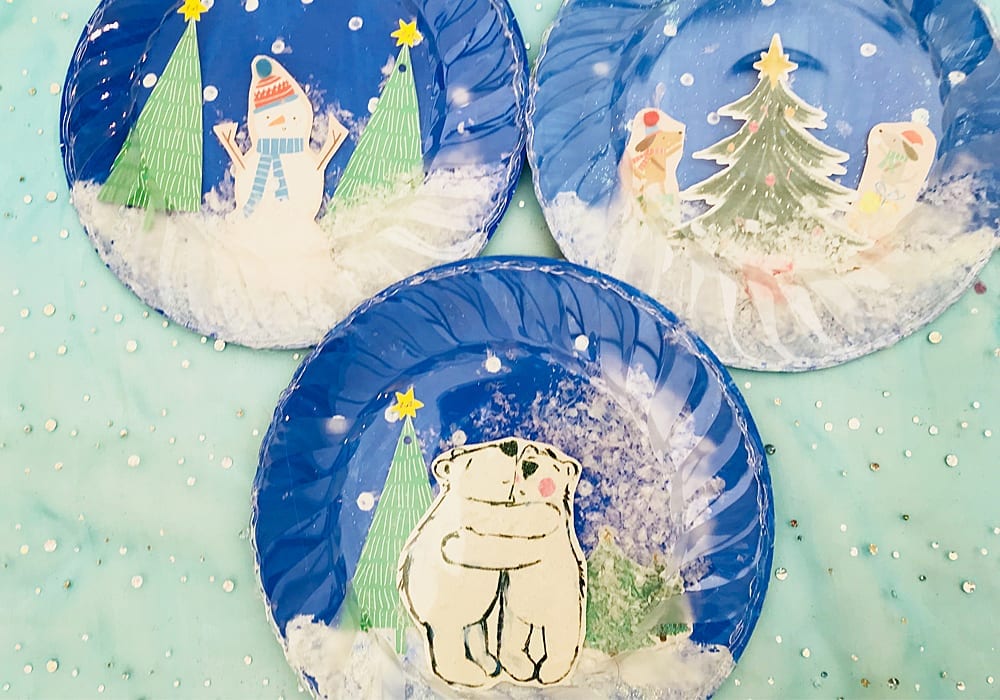
You can create any wintry or festive scene you like using Christmas card cut-outs. Add fake snow which is enclosed behind a clear plastic plate. When you shake your snow globe it tips and falls so that it really does look like it’s snowing!
Summary:
Time: 15 minutes
Ages: Little kids to Big kids
Difficulty: Easy peasy
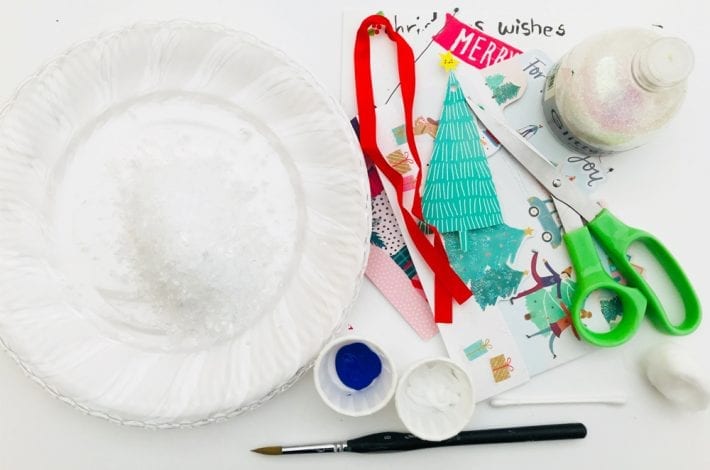
You will need:
- Paper plate
- Clear plastic plate
- Fake snow
- Blue and white paint
- Paint brush
- Cotton bud
- Cotton wool ball
- Glitter
- Christmas cards
- Scissors
- Strong glue – glue gun or PVA glue
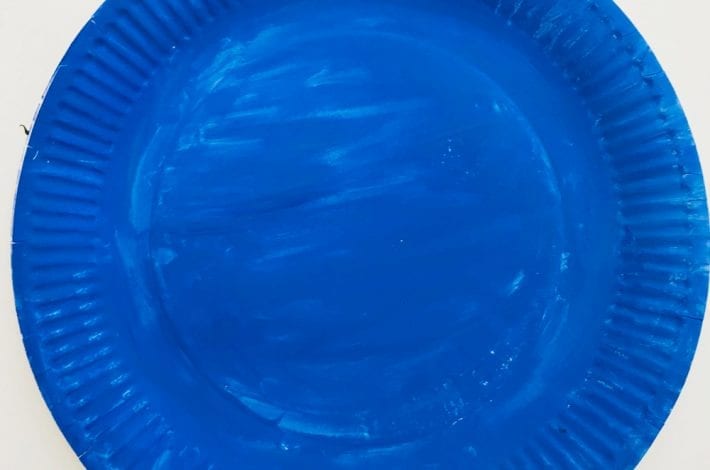
Step 1: Paint your plate
Take a paper plate. Start by painting it in one colour.
We chose blue as the start of our wintry background.
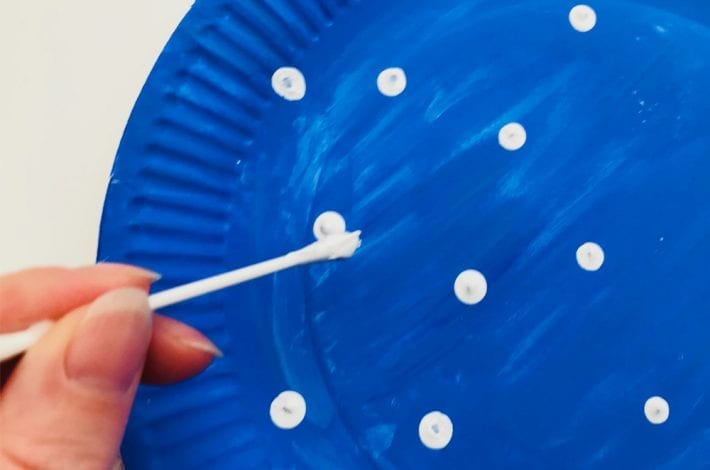
Step 2: Add some snowflakes
Then you can add some snowflakes.
Dip a cotton bud into white paint and print snowflake dots in the winter sky.
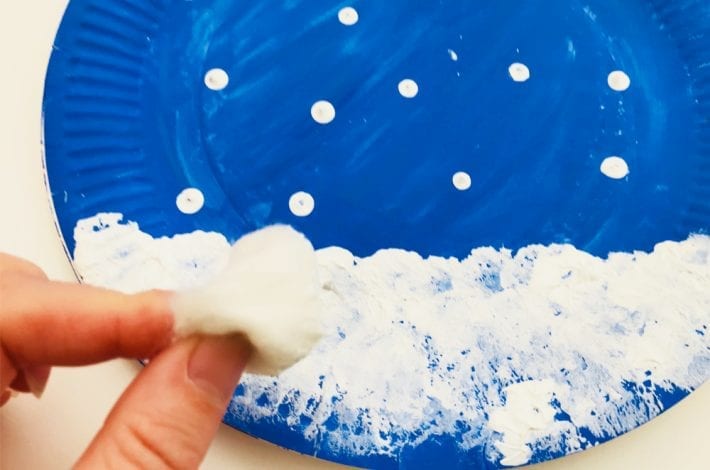
Step 3: Add some snow
Dip a cotton wool ball into white paint and print on some settled snow at the bottom of your scene.

Step 4: Sprinkle some glitter
While your paint is still wet sprinkle on some glitter to add sparkle and magic to your scene.
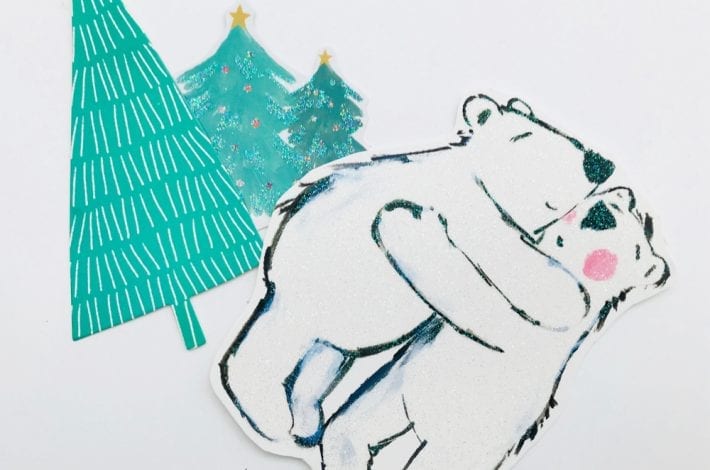
Step 5: Cut out some festive characters
Gather some old Christmas cards and cut out festive pictures of people, animals or Christmas trees.
Your child could also draw their own pictures on card and cut them out. OR you could find a photo of your child or family and cut out the figures from the photo print to stick on.
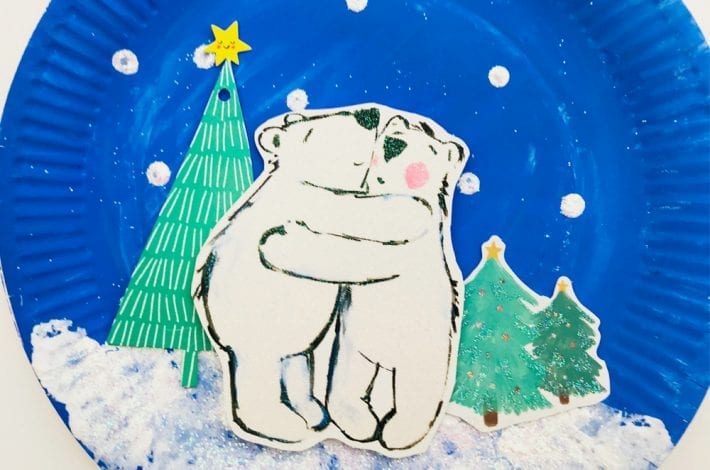
Step 6: Glue down your pictures
Glue your pictures onto your paper plate to complete your wintry scene.
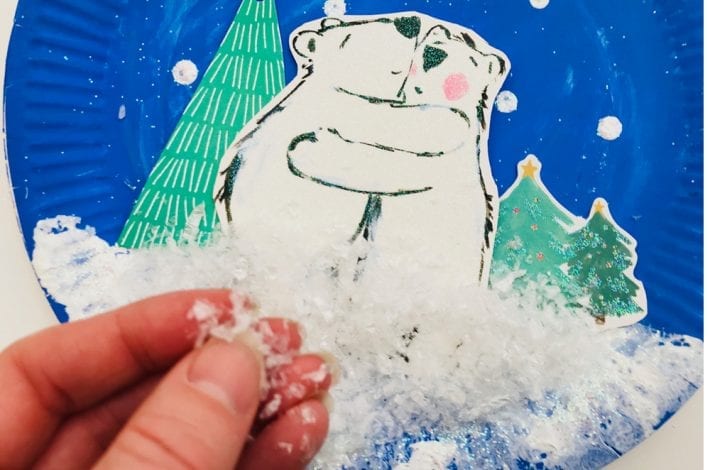
Step 7: Let it snow, let it snow…
Add a handful of fake snow onto your festive scene.
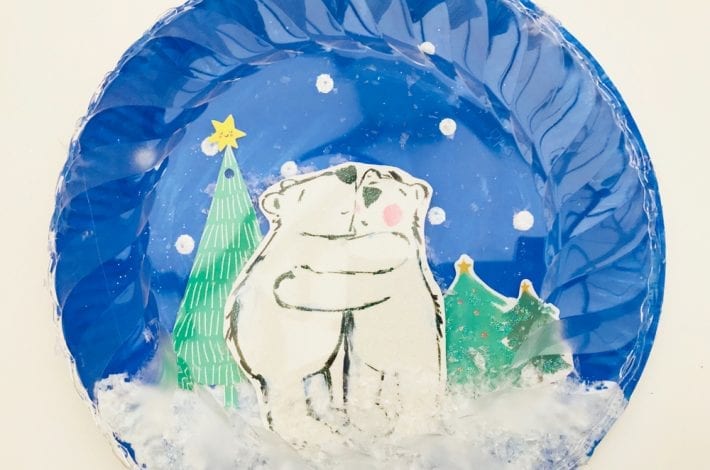
Step 8: Glue on your plastic plate
Spread glue all around the rim of your clear plastic plate and carefully stick it down on top of the paper plate. A glue gun is the easiest way to do this. Or you can use a strong PVA glue.
Your snow globe is now ready.
If you want to hang it up onto the wall you can also tape a loop of ribbon to the back of your snow globe.
Have great fun shaking your clear plate snow globe and make your festive scenes come to life as the snow rises and falls
