
Fun Kids Craft
Water Bottle Spaceship Craft
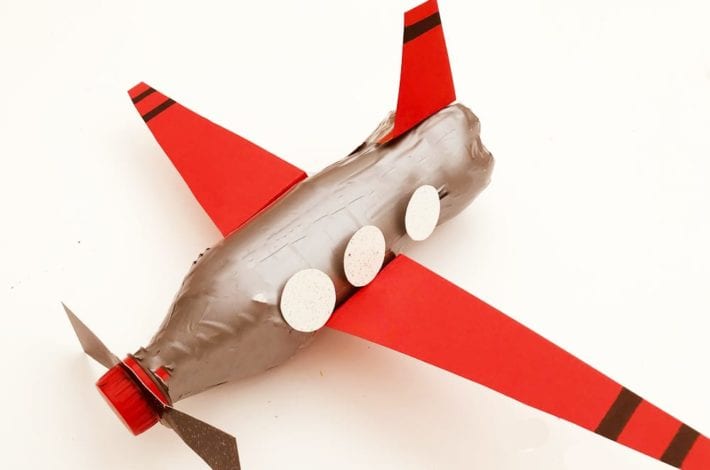
Kids will love to get creative and add decorations to make their bottle spaceship look out of this world.
Summary:
Time: 15 minutes
Ages: Little kids to Big kids
Difficulty: Easy peasy

You will need:
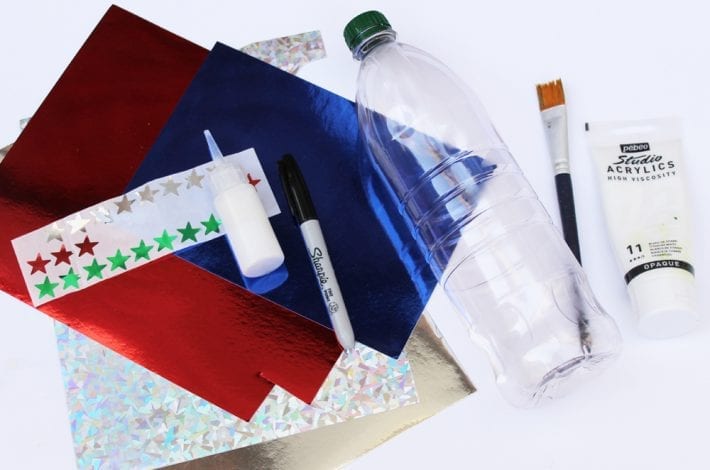
- Empty plastic bottle
- Paint – we recommend acrylic paints
- Paintbrush
- Card
- Scissors
- Glue or cellotape
- Stickers (optional)

Step 1: Paint your bottle
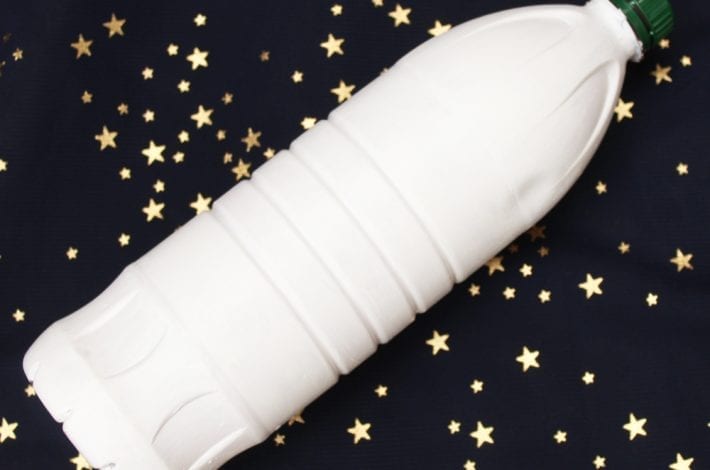
Paint your entire bottle in one colour. Here it has been done in white.
Acrylic paint work’s best as it applies a thick layer of paint over the plastic. You may still need 2-3 coats to get it a nice mat finish.

Step 2: Make a cone
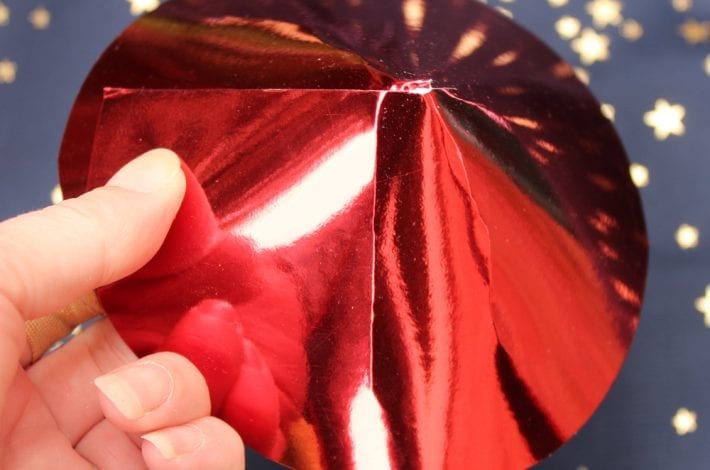
Cut a circle out of paper or card. Here we have used metallic red card.
Now cut a straight line in one place from the edge of the circle, into the centre of the circle.
This cut now allows you to curve your circle into a cone shape. Tape or glue down the edges to keep it in place.
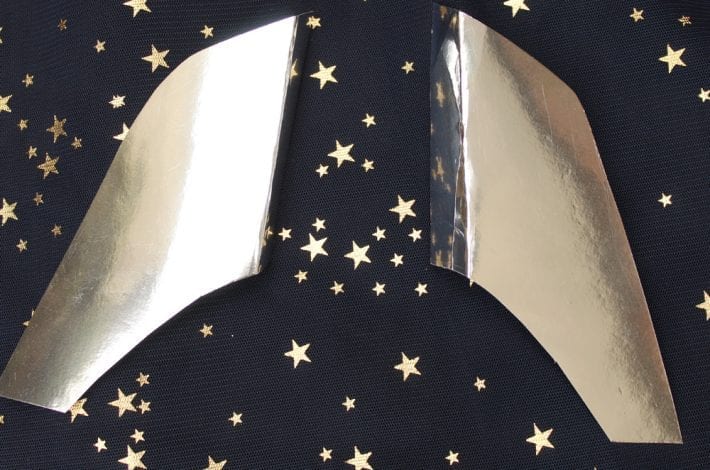

Step 3: Make some wings
Cut out two wing shapes from card. Here we’ve used silver card.
Fold a small edge on each as shown in the photograph here.
You can use this ‘tab’ to stick your wings to the bottle.
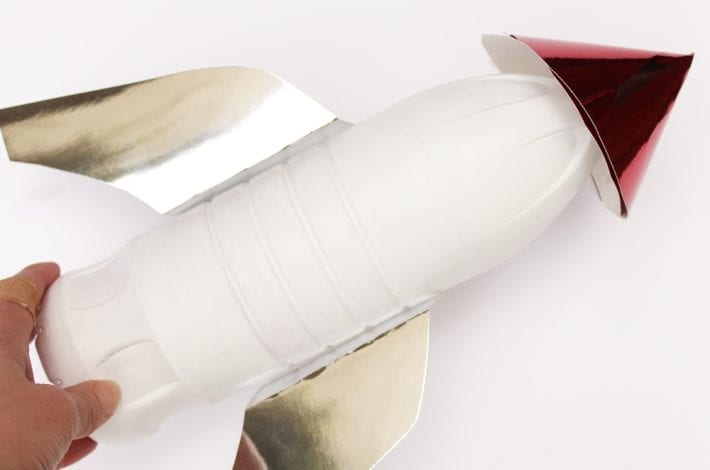

Step 4: Glue the cone and wings in place
Glue the cone to the top of your bottle and the wings to the sides.
You might find it easier to stick them in place with cellotape, especially if you’re doing this craft with young children.
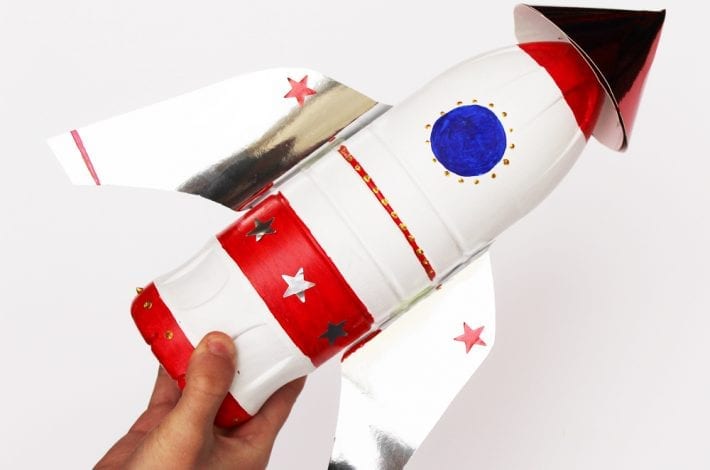

Step 5: Add the finishing touches
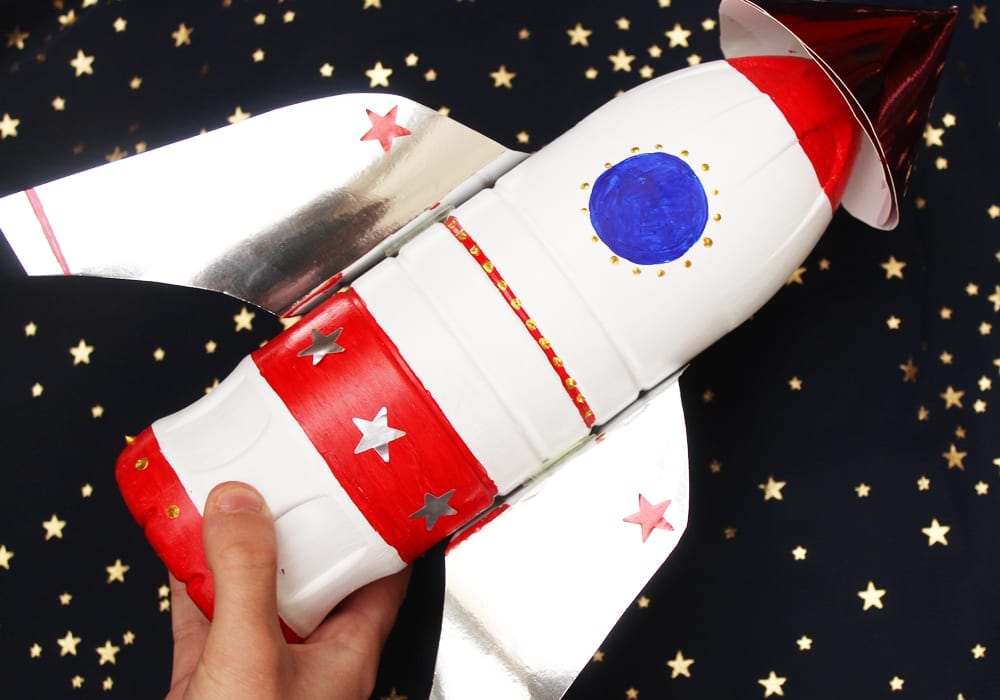
Now for a fun bit. Use paint to add windows and stripes of colour to your rocket.
You can let your creativity flow and paint on whatever patterns or designs you like.
You could also add some shiny stickers, buttons or gems for added pizzazz.
This bottle spaceship craft is a great way of recycling used plastic bottles.
It’s easy to put together and then kids can get creative. They can paint and stick on whatever they like to design their own spaceship.
When they’re ready they’re fun to play with too. You could even throw them across the room or garden and have a ‘space race’.

