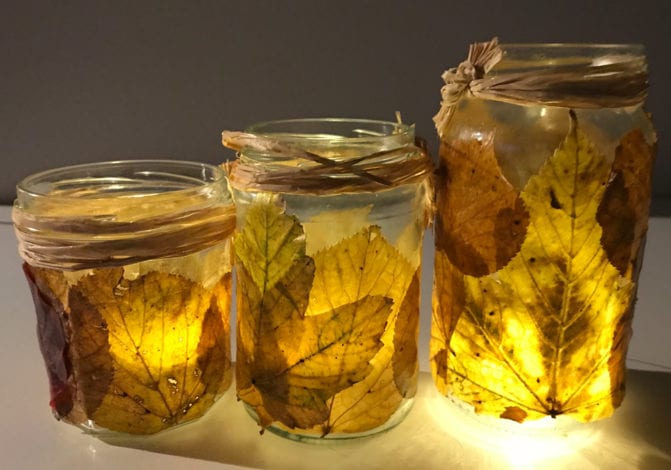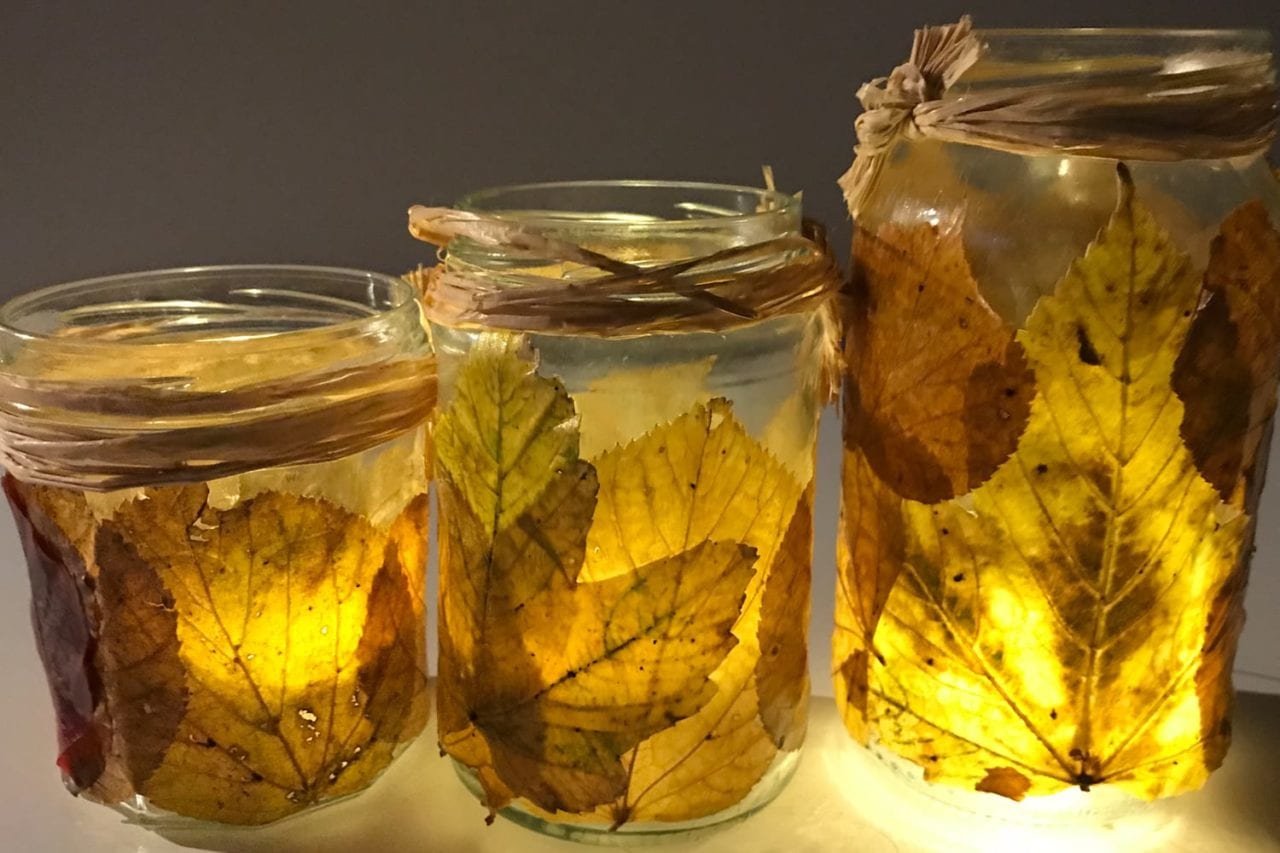

The air is turning crisp and cold, the leaves on the trees are turning red, yellow and orange, you can hear the sound of swishing leaves all around, it must be autumn! Make the most of this wonderful season and warm colours, by putting together these beautiful autumn leaf lanterns.
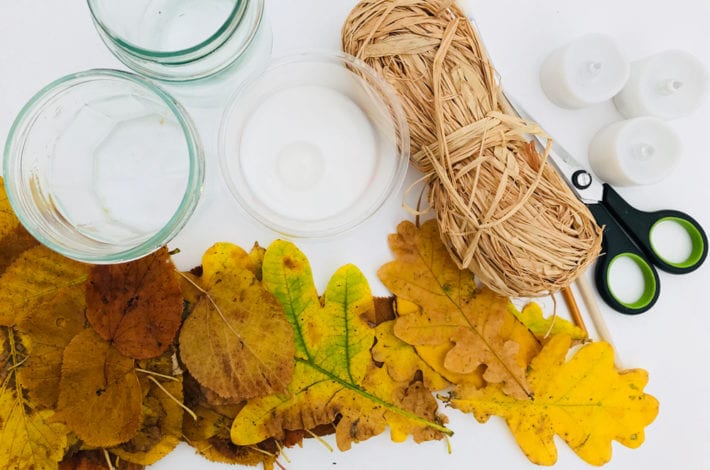

What you need:
- Autumn leaves
- Glass jars
- PVA glue
- Paintbrush
- Raffia
- Tea lights
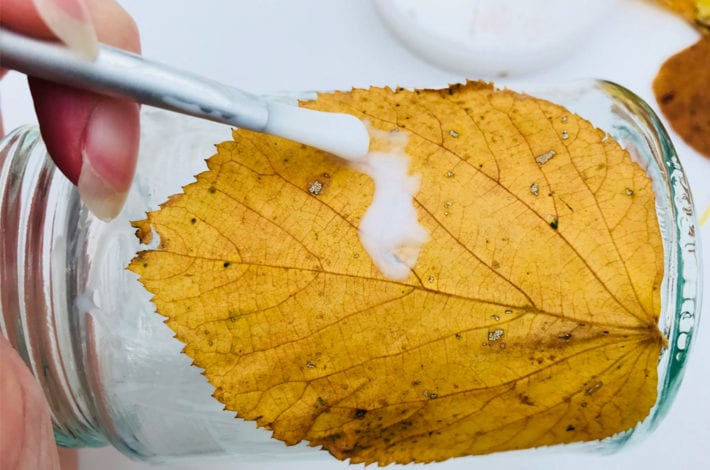

Step 1: Glue on your first leaf
Gather a selection of beautiful autumn leaves. It is best to press your leaves before you start, by placing them between two pieces of card and putting some heavy books on top. Leave them overnight.
Once your leaves have been pressed then you can start sticking them onto your jar. Spread glue all over the surface of your jar and then place your first leaf in place. Now paint all over the top of the leaf with glue. Make sure you spread glue all over the edges of the leaf.
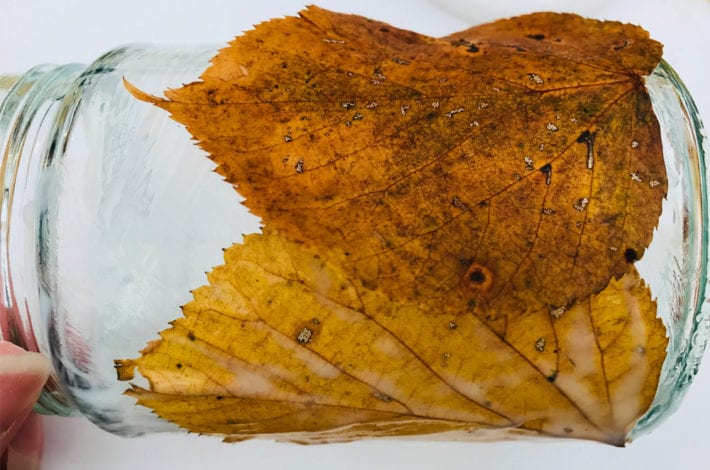

Step 2: Overlap as you go
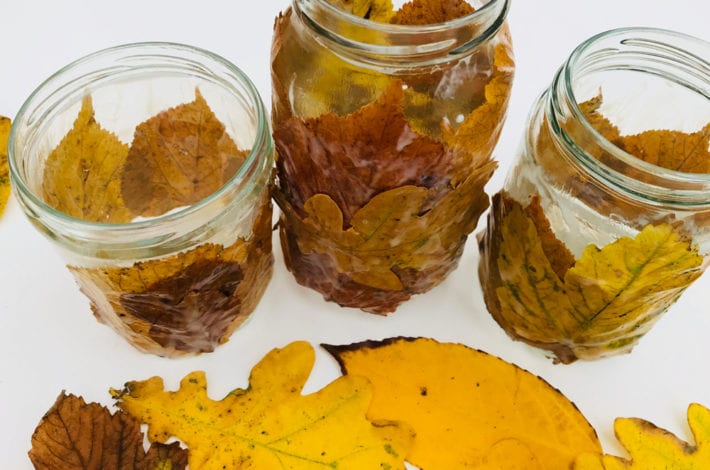
Choose another leaf and glue it down on your jar, overlapping your first leaf. Again cover the whole surface of this leaf with glue. Don’t worry if it looks all gloopy and messy, as it will be clear when it dries.

Step 3: Add more leaves until your jar is covered
Keep on adding leaves and gluing them down, choosing different shapes and colours. You will need to leave your jars to dry for a few hours (or overnight).

Step 4: Add your raffia trim
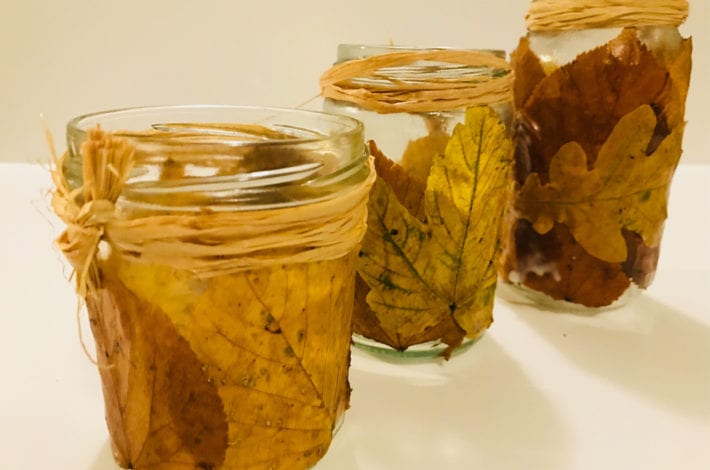
Once your jars are dry, tie some raffia round the top to finish them off. Pop a tea light candle inside and watch how beautiful they look as they glow.
Try your lanterns in the dark too!
