Fun Kids Experiments
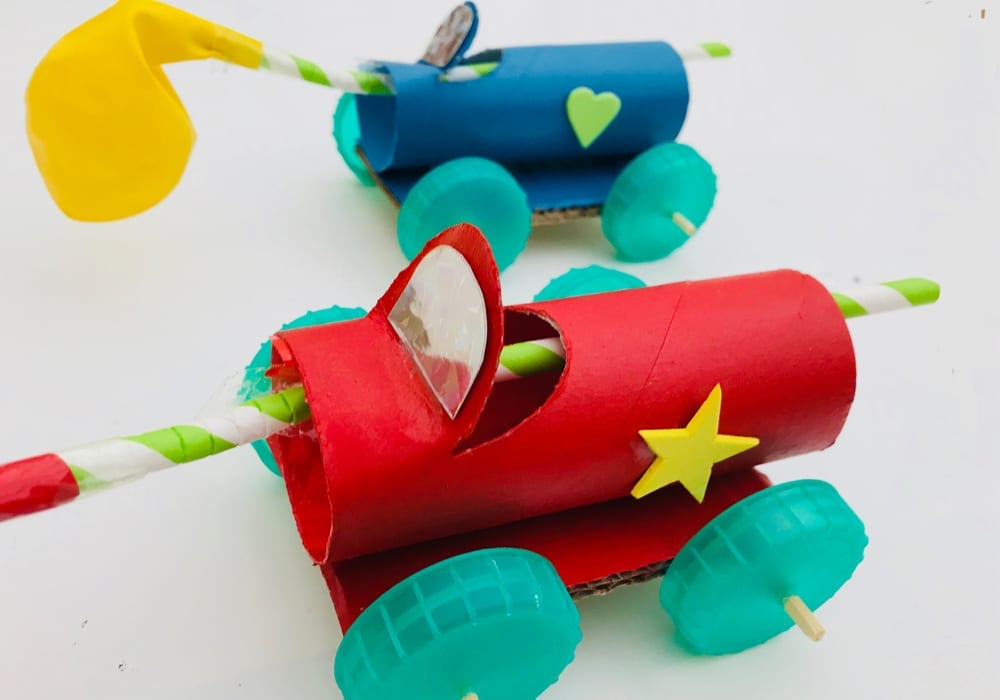
These balloon car racers are quick and easy to put together. They start off as a paper roll car which moves. Then a balloon is attached to give it some serious power. Blow up the balloon and watch your little car zoom away.
This project does have a few fiddly bits that your child might need help with. Overall though it’s a simple make using everyday household items. It’s so exciting to make a car craft that actually drives itself too.
Summary:
Time: 15 minutes
Ages: Big kids
Difficulty: A little tricky
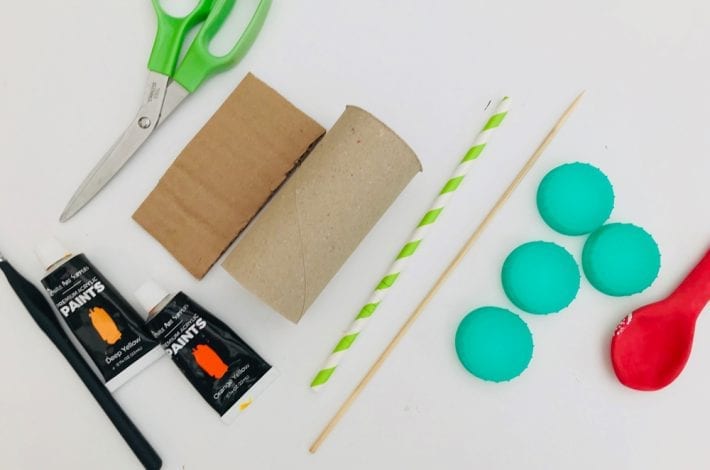
You will need:
- Paper roll
- Cardboard (from a cardboard box)
- Scissors
- Paint (we prefer acrylic paints)
- Paint brush
- Wooden skewer
- Drinking straws
- Plastic bottle tops
- Glue
- Balloon
- Sellotape
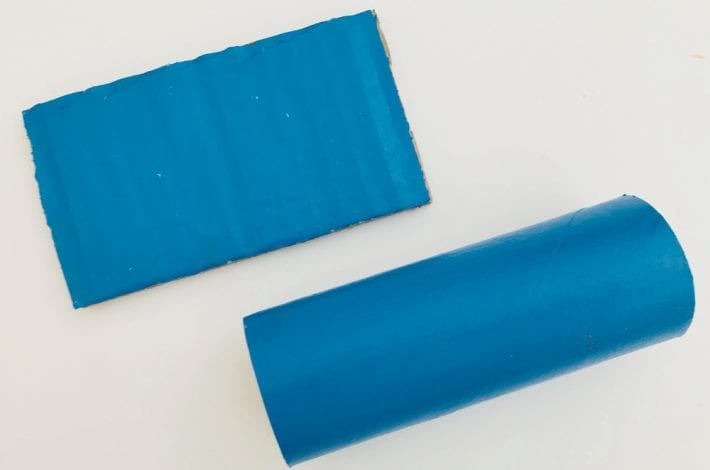
Step 1: Paint your card and paper roll
Take a cardboard box – the kind that parcels arrive in. Cut out a rectangle that is just slightly larger than your paper roll.
Paint this and the paper roll entirely in one cover. We always recommend acrylic paints as they coat the card in a thick layer of paint.
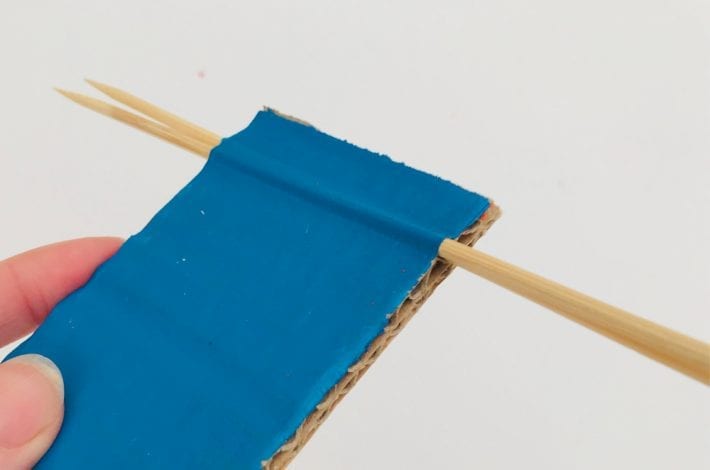
Step 2: Make some wide holes
Take 2 wooden skewers and thread them through one of the corrugated gaps near the end of your cardboard rectangle.
Poke the skewers all the way through and then roll and wriggle them around to make the hole wider. It needs to be wide enough so that you can thread a straw through.
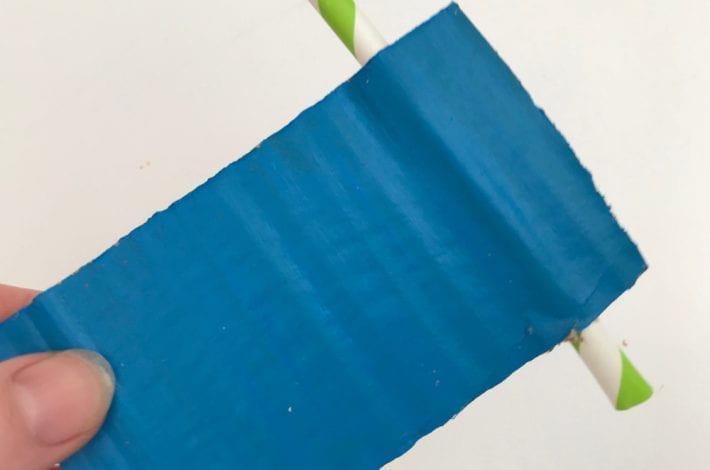
Step 3: Insert a drinking straw
Take a drinking straw and poke it through the space you’ve created.
Trim the edges so that the straw only sticks out about half a centimetre on each side of your rectangle.
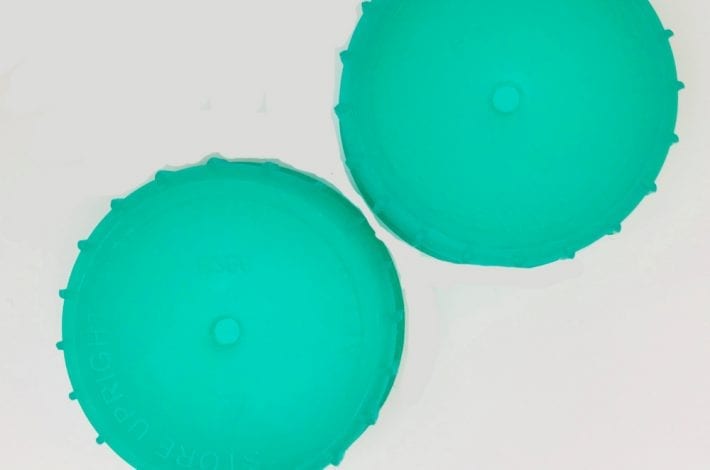
Step 4: Make holes in the wheels
Collect 4 plastic bottle tops. The ones from milk cartons are ideal as the plastic is nice and thin so it’s easier to make a hole through them.
You need to make a hole in the centre of each bottle top. You could use a small drill. But we were able to make a hole easily by pressing down with the sharp end of a compass. A sharp pair of scissors would work too.
If you’re doing this craft with small children, this bit is best done by an adult.
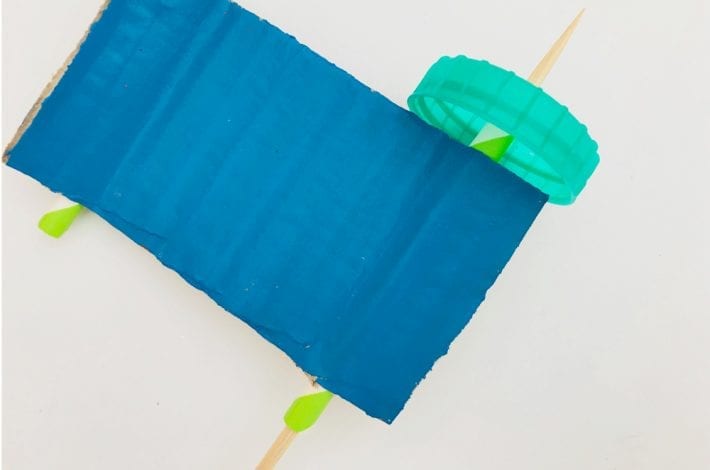
Step 5: Attach one wheel
Take a wooden skewer. Thread it through the hole you have just created in the wheel so that it sits on one end of the skewer.
Then thread the wooden skewer through the straw on your rectangle. The wheel should now be sitting at one end of the car.
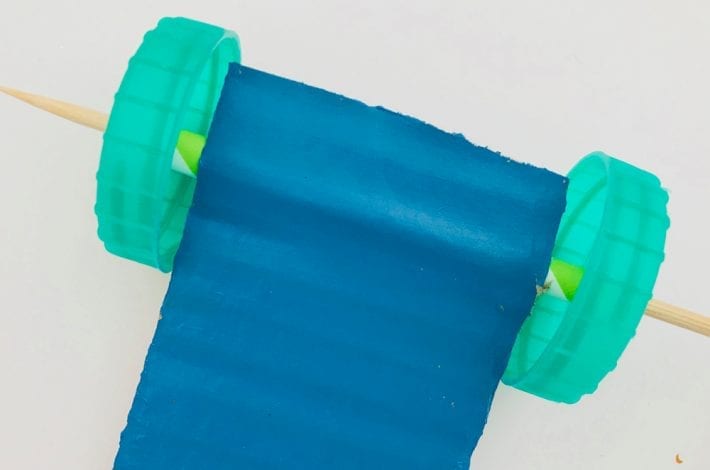
Step 6: Attach the other wheels
Now thread the second wheel onto the other end of the skewer. You should now have two wheels on either side of the car with the skewer poking out.
Trim the ends of the skewer so that it only extends about 1 cm past the bottle caps.
Your wheels should now be firmly attached but still be able to move freely. This means your car can travel back and forth.
Repeat the process for the two back wheels.
Step 7: Make the windscreen
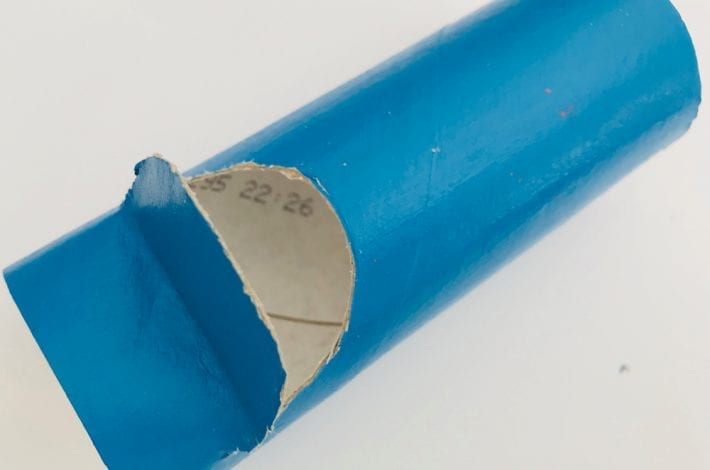
Take some scissors – curved nail scissors are really handy for this bit. Cut out a little semi circle near the front of your paper roll.
Fold the flap up to make the front windscreen of your car.
Step 8: Assemble your car
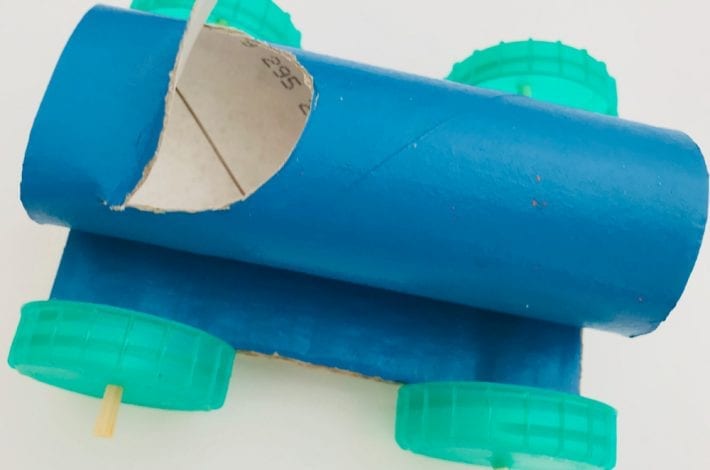
Now glue the painted paper roll down onto the card rectangle.
PVA glue works well, as long as you leave it to dry for a while. You could also use a glue gun.
Step 9: Add some balloon power
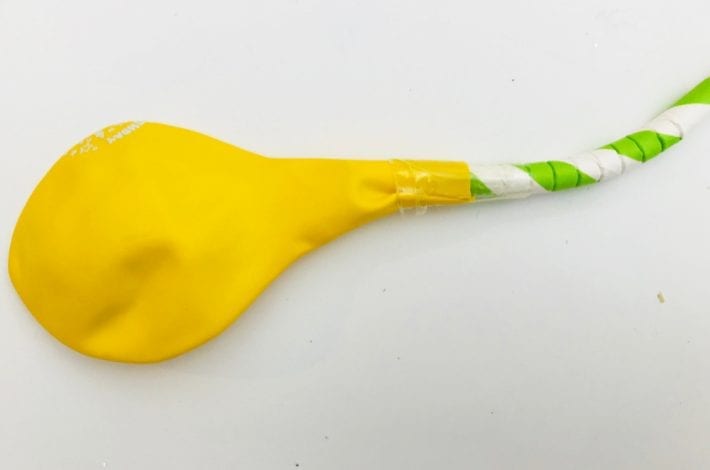
Take a drinking straw. A bendy one ideally. You can buy bendy paper drinking straws easily online like these on Amazon.
If you can’t get hold of one then a straight straw will do.
Trim the end off a balloon.
Place it over the straw and tape it onto the bendy end of your straw. Make sure there are no gaps and that it is taped down well.
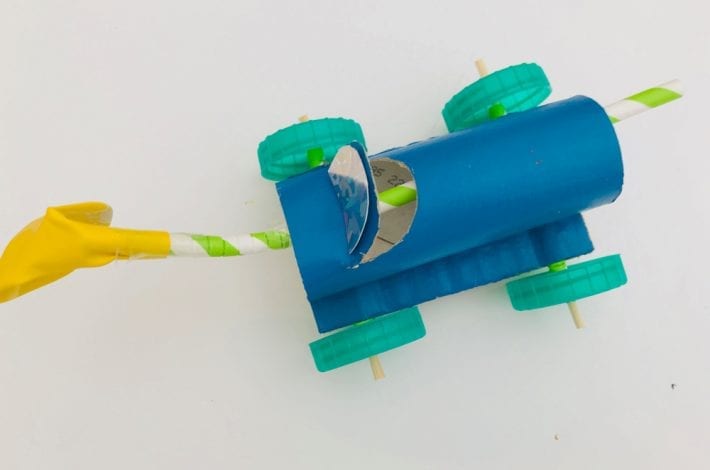
Pass the straw through your paper roll car.
Ready, steady…zoom!
Your car is all ready to take it’s first trip. Blow up the balloon. Hold your finger over the end of the straw to keep the air trapped inside the balloon.
When you’re ready, take your finger off and watch your car race across the table or floor. It travels quite fast!
How far can it go? Make another one and why not hold some balloon car races?
This post may contain some affiliate links. This means that if you click to make a purchase that we may earn a small commission at no extra cost to you.

