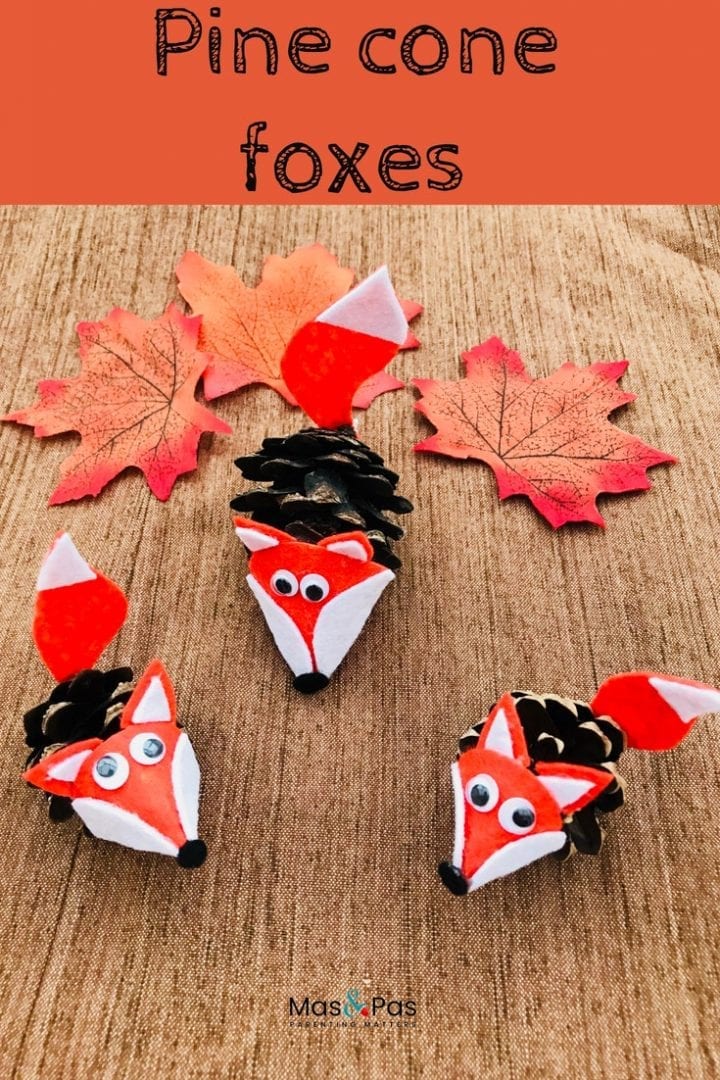
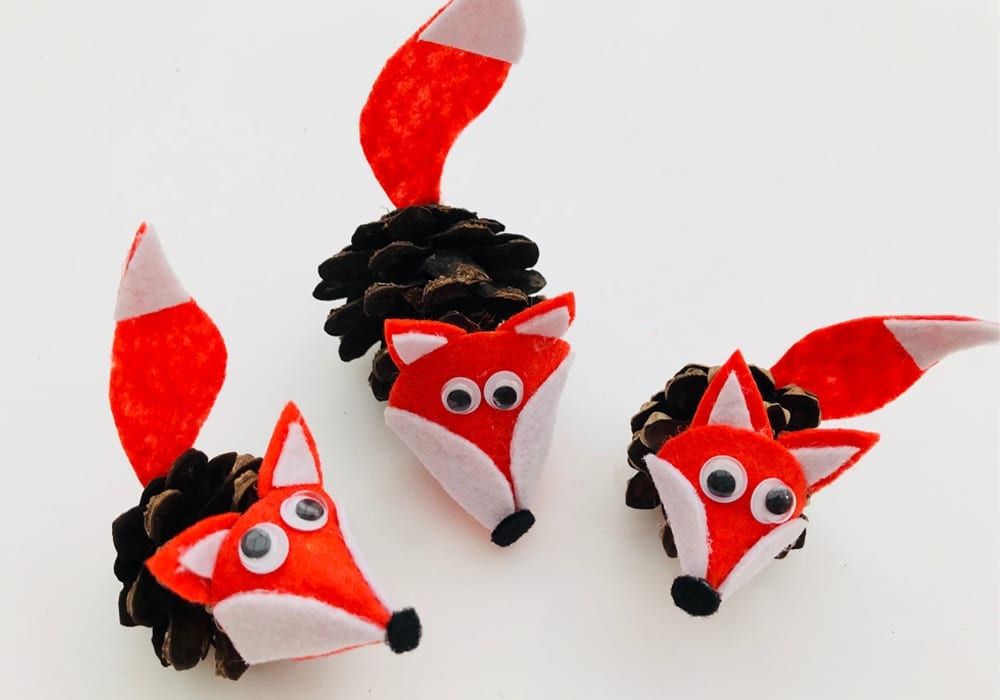
This craft turns the ordinary pine cone into a brightly coloured pine cone fox. Add in some Autumn leaves for the full effect!
Summary:
Time: 15 minutes
Age: Big kids
Difficulty: Easy peasy
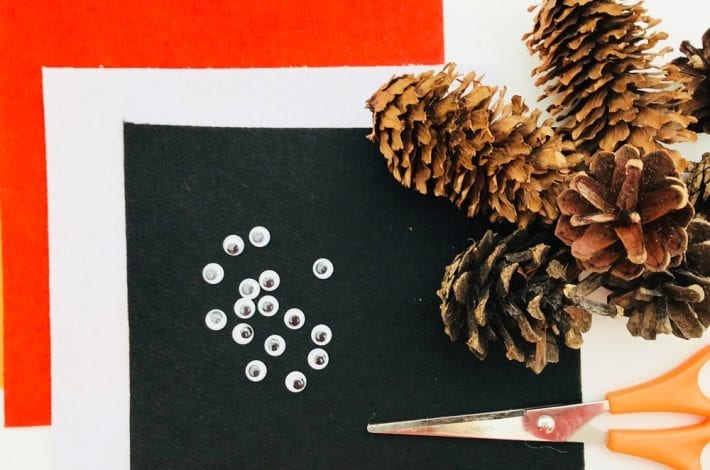
You will need:
- Orange, white and black felt
- Pine cones
- Googly eyes
- Scissors
- Glue gun or very strong glue
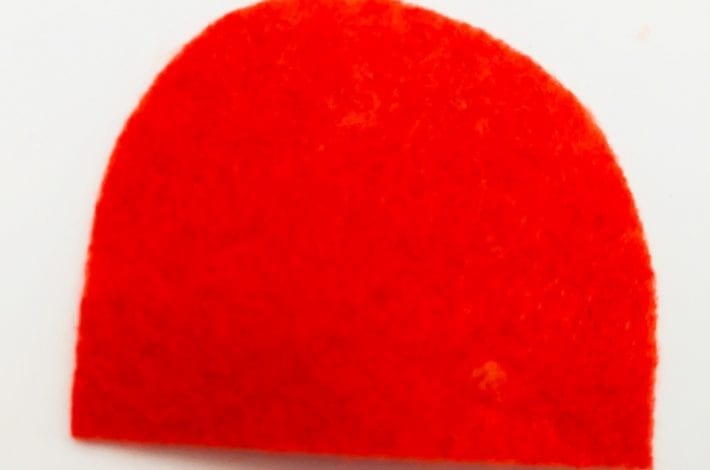
Step 1: Cut a semi circle of orange felt
Cut out a semi circle from a sheet or orange felt. This will be the fox’s face so it needs to be quite small.
The straight side of our semi circle was about 4 cm (1.5 inches) long.
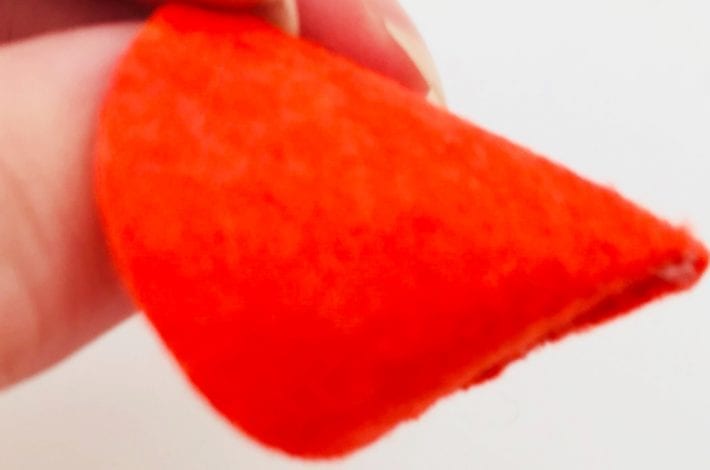
Step 2: Roll your felt into a cone
Place a line of glue along one half of the straight edge of your semi circle. Now roll it up to make a cone.
Hold the edges until the glue dries and your cone holds firmly in place.
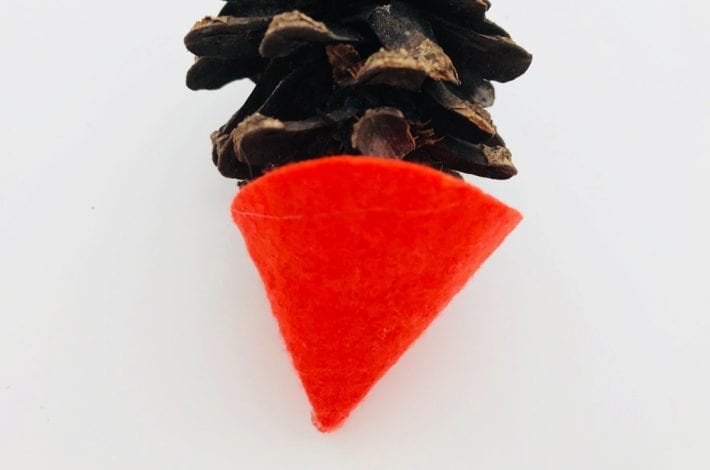
Step 3: Stick the felt orange cone onto your pine cone
Place lots of glue inside and around the inner edges of your felt cone and stick it onto the front of your pine cone.
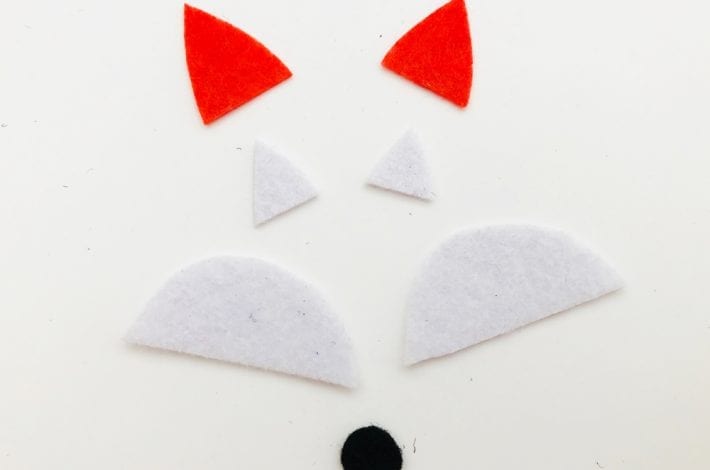
Step 4: Cut out some more felt shapes
Cut two little ears from orange felt. Then cut two smaller shapes from white felt to make the insides of the ears.
Cut out two thick white semi circles from the white felt, and a tiny black circle for your fox’s nose (from the black felt).
All these shapes will add detail to your little fox’s face.
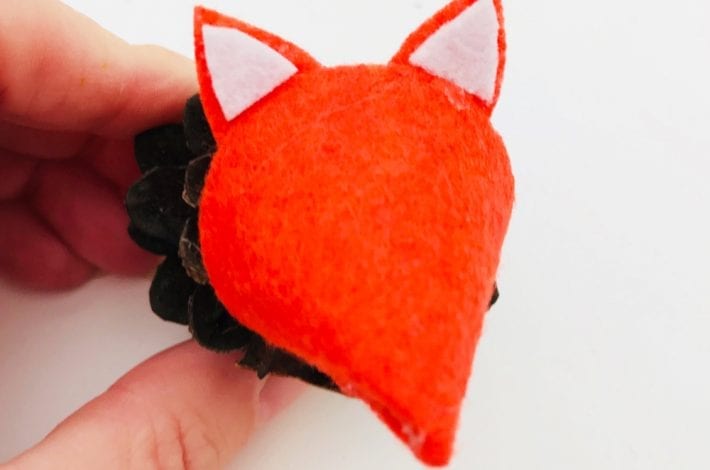
Step 5: Glue on the ears
Stick the white felt shapes onto the orange triangles.
Then glue the fox’s ears in place.
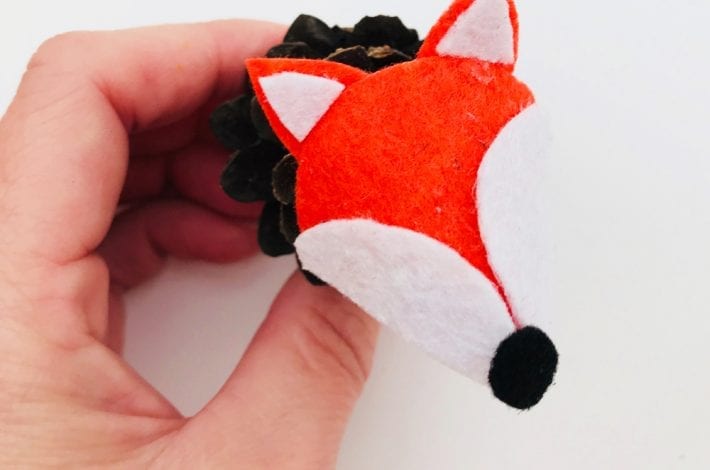
Step 6: Add more foxy details
Glue the white semi circles to either side of your fox’s snout and then stick the black dot on the point of the cone for his nose.
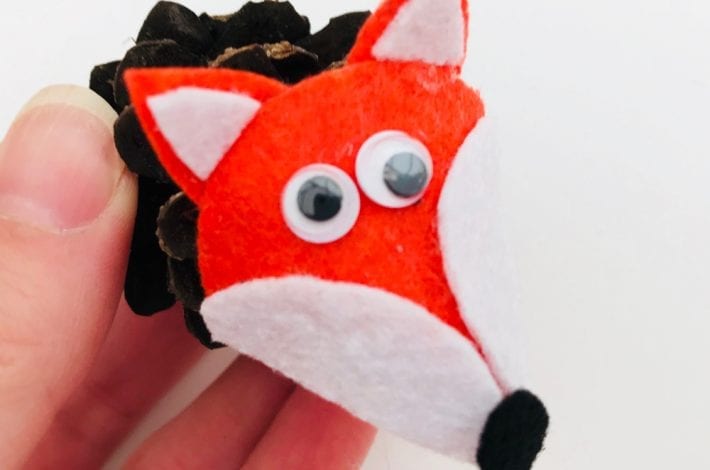
Step 7: Add the eyes
Glue on two little googly eyes to finish your fox’s face.
If you don’t have any google eyes then you can cut two little black felt circles and stick them on instead.
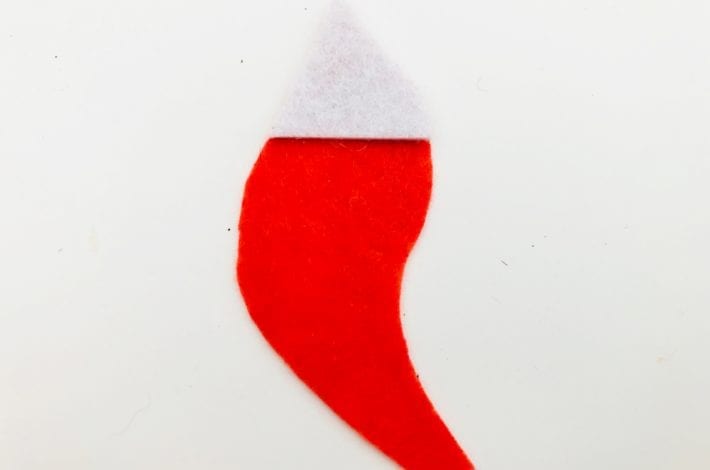
Step 8: Make the tail
Cut a tail shape from orange felt. Then cut out a little white felt tip.
Glue the two together to make a bushy tail.
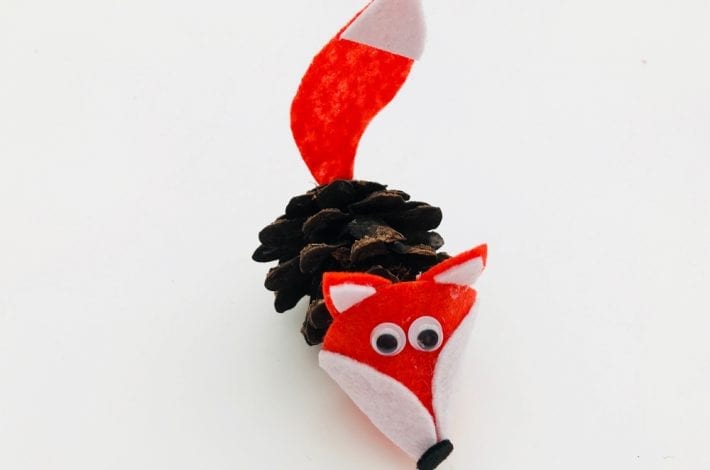
Step 9: Glue on the tail
Glue the bushy tail in place. Your little fox is ready.
Why not make your pinecone fox some friends or family?
