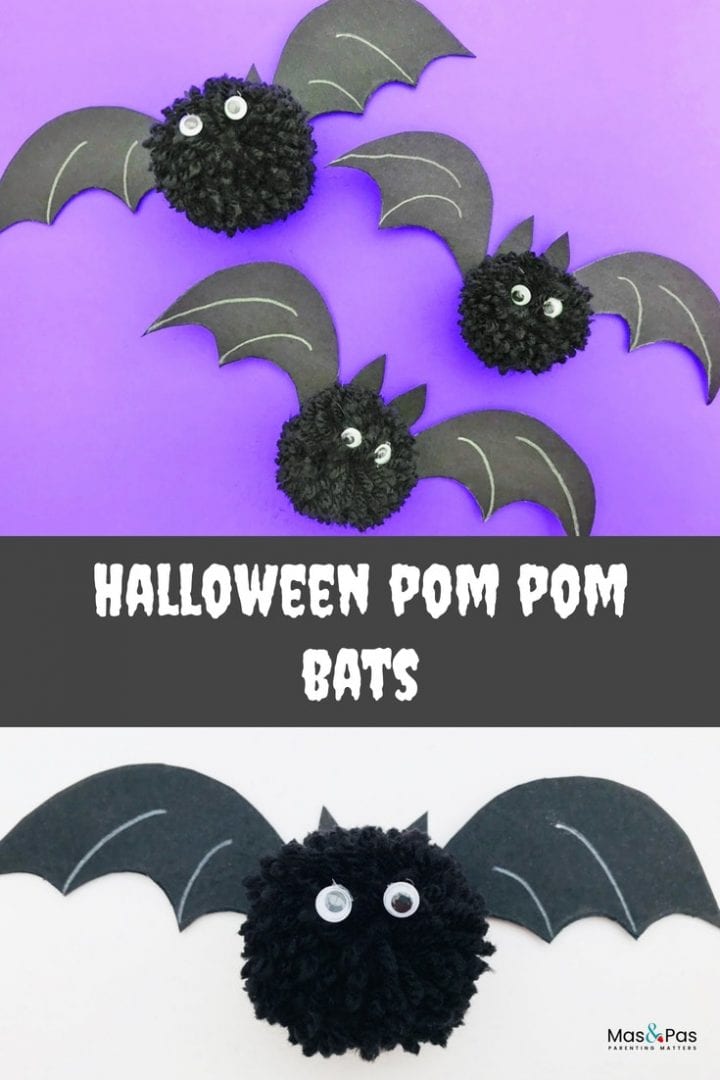
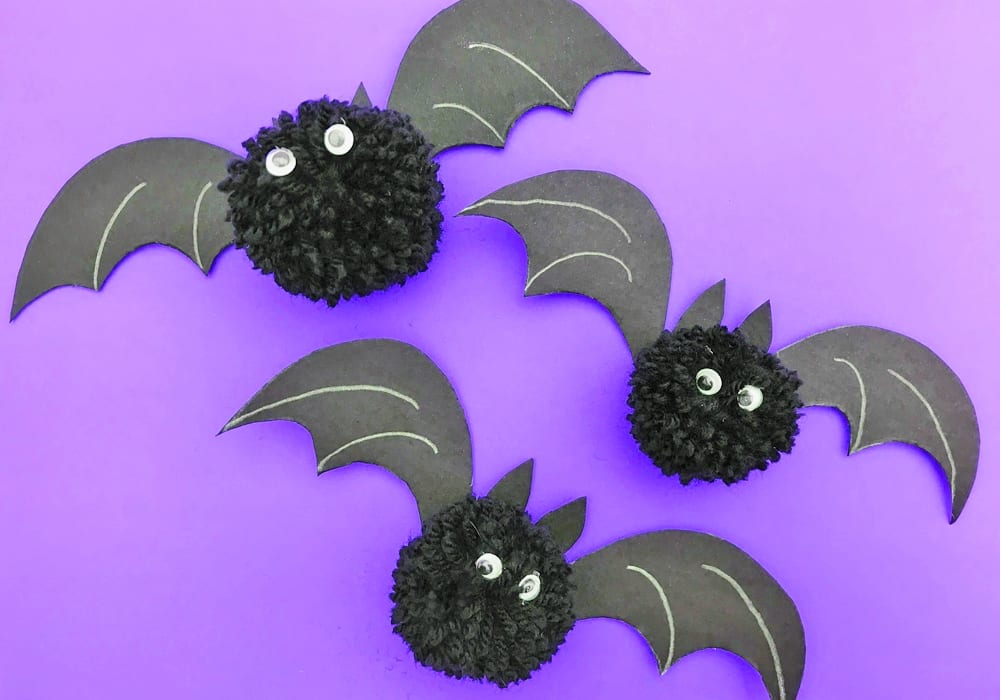
Making pom poms from scratch can be easy and lots of fun. And when you make them with black wool, you can turn your homemade pom poms into Halloween bats in minutes.
If you end up making a whole cloud of pom pom bats, you could hang them up as Halloween decorations as well!
Summary:
Time: 15 minutes
Age: Little kids to Big kids
Difficulty: Easy peasy
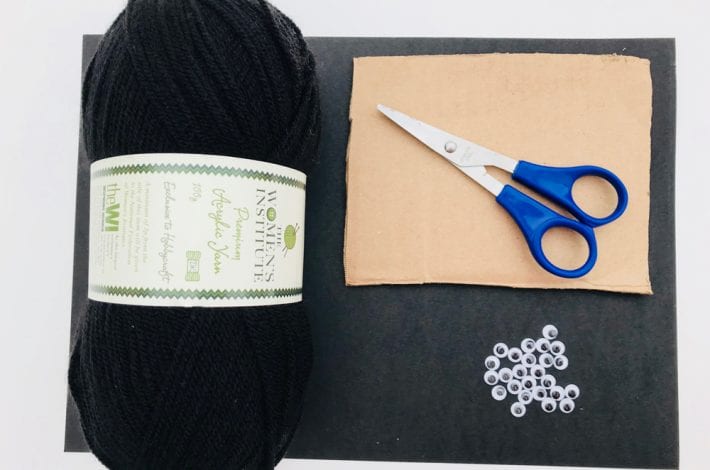
You will need:
- Piece of stiff card
- Black wool
- Scissors
- Black card
- White pencil
- Glue
- Googly eyes
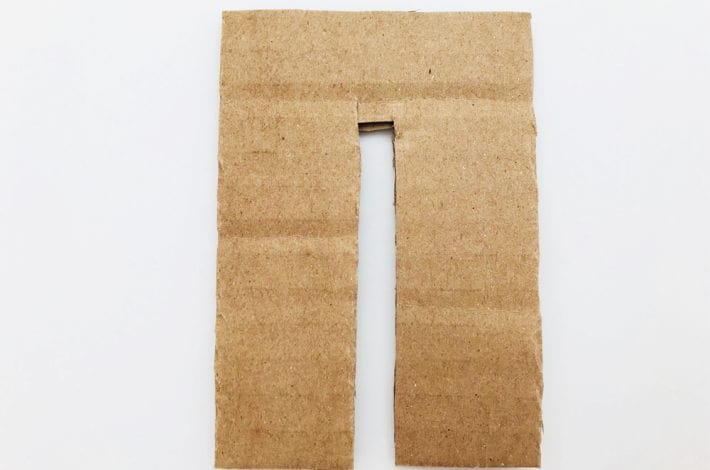
Step 1: Cut out your pom pom maker
You might have a plastic pom pom maker at home that you can use. If you do but don’t know quite how to use it, see our step by step pom pom making method in this craft: Pom pom peas in a pod.
If you don’t, then here’s a really easy way to make pom poms:
- Start by cutting a rectangular shape out of stiff cardboard. The bigger your rectangle, the bigger your pom pom will be. We cut a rectangle that was roughly 10cm x 5cm.
- Now cut a line out of the middle of your rectangle, stopping about 2 centimetres before the edge.
And that’s it. You now have your very own easy peasy pom pom maker.
Step 2: Wrap wool around your pom pom maker
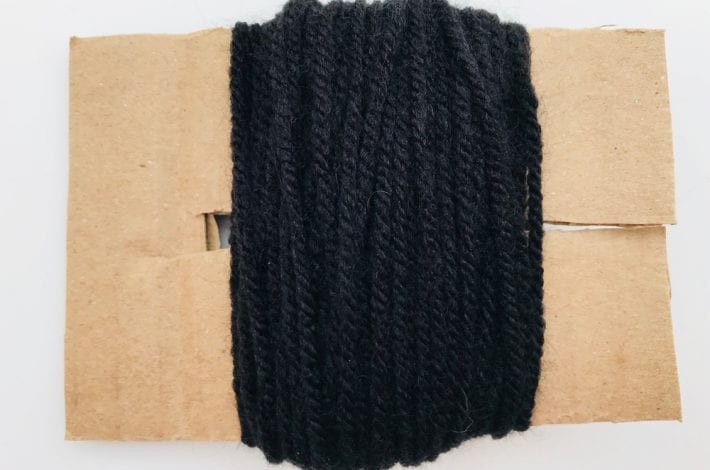
Wrap black wool round and round the width of your rectangular piece of card, starting at the mid-point.
Keep wrapping but make sure that part of the slit is visible on either side of the wrapped wool, as you will need to use the gaps in the next step.
The more wool you wrap, the fatter your pom pom will be.
Step 3: Tie the middle
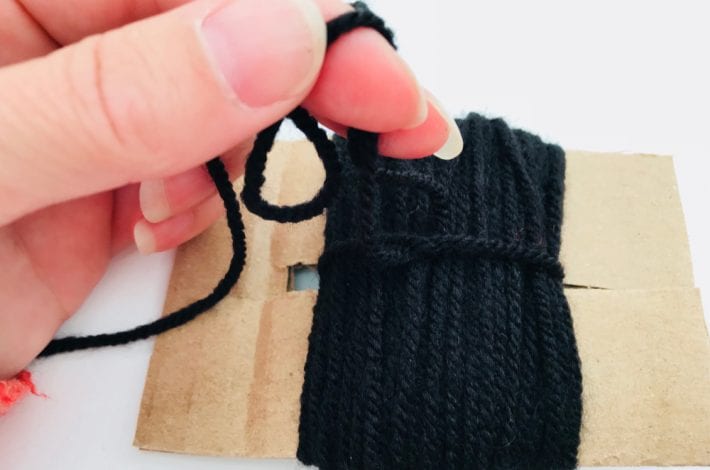
While your wool is still on the cardboard, take a separate length of wool.
Tie it round the middle of the wrapped wool and knot it as tightly as you can.
You will need to pass the wool through the slit to do this.
Step 4: Tie the other side
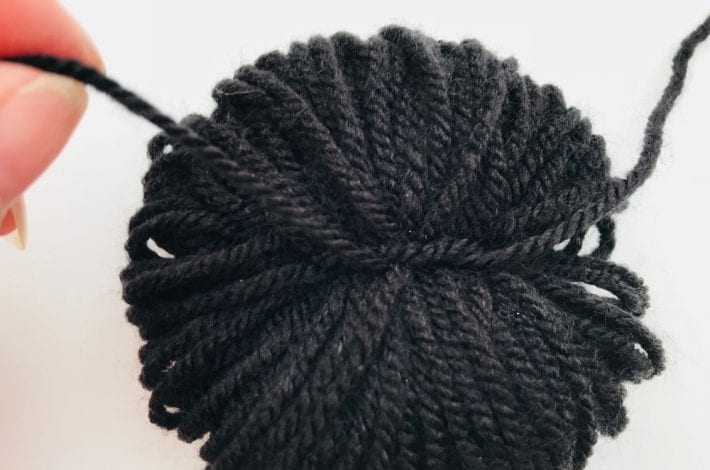
Gently ease the wool off your cardboard.
Take another length of wool and tie it around the middle again, this time tying the knot on the other side.
Small children will need help with this to make sure the middle of the wool is tied very tightly and with double knots, so it’s nice and secure.
Step 5: Cut the loops
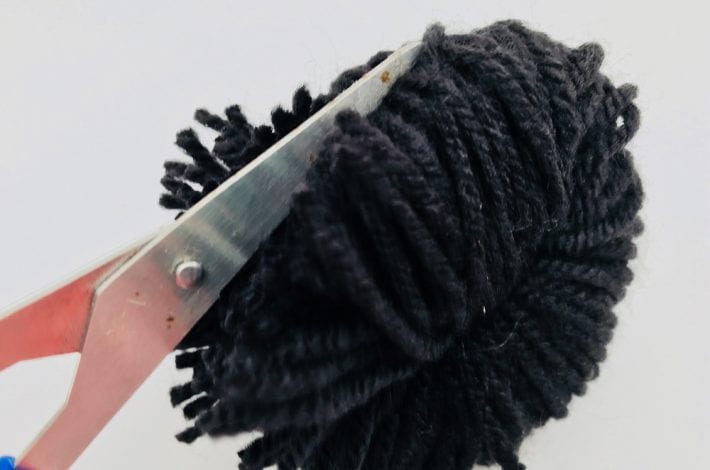
You should now have 2 sets of wool ‘loops’ which are separated by the knotted wool tying the bunch in the middle.
Take your scissors and cut through the middle of the loops.
When you’ve finished you’ll probably end up with a pom pom that is a bit messy and straggly. Don’t worry. It just needs a good haircut.
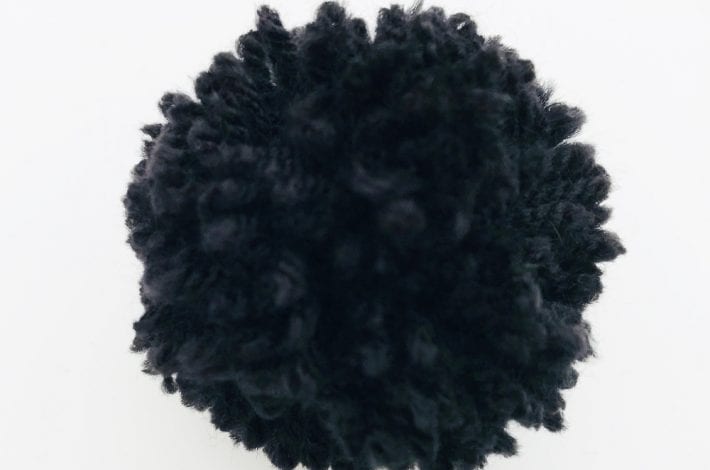
Step 6: Give your pom pom a haircut
Snip the wool edges all over until they’re the same length and you have a nice neat fluffy pom pom.
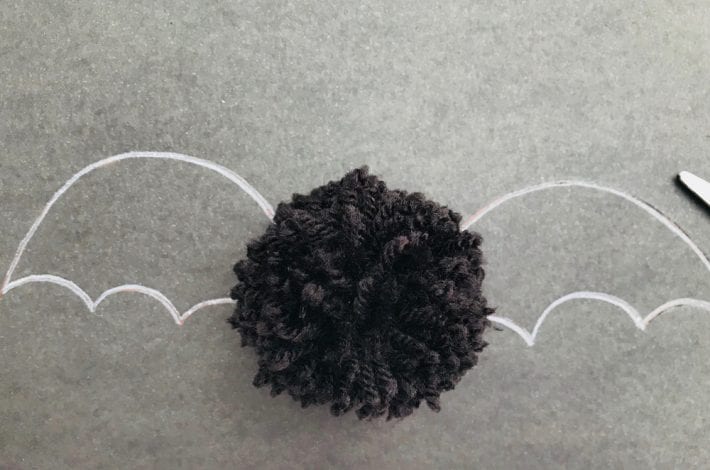
Step 7: Draw the bat’s wings
Place your pom pom to a piece of black card.
Then draw out the wings with white pencil or chalk.
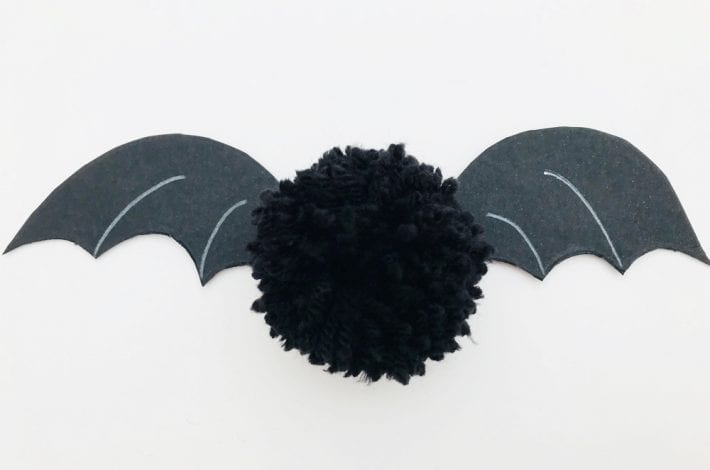
Step 8: Cut out the wings
Cut around the wing outline and draw on some white lines to add detail to the bat’s wings. You can do this with white pencil, chalk or using a silver pen.
Glue the pom pom onto the black wings.
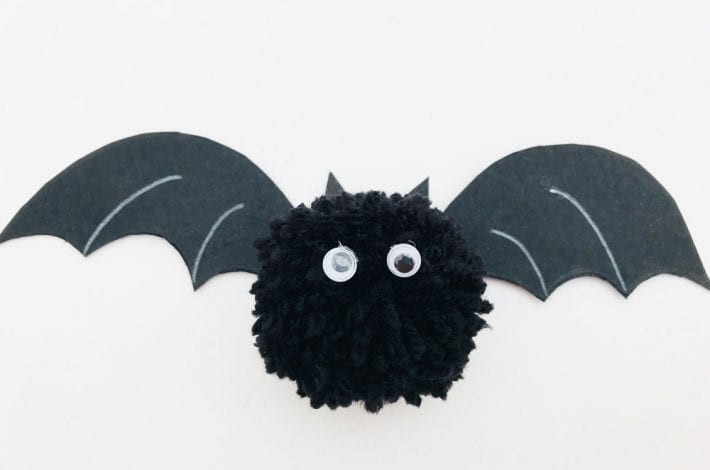
Step 9: Add the ears and eyes
To finish off your pom pom bat, glue on two googly eyes.
If you like you can also cut out two small triangles from black card to make two little ears.
Glue these on to the top of the pom pom to complete your bat.
Why not make a whole family of Halloween bats?
