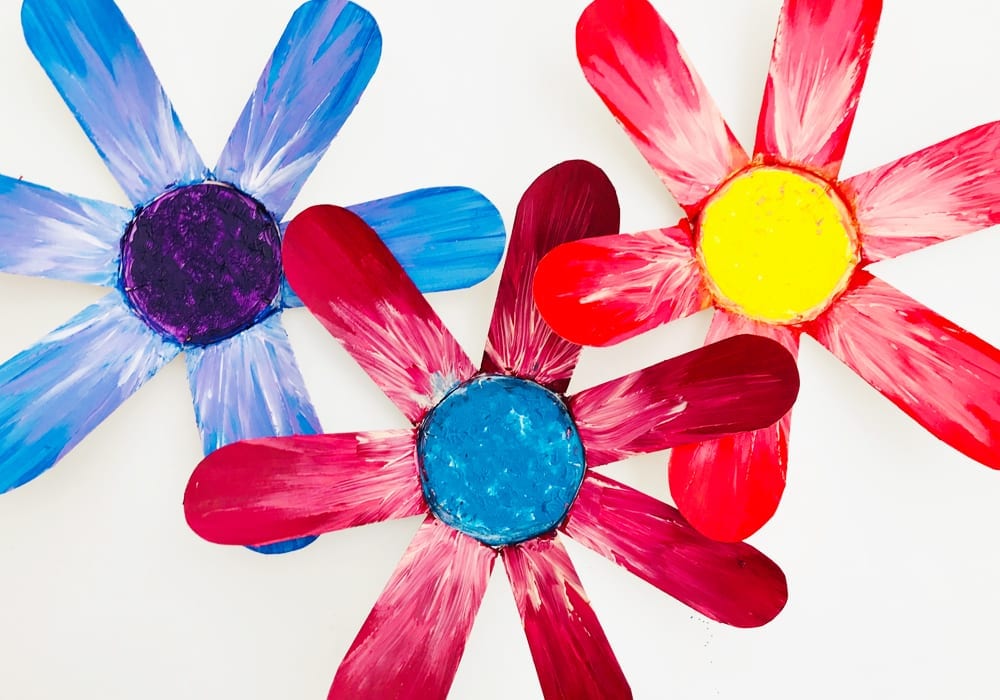
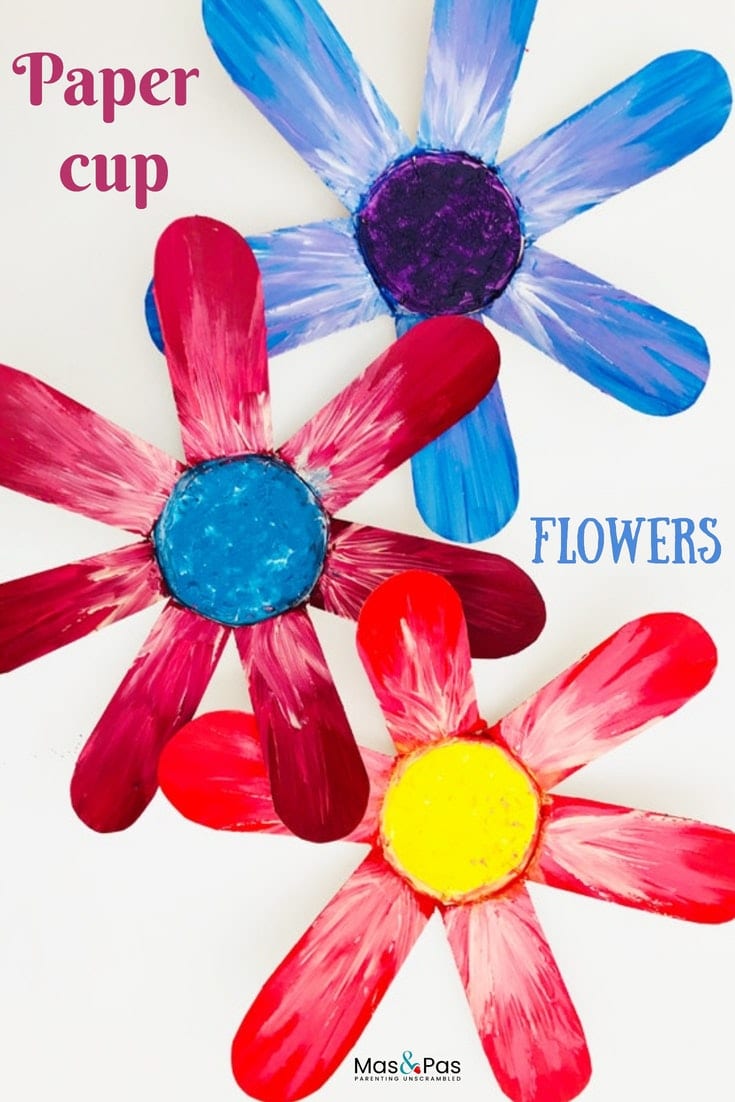
You can transform them into brightly coloured daisy flowers using just 4 items.
We show you how to do this as well as showing you a simple painting technique that even very little kids can do to make their flowers look like masterpieces.
Enjoy this cheery spring craft.
These bright paper cup flowers can be hung up as bunting or even stuck to the wall as a giant colourful floral display.
Summary:
Time: 10 minutes
Age: Little Kids to Tweens
Difficulty: Easy peasy
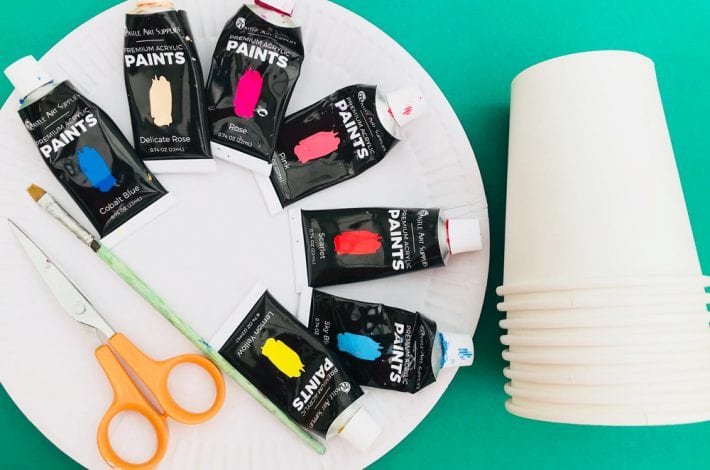
You will need:
- White paper cups
- Scissors
- Acrylic paints in bright colours
- Paintbrush
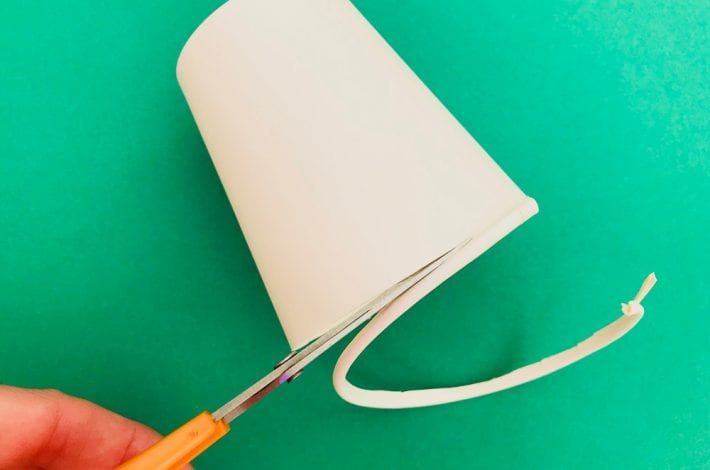
Step 1: Trim the rim
Carefully cut away the rim of your paper cup.
This bit is a little fiddly so if you are doing this craft with small kids then it might be best if an adult does this.

Step 2: Cut strips down your cup
Starting at the rim cut down to the bottom of the cup.
Then make another cut about 2cm over from the first one. Again cut from the rim to the base.
Keep cutting until you have cut strips around your whole paper cup.
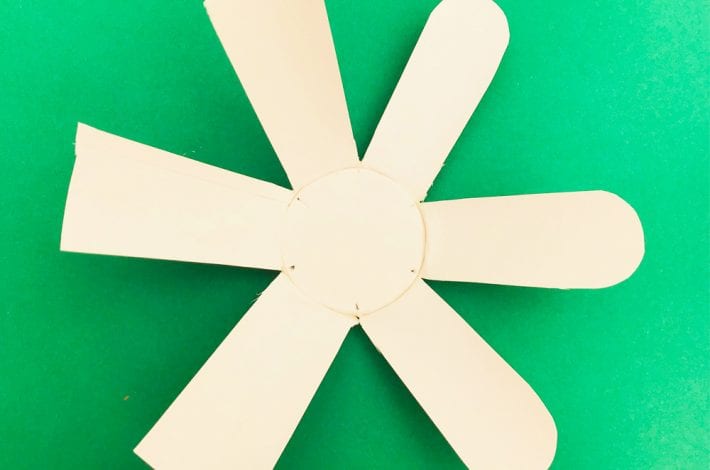
Step 3: Shape the petals
Bend down each strip of your cup until they all lie flat around the centre.
Now round off each end with scissors to make it a petal shape. Your paper cup now looks more like a flower and is all ready to paint.
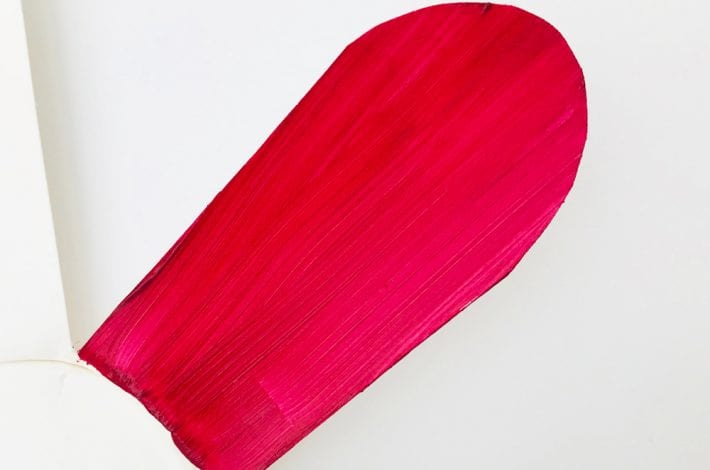
Step 4: Paint your petals
Feel free to paint your paper cup flowers however you prefer. You can use blocks of your chosen colour for the petals to make them look beautiful.
Our easy 3 layer painting technique
We’ve chosen to blend three different paints together using a simple painting technique that’s very effective.
To do our paint technique pick three similar colours, each one a little lighter than the next. For this flower we picked:
- dark red
- bright pink
- pale pink
Paint your petals in the darkest shade first as the base coat.
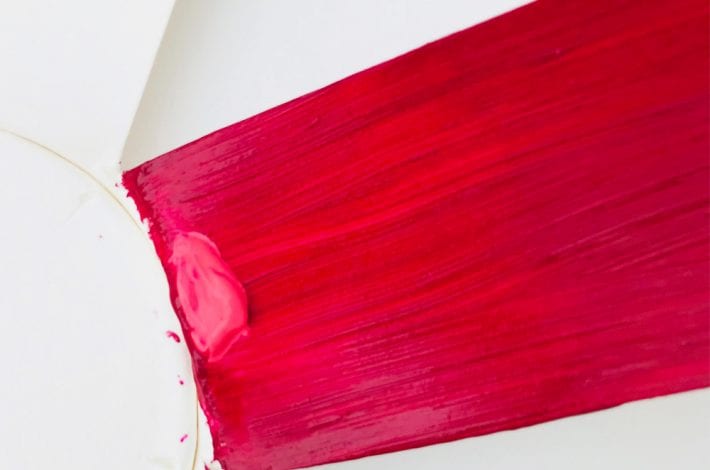
Step 5: Add a blob of your medium colour
Add a little blob of the next colour to the base of your petal.
We added a blob of the darker pink colour we had chosen.
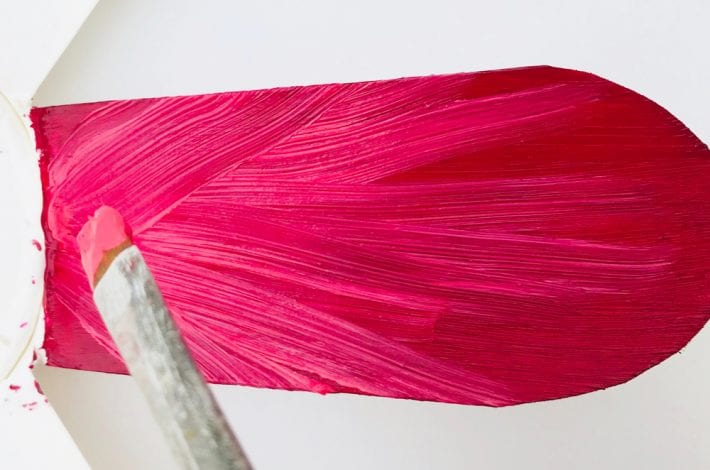
Step 6: Brush strokes
Place your paintbrush in the blob of colour and make large crush strokes up the petal. Don’t go all the way to the top.
Keep painting until you are happy with the results. The colours blend in together and make a lovely effect.
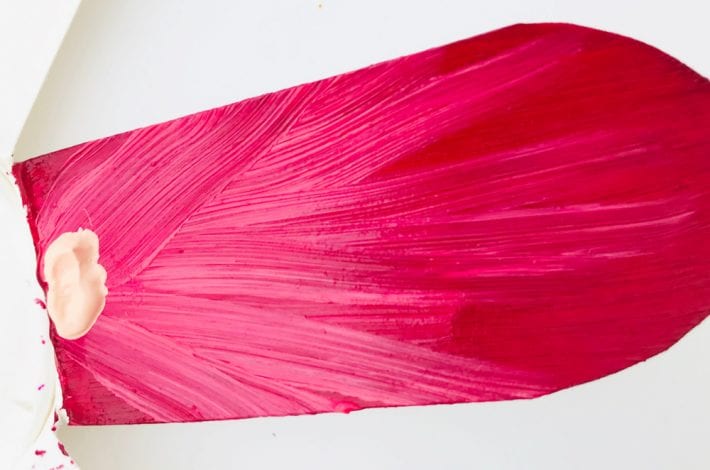
Step 7: Add your lightest colour
Now place a blob of your lightest colour paint at the base of each petal.
We used a pale pink.
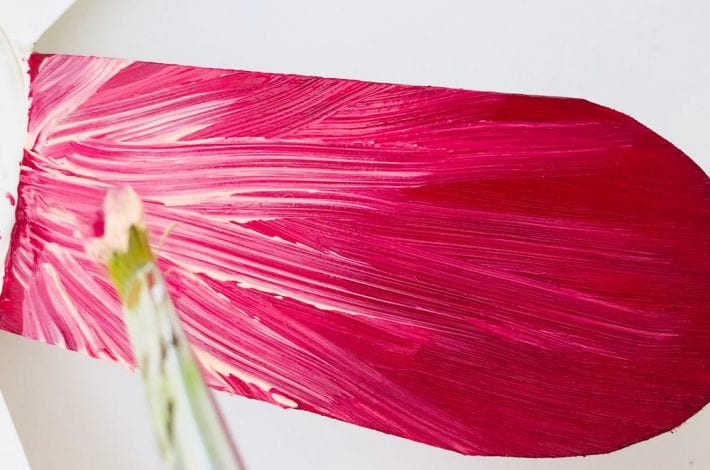
Step 8: Brush the lighter colour
Again place a paint brush in your blob of paint and brush it up the petal.
Brush up a few strokes of your lighter colour.
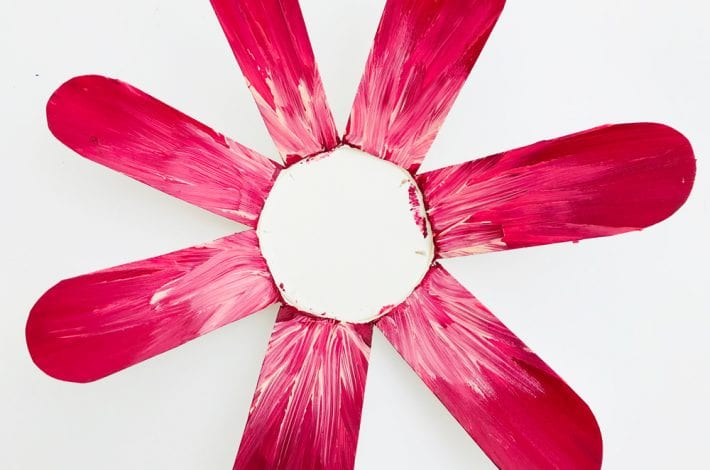
Step 9: Flower power
Now all your flower needs is a pretty centre. And this is the messy bit.
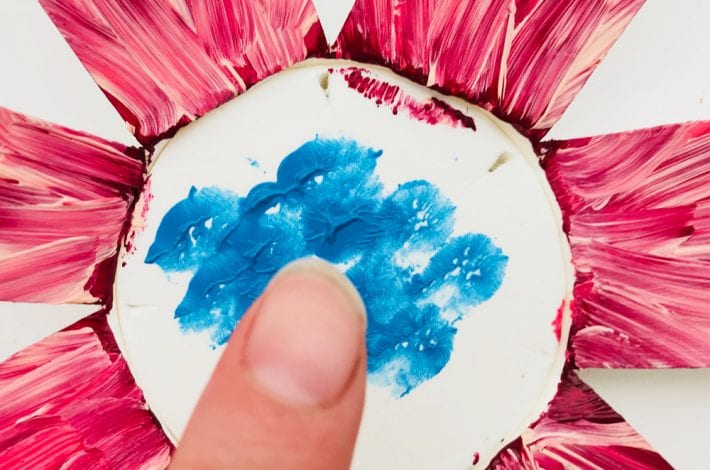
Step 10: Get messy
Choose a nice colour for the centre of your flower and squeeze a bit out onto a paper plate.
Dip your finger into the paint and make lots of fingerprints until the whole centre of your flower is covered.
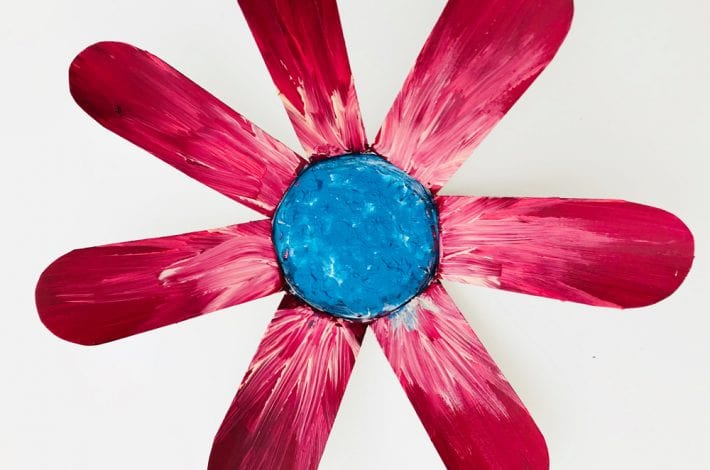
Ta-dah! Your painted flower is complete
Your beautiful paper cup flower is ready to go.
Make a few more in different colours to create a series!
These flowers are so much fun to make and paint that you’ll probably want to make a whole bunch. They would look lovely displayed on the wall in a huge floral montage.
You might also like these spring crafts for kids:
Meadow of dancing sheep
Little cork boats that float
Pretty tulle butterflies
Incredible ice paints

