Home · Kidspiration · Arts + Crafts · Easter egg basket with paper plates

Easter egg basket with paper plates

Easter egg basket with paper plates image

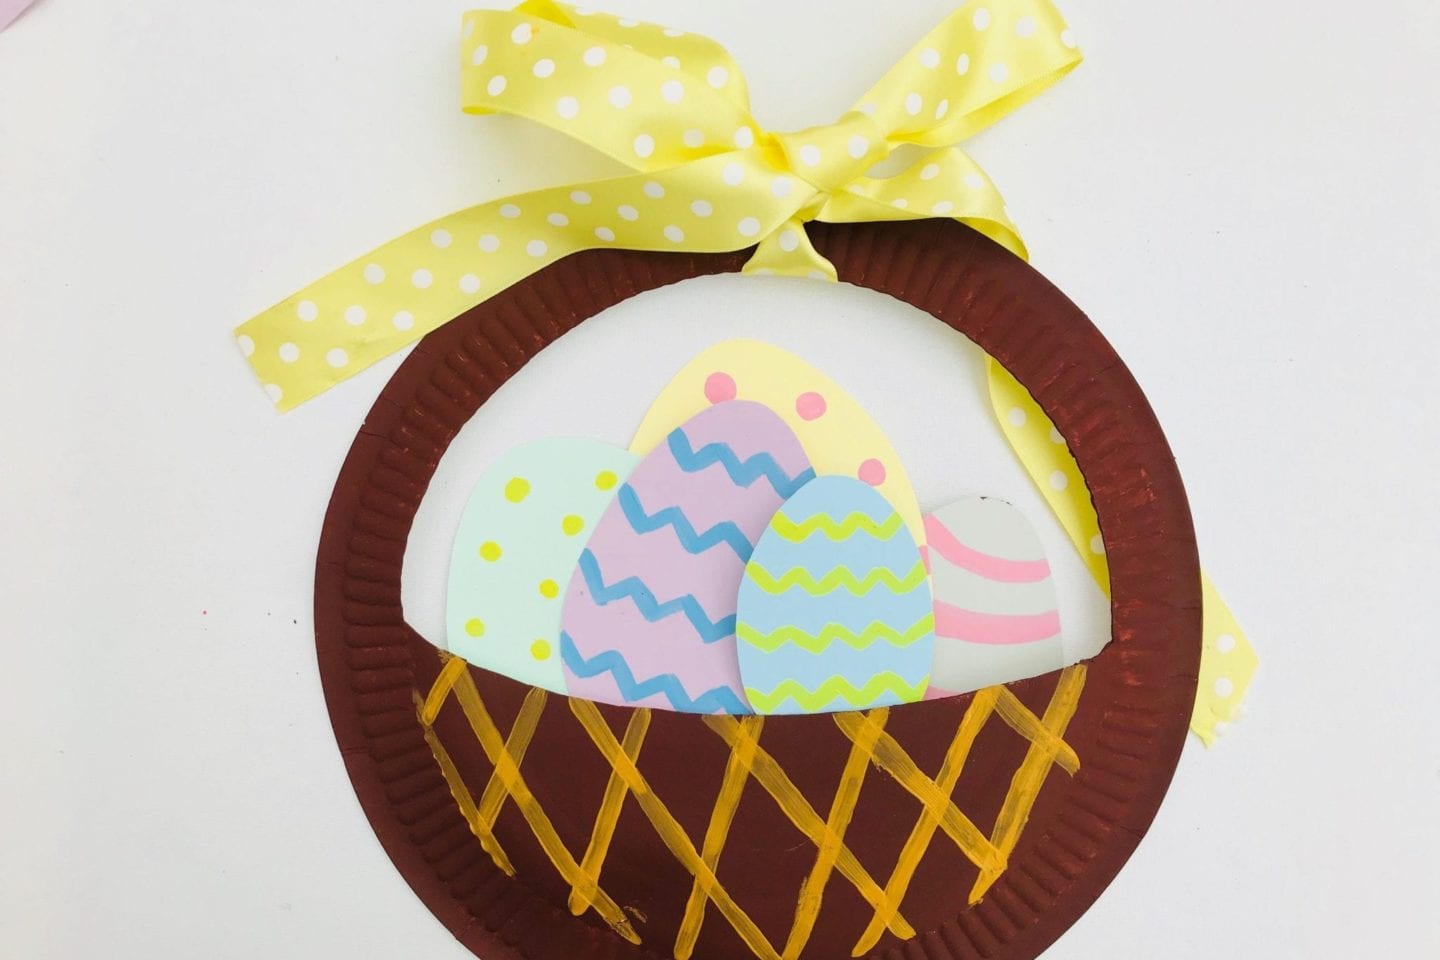
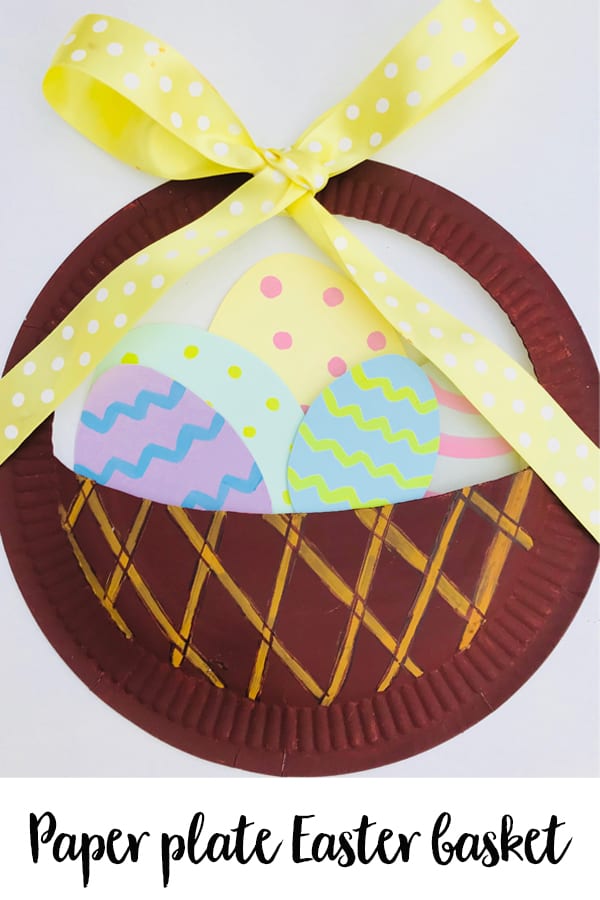
Use everyday materials around the house to make this pretty Easter egg basket in minutes!

Made with paper plates and paints you can stand it up or hang it on the walls on Easter day.

Summary

Time: 10 mins
Age: Toddlers to little kids
Difficulty: Easy peasy
01
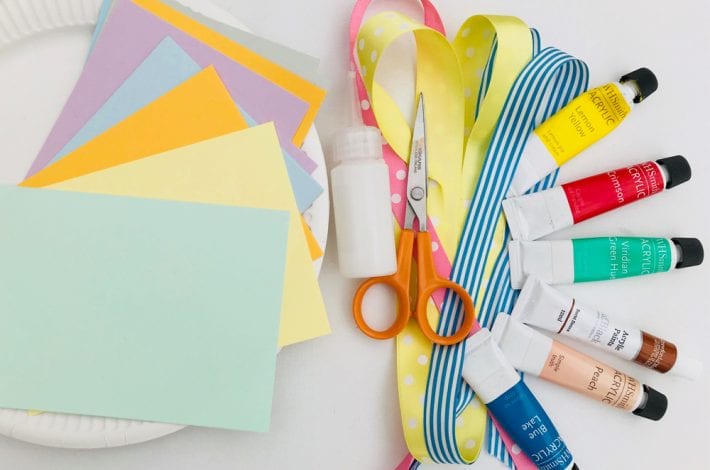
You will need:

Paper plate Easter egg basket craft for kids

You will need:

  • Paper plate
  • Card
  • Scissors
  • Paints
  • Paintbrush
  • Glue

02
Step 1: Cut out your basket

Paper plate Easter egg basket craft for kids

Step 1: Cut out your basket

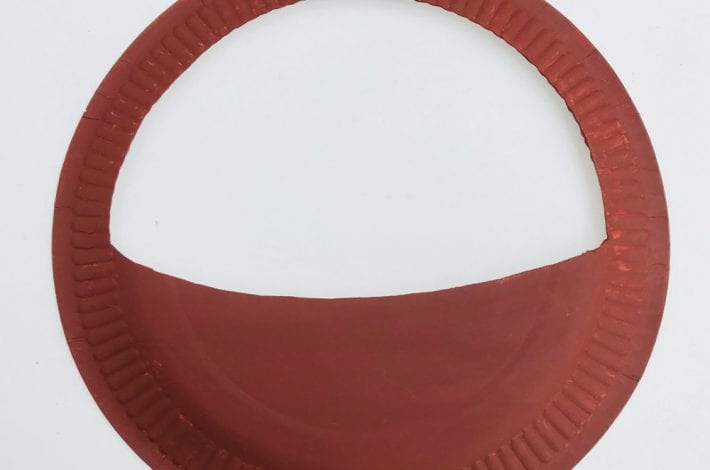
Cut out the top half of the centre of your paper plate, as shown.

This makes a nice basket shape, with a handle.
03
Step 2: Paint your basket

Paper plate Easter egg basket craft for kids

Step 2: Paint your basket

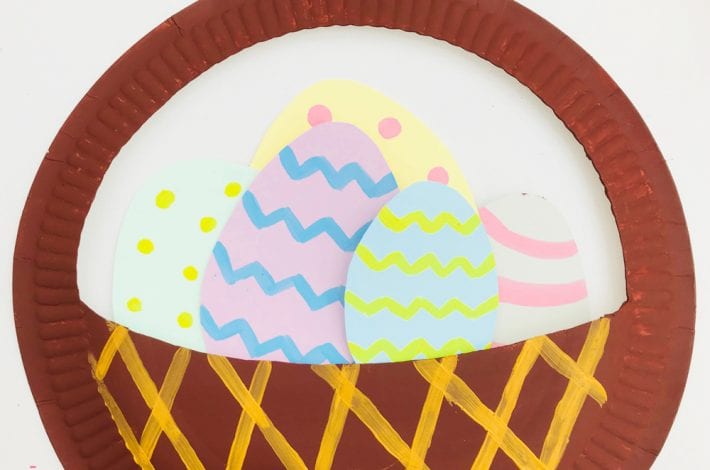
Paint the paper plate brown.

We used acrylic paint and put on two coats to get a nice covering. Leave it to dry.
04
Step 3: Add some detailing

Paper plate Easter egg basket craft for kids

Step 3: Add some detailing

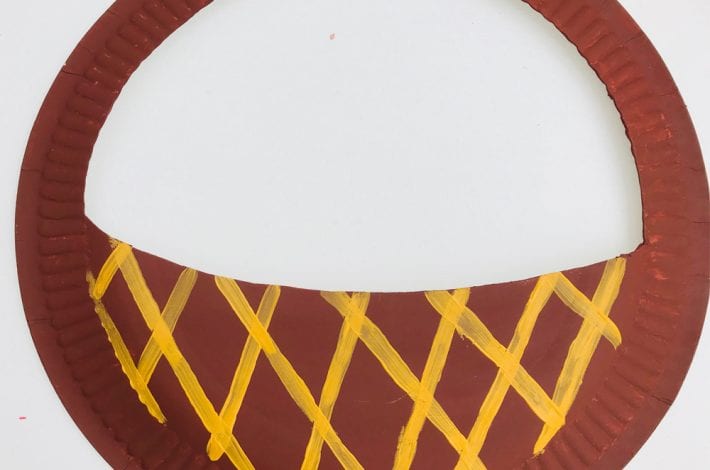
Use yellow or light brown paint to add criss-crossing stripes to the bottom of your basket, to make it look like basket weaving.
05
Step 4: Cut out some Easter eggs

Paper plate Easter egg basket craft for kids

Step 4: Cut out some Easter eggs

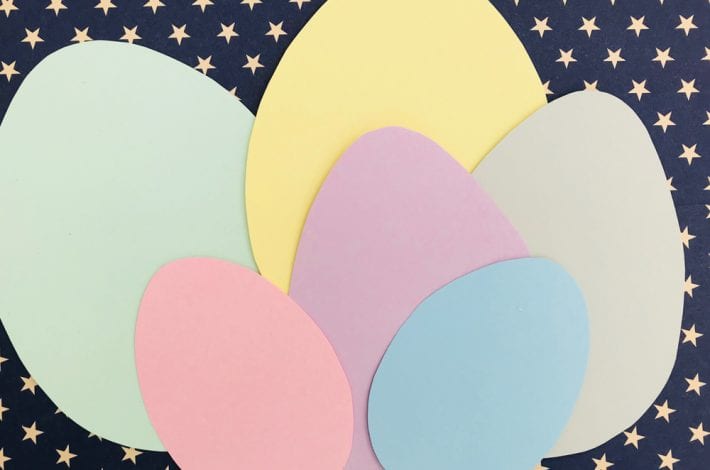
Cut some egg shaped ovals out of card.

We chose pretty pastel coloured card but you can use whatever colour you like.

Cut out different sizes of eggs.
06
Step 5: Decorate your eggs

Paper plate Easter egg basket craft for kids

Step 5: Decorate your eggs

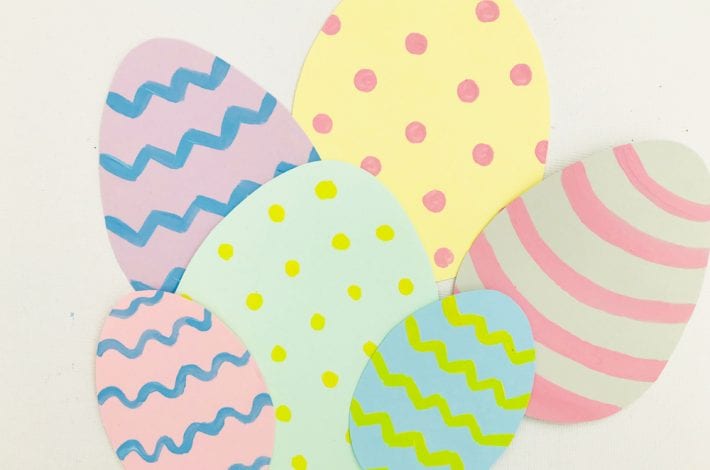
Use paint (or felt pens) to decorate your Easter eggs.

We added dots, stripes, zig zags and want lines to ours but you can decorate your eggs however you like.
07
Step 6: Pop the eggs in your basket

Paper plate Easter egg basket craft for kids

Step 6: Pop the eggs in your basket

Arrange the eggs so that the larger eggs are at the back and the smaller ones are at the front.

Then glue them in place to the back of the paper plate so that they peep out of the basket.
08
Step 7: Add the ribbon as a final flourish

Paper plate Easter egg basket craft for kids

Step 7: Add the ribbon as a final flourish

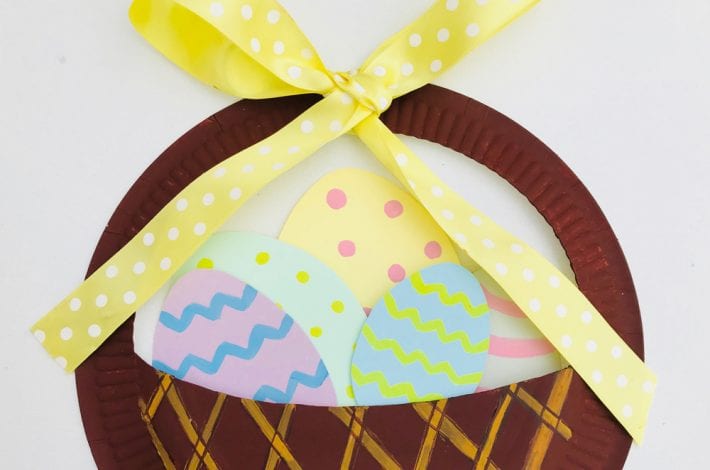
Finally, to finish off your Easter basket, tie a pretty ribbon around the handle.

Tie it in a pretty bow.


Your Easter basket is all ready to hang up on the wall.
 

Paper plate Easter egg basket craft for kids

Easter egg basket with paper plates

9
Easter egg basket paper plate craft

Use everyday materials around the house to make this pretty Easter egg basket in minutes!

Made with paper plates and paints you can stand it up or hang it on the walls on Easter day.

Summary

Time: 10 mins
Age: Toddlers to little kids
Difficulty: Easy peasy

01
You will need:

Paper plate Easter egg basket craft for kids

You will need:

  • Paper plate
  • Card
  • Scissors
  • Paints
  • Paintbrush
  • Glue

02
Step 1: Cut out your basket

Paper plate Easter egg basket craft for kids

Step 1: Cut out your basket

Cut out the top half of the centre of your paper plate, as shown.

This makes a nice basket shape, with a handle.

03
Step 2: Paint your basket

Paper plate Easter egg basket craft for kids

Step 2: Paint your basket

Paint the paper plate brown.

We used acrylic paint and put on two coats to get a nice covering. Leave it to dry.

04
Step 3: Add some detailing

Paper plate Easter egg basket craft for kids

Step 3: Add some detailing

Use yellow or light brown paint to add criss-crossing stripes to the bottom of your basket, to make it look like basket weaving.

05
Step 4: Cut out some Easter eggs

Paper plate Easter egg basket craft for kids

Step 4: Cut out some Easter eggs

Cut some egg shaped ovals out of card.

We chose pretty pastel coloured card but you can use whatever colour you like.

Cut out different sizes of eggs.

06
Step 5: Decorate your eggs

Paper plate Easter egg basket craft for kids

Step 5: Decorate your eggs

Use paint (or felt pens) to decorate your Easter eggs.

We added dots, stripes, zig zags and want lines to ours but you can decorate your eggs however you like.

07
Step 6: Pop the eggs in your basket

Paper plate Easter egg basket craft for kids

Step 6: Pop the eggs in your basket

Arrange the eggs so that the larger eggs are at the back and the smaller ones are at the front.

Then glue them in place to the back of the paper plate so that they peep out of the basket.

08
Step 7: Add the ribbon as a final flourish

Paper plate Easter egg basket craft for kids

Step 7: Add the ribbon as a final flourish

Finally, to finish off your Easter basket, tie a pretty ribbon around the handle.

Tie it in a pretty bow.


Your Easter basket is all ready to hang up on the wall.


Paper plate Easter egg basket craft for kids
Mas&Pas

Sign up for an account

Passwords need at least 8 characters, a lower and uppercase letter and a number.
Mas&Pas

Verify your account

Please enter a valid code

Please enter a valid email

We have resent your email

We have resent your verification code to the email address you provided. Please check your inbox and spam folder.

If your email hasn't arrived or you have trouble activating your account please feel free to contact us